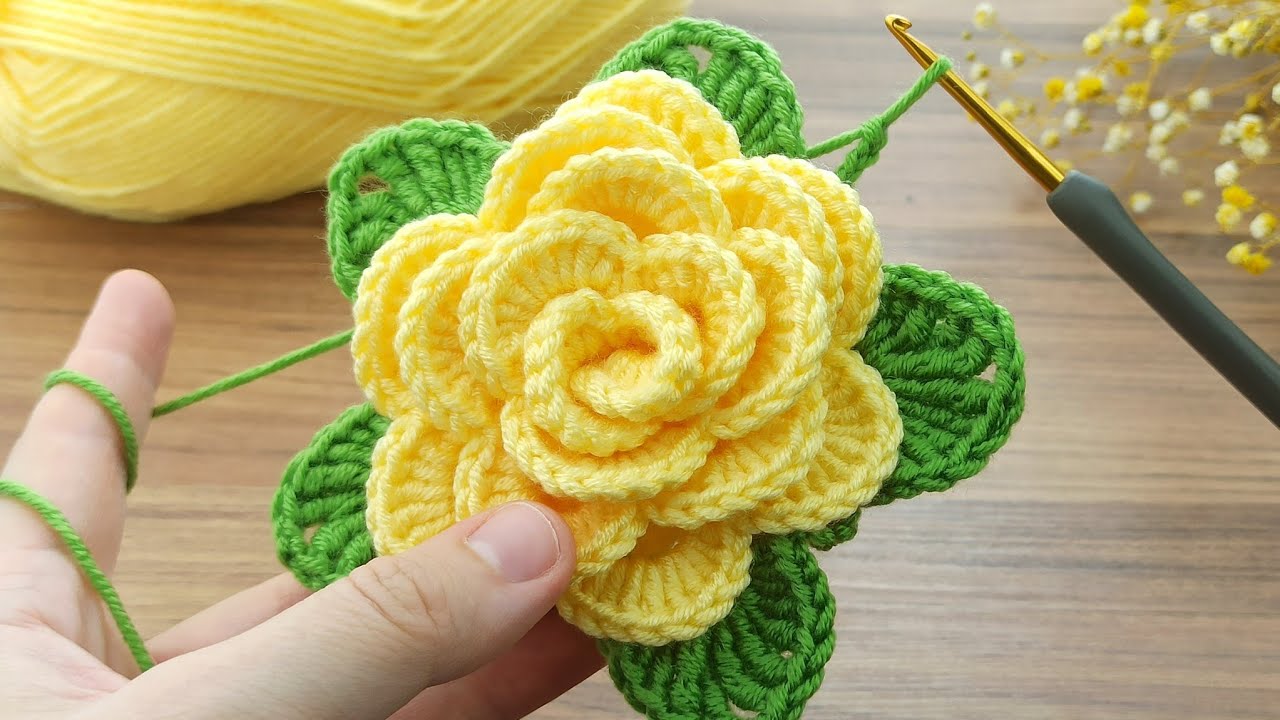
Crocheting a rose might seem complicated, but this method is incredibly simple and perfect for beginners. In this tutorial, you’ll learn how to make a flat spiral that magically rolls into a blooming rose — using just basic stitches!

🧶 Project Overview
| Feature | Details |
|---|---|
| Skill Level | Beginner |
| Time Required | 15–30 minutes |
| Technique | Worked flat in rows, then rolled into a flower |
| Final Size | 2.5 to 3 inches (adjustable) |
| Best For | Appliqués, brooches, hair clips, decorations |
📦 Materials Needed
| Item | Recommended Details |
|---|---|
| Yarn | Lightweight (Category 3) or worsted (Category 4) |
| Hook | 3.5–4.5 mm (E to G hook) |
| Yarn Needle | For sewing flower together |
| Scissors | For cutting yarn |
| Optional | Small button, pin, or glue (for embellishments) |

🧵 Stitches & Abbreviations (U.S. Terms)
- ch – chain
- sl st – slip stitch
- sc – single crochet
- hdc – half double crochet
- dc – double crochet
- tr – treble crochet
- st(s) – stitch(es)
🪡 STEP-BY-STEP INSTRUCTIONS
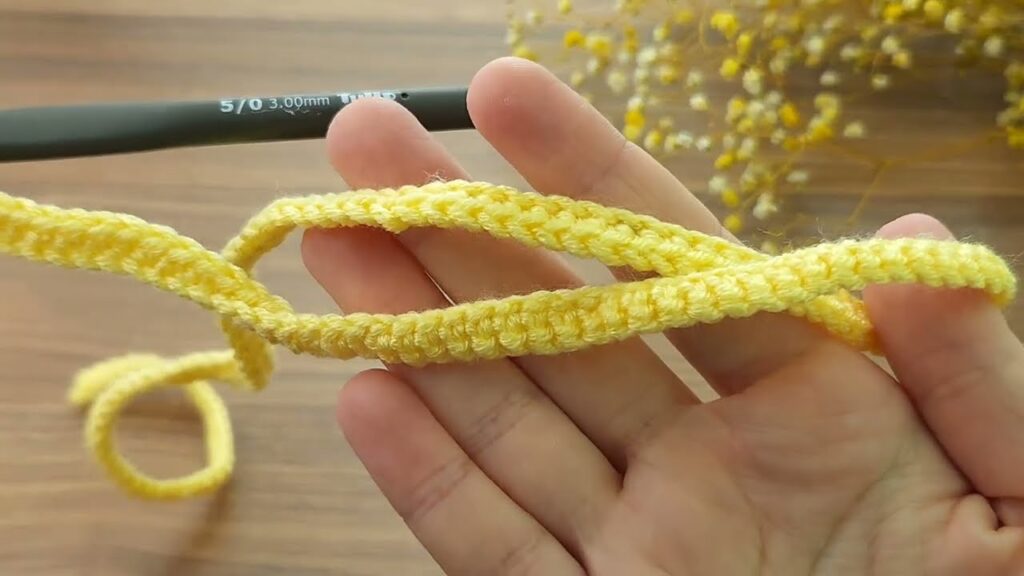
🌼 Step 1: Create the Foundation Chain
Ch 51 (or any multiple of 3 + 2 for a larger or smaller flower)
This will form the length of your rose. A longer chain = fuller flower.
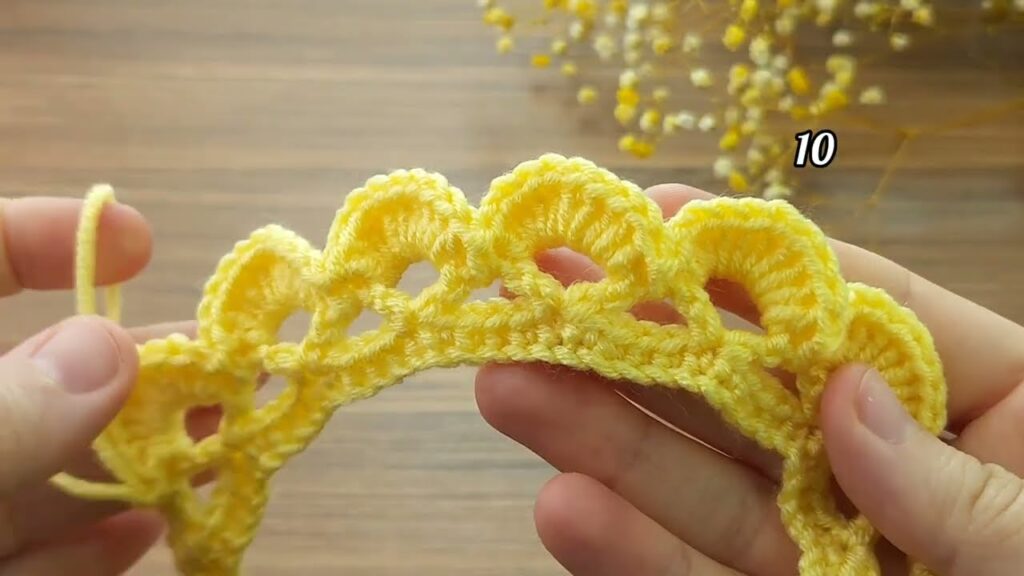
🌸 Step 2: Row of Petals
Row 1:
- In 2nd ch from hook, sc.
- Ch 2, skip next 2 ch, sc in next ch — repeat across the row.
This creates small loops all along the chain.
Row 2:
- Turn your work.
- In each loop (ch-2 space), work the following:
(1 sc, 1 hdc, 3 dc, 1 hdc, 1 sc)
This forms one full petal.
Repeat in every loop across the row. You’ll see a wavy strip forming — these are your petals!
🌹 Step 3: Roll Into a Rose
- Start rolling tightly from one end to form the center.
- Continue coiling until it forms a rose shape.
🧵 Step 4: Secure the Rose
- Thread your yarn needle with a tail.
- Stitch through the base of the flower from back to front, sewing several passes to hold the shape together.
- Tie off and weave in any loose ends.
💡 Optional: Attach a felt circle or small backing for stability.

🎨 Customization Ideas
- Two-tone Rose: Use a different color for Row 2.
- Larger Rose: Start with 66 or 75 chains.
- Smaller Rose: Start with 33 or 39 chains.
- Leaf Accent: Add a couple of crocheted leaves behind the rose.
🌿 Optional: Easy Leaf Pattern
Ch 8.
Sc in 2nd ch from hook, hdc in next, dc in next 3 ch, hdc in next, sc in last.
Ch 1, rotate work, and mirror stitches on the other side of the chain.
Sl st to first st and fasten off.
Sew behind the rose for a natural touch!
💡 Tips for Beginners
- Keep your tension loose and even so petals don’t curl too tightly.
- Use cotton or acrylic yarn for structure.
- Use a stitch marker at the start of Row 2 if needed.
📸 Where to Use Your Crochet Rose
- Sew onto hats, bags, or headbands
- Glue onto hair clips or brooch pins
- Add to gift wrapping or greeting cards
- Combine several to make a bouquet or garland
🧼 Care Instructions
- If made with washable yarn, hand wash gently in cool water.
- Reshape and lay flat to dry.
Video tutorial:
🎁 Wrap-Up
This easy crochet rose is the perfect project to practice your stitches and create something beautiful in minutes. Whether you’re adding it to a handmade gift or creating a bouquet, this rose adds charm and elegance with minimal effort.


