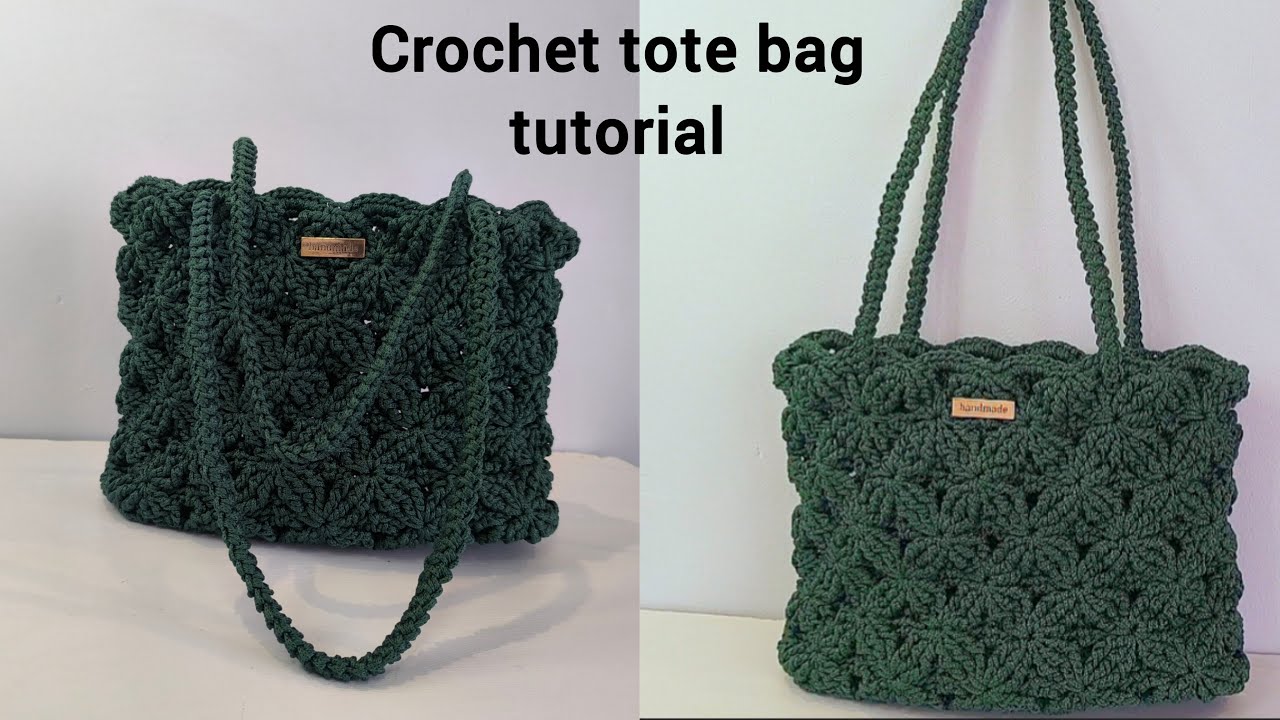
If you’ve ever wanted to dive into the world of crochet and make something both practical and stylish, a simple crochet tote bag is the perfect project. Whether you’re heading to the farmer’s market, the beach, or just out and about, a handmade tote bag is a beautiful way to carry your essentials and show off your crafting skills.

This easy-to-follow tutorial will walk you through the entire process — from choosing the right yarn to adding finishing touches. Even if you’re a complete beginner, you’ll be amazed at what you can create with just a hook, some yarn, and a little patience!
🧰 Supplies You’ll Need
Before we dive into the steps, let’s gather the materials. For this project, we’re keeping it beginner-friendly, which means minimal tools and simple stitches.
Materials:
- Worsted weight cotton yarn (category 4) – approx. 400–500 yards
- Crochet hook size H/8 (5.0 mm) – or size recommended on your yarn label
- Scissors
- Yarn needle (for weaving in ends)
- Measuring tape
- Stitch markers (optional but helpful)
🧵 Why Cotton Yarn?
Cotton yarn is durable, washable, and strong, making it perfect for a tote bag. It also holds its shape better than acrylic and stretches less, so your bag won’t sag over time.
✏️ Basic Skills You’ll Learn
This tote bag uses basic crochet stitches, perfect for new crocheters:
- Chain stitch (ch)
- Single crochet (sc)
- Half double crochet (hdc)
If you’re not familiar with these stitches yet, don’t worry — they are very easy to learn, and we’ll describe them briefly in this tutorial.
🧺 Finished Dimensions (Approx.)
- Height: 13 inches
- Width: 12 inches
- Handles: 20 inches long
You can easily adjust the size by adding more or fewer stitches and rows.
🪡 Simple Crochet Tote Bag Pattern
Let’s get started!
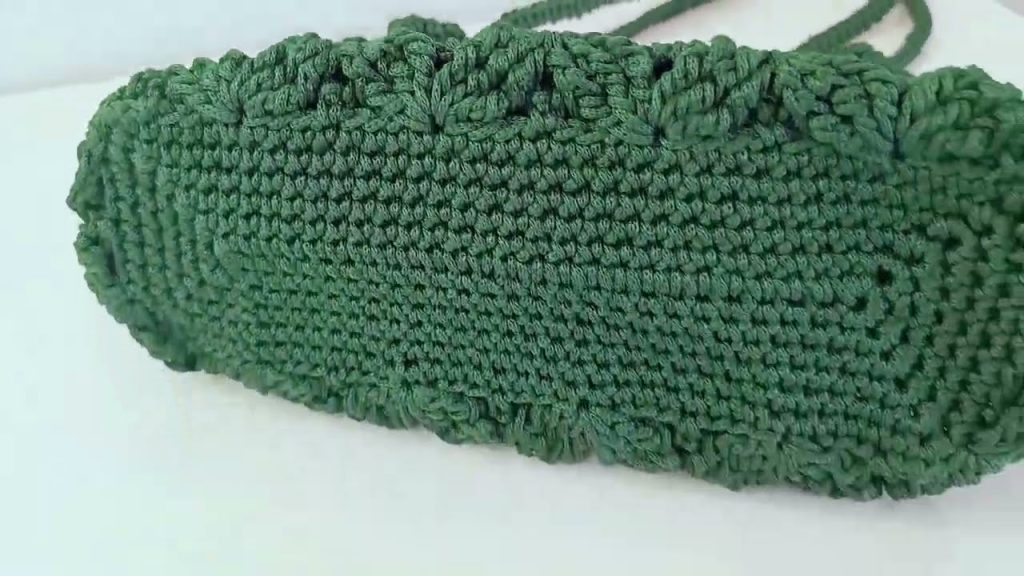
🪢 Step 1: Create the Base of the Bag
We’ll begin by crocheting a flat rectangular base that will become the bottom of the tote.
Pattern:
- Ch 41 (This creates the width of the bag.)
- Row 1: In the second ch from the hook, sc. Sc across. (40 sc)
- Rows 2–10: Ch 1, turn. Sc in each st across. (40 sc)
You should now have a rectangle about 12 inches wide and 2.5 inches tall.

🧶 Step 2: Build the Body of the Tote
Now we’ll work in the round around the base to create the sides of the bag.
Instructions:
- Round 1: Ch 1, turn. Sc around all 4 sides of the rectangle. Place 2 sc in each corner. Join with a sl st to the first sc. (Approx. 100–110 sc total)
- Rounds 2–30:
- Ch 1.
- Hdc in each stitch around.
- Join with sl st.
Continue adding rounds until the bag reaches 13 inches tall. You can add more rows for a deeper tote.
Note: For a neat finish, ensure your stitch count stays consistent each round. Use a stitch marker at the beginning of each round to keep track.

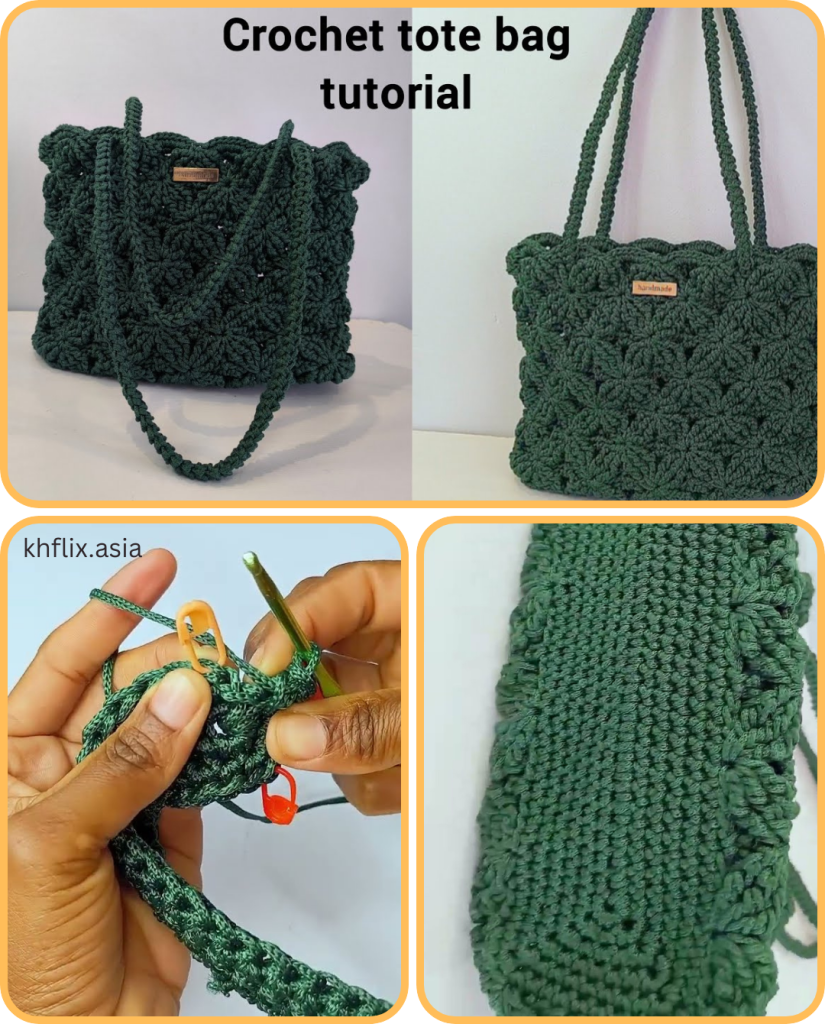
🪢 Step 3: Create the Handles
You’ll now crochet the handles directly into the top edge of the bag.
Instructions:
- After your last round of the body, ch 1 and sc in each stitch around.
- When you reach the side where you want to place a handle:
- Sc 10, ch 30 (this will be your handle), skip 10 stitches, and sc into the 11th stitch.
- Repeat on the other side for the second handle.
- Continue sc around the rest of the top edge.
- Join with a sl st.
🧶 Step 4: Reinforce the Handles
To make your handles stronger:
- Next Round: Ch 1, sc in each stitch and each ch across.
- Repeat for 2–3 more rounds to make the handles thicker and sturdier.
✂️ Step 5: Finishing Touches
- Fasten off your yarn and use a yarn needle to weave in all loose ends.
- Optionally, you can block your bag to help shape it by laying it flat and misting it with water, letting it dry completely.
- If you want to get creative, you can line the inside of the bag with fabric (sew by hand or with a machine), or add a button or snap closure.
🪄 Customization Ideas
Want to personalize your tote? Here are some fun ideas:
- Stripes: Use two or more colors for a striped look.
- Granny Squares: Create squares and join them to make a unique design.
- Pockets: Add a small crocheted or sewn fabric pocket inside.
- Embroidery: Use yarn to embroider initials or patterns on your bag.
- Tassels or Pom-Poms: Add flair with cute accessories.
💡 Tips for Beginners
- Keep your tension consistent — not too tight, not too loose.
- Don’t be afraid to frog (undo) if you make a mistake.
- Use stitch markers to track rounds and handle placement.
- Practice the stitches before starting the project if they’re new to you.
- Watch videos or tutorials if you’re a visual learner — it helps!
🧵 Washing & Care
Since the bag is made of cotton:
- Machine wash on gentle or hand wash
- Lay flat to dry to avoid stretching
- Avoid using hot water
✅ Conclusion
Congratulations! You’ve just made a beautiful, functional crochet tote bag — all by yourself! This project is a wonderful way to build confidence in your crochet skills while creating something useful and sustainable.
The best part? You can make these bags as gifts, for shopping, beach trips, or everyday use. Once you’re comfortable with the basics, you can explore other patterns and shapes.
Crochet is not just a hobby — it’s a way to create something meaningful with your own two hands. So grab your yarn, relax, and enjoy the process.
Video tutorial:


