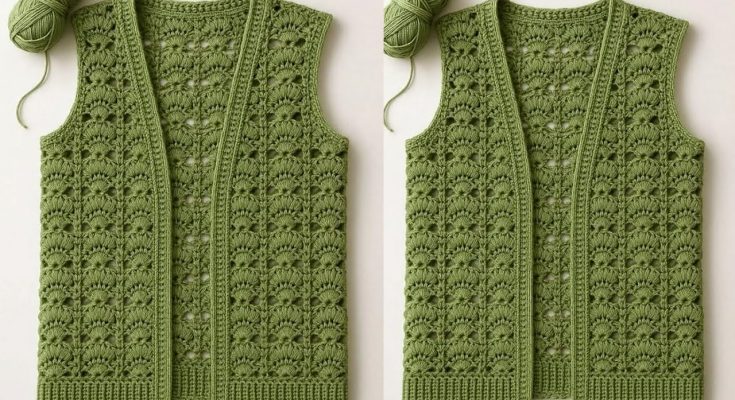
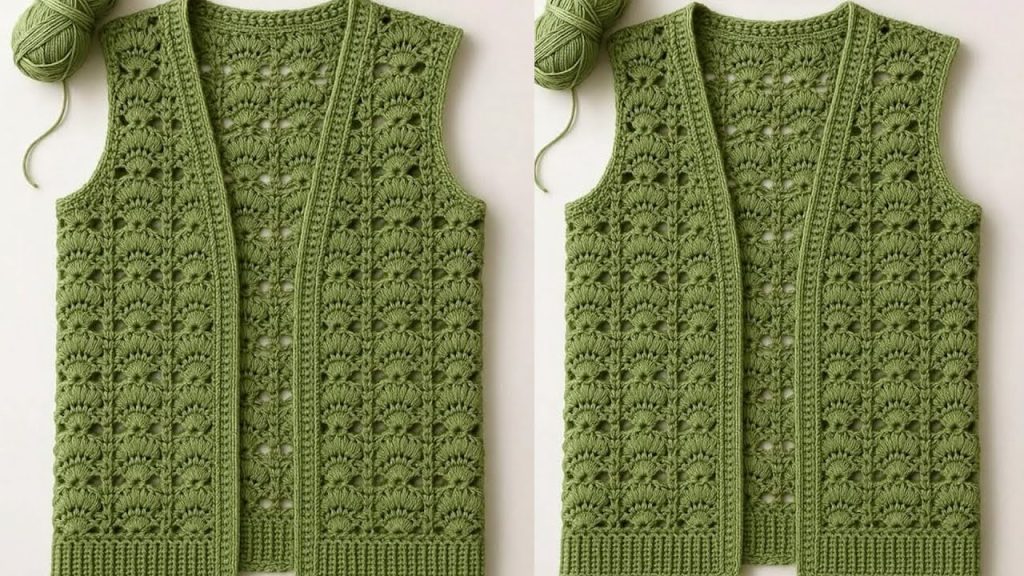
There’s a certain magic to a crochet stitch that creates a beautiful, intricate pattern that looks much more difficult than it actually is. The “Modern Mosaic” Crochet Stitch is a perfect example, featuring a lovely, textured, and modern pattern that is wonderfully simple to master. This detailed tutorial will guide you through creating a sturdy and stylish fabric that is perfect for a blanket, a placemat, or a handbag.
This stitch is an excellent choice for a beginner looking to expand their skills beyond the basics or for an experienced crocheter wanting a fast and fun project that results in a beautiful, high-end fabric. The repetitive nature of the two-row repeat is easy to memorize and makes for a wonderfully meditative project.
Why Crochet with the Modern Mosaic Stitch?
- Stunning Texture: The stitch creates an elegant, modern, and beautiful surface that is both visually appealing and tactile.
- Dense & Sturdy: The stitch creates a solid fabric that holds its shape well, making it perfect for bags, baskets, and other structured projects.
- Beginner-Friendly: Uses only fundamental crochet stitches, making it accessible for those new to the craft.
- Versatile: The stitch can be used for a wide variety of projects, from home decor to fashion accessories.
- Works Up Quickly: The combination of simple stitches and a larger hook means your project will grow fast!
1. Planning Your Project: Size & Materials
- Finished Size: The size is completely customizable and depends on the project you are making. The pattern is a multiple of 2 stitches + 1.
- Yarn Choice: Choose a yarn that is durable and has good stitch definition.
- Fiber: A smooth, worsted weight Cotton, Cotton blend, or a sturdy Acrylic is recommended. Avoid highly textured or fuzzy yarns, as they can obscure the beautiful stitch pattern.
- Weight: Worsted Weight (#4) is ideal for this stitch, as it creates a beautiful, lightweight fabric.
- Color: A single, solid color will best highlight the texture of the stitch.
- Quantity: This will depend on the size of your project.
2. Materials You’ll Need
- Yarn: Your chosen quantity of yarn.
- Crochet Hook: 4.0 mm (G-6 US) or a hook size that gives you a lovely, flexible fabric with your yarn.
- Scissors: For cutting yarn.
- Yarn Needle (Tapestry Needle): For weaving in ends.
- Stitch Markers (Optional): To mark the beginning and end of rows.
3. Essential Crochet Stitches & Techniques
- Slip Knot
- Chain (ch)
- Slip Stitch (sl st)
- Single Crochet (sc)
- Double Crochet (dc)
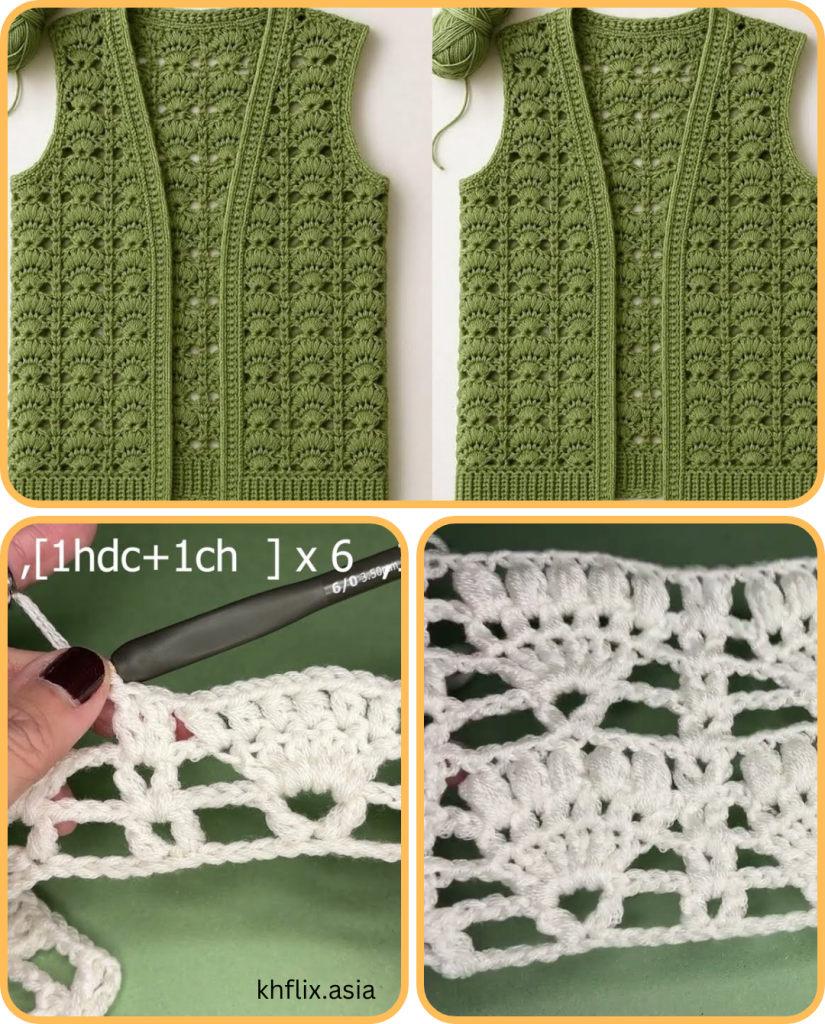
- Front Post Double Crochet (FPDC): Yarn over, insert hook from front to back, going around the post of the specified stitch in the previous row, yarn over, pull up a loop, [yarn over, pull through 2 loops] 2 times.
4. Let’s Master the Modern Mosaic Stitch!
This stitch is worked in rows, and the pattern is a simple two-row repeat.
Pattern Notes:
- The pattern is a multiple of 2 stitches + 1.
- Ch 1 at the start of a row does NOT count as a stitch.
- Ch 3 at the start of a row counts as a dc.
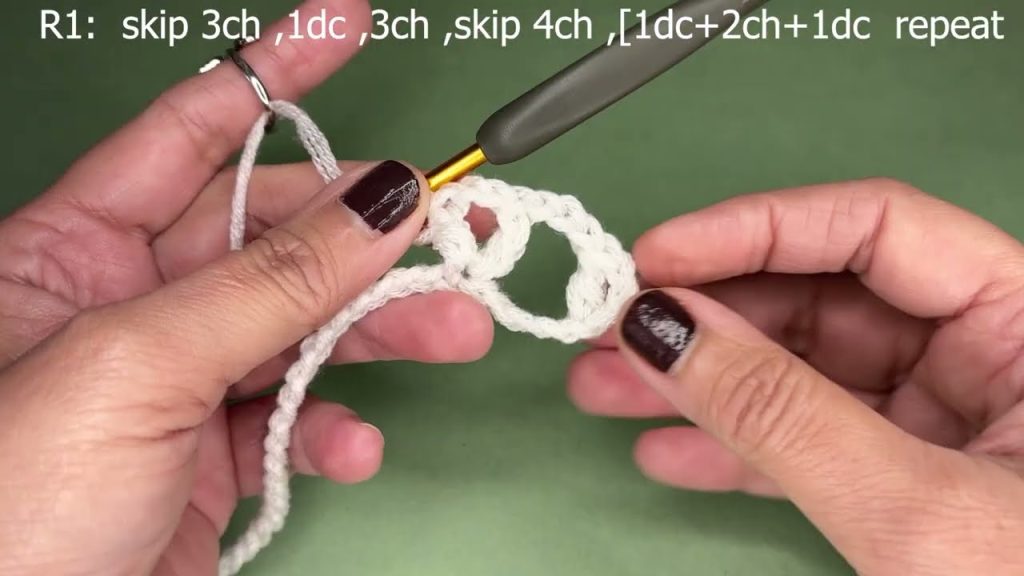
Row 1: Foundation
- Ch a multiple of 2 + 1. (e.g., 51 for a small project).
- Dc in the 4th ch from the hook. Dc in each ch across.
- [49 dc]
Row 2: The Textured Row
- Ch 1 (does not count as a stitch), turn.
- Sc in the first stitch.
- FPDC around the next dc from the row below, sc in the next stitch. Repeat from * to * across the row.
- End with a sc in the last stitch.
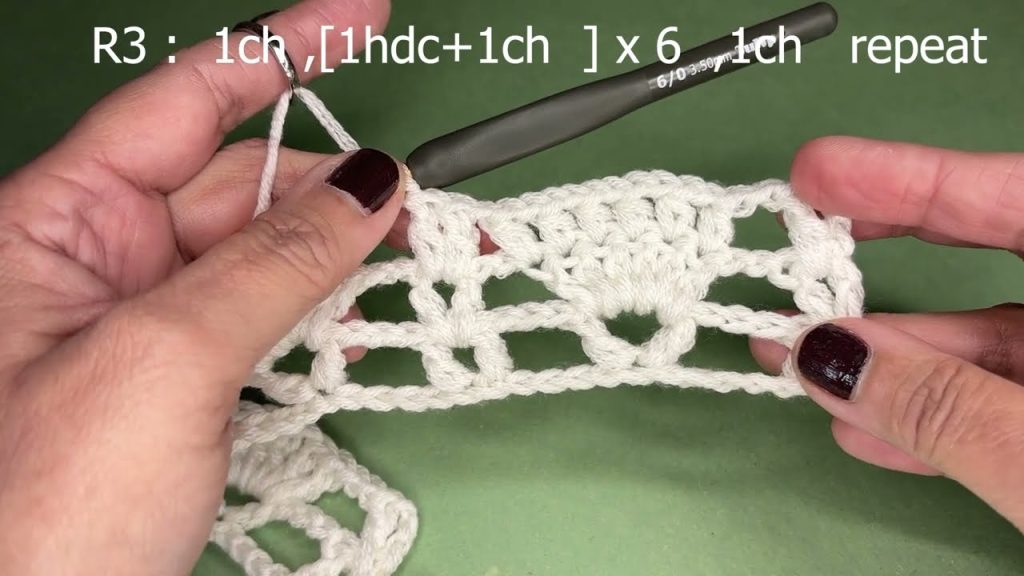
Row 3: The Plain Row
- Ch 3 (counts as 1 dc), turn.
- Dc in each stitch across.
- Make sure to work your dc stitches into both the sc stitches and the FPDC stitches from the previous row.
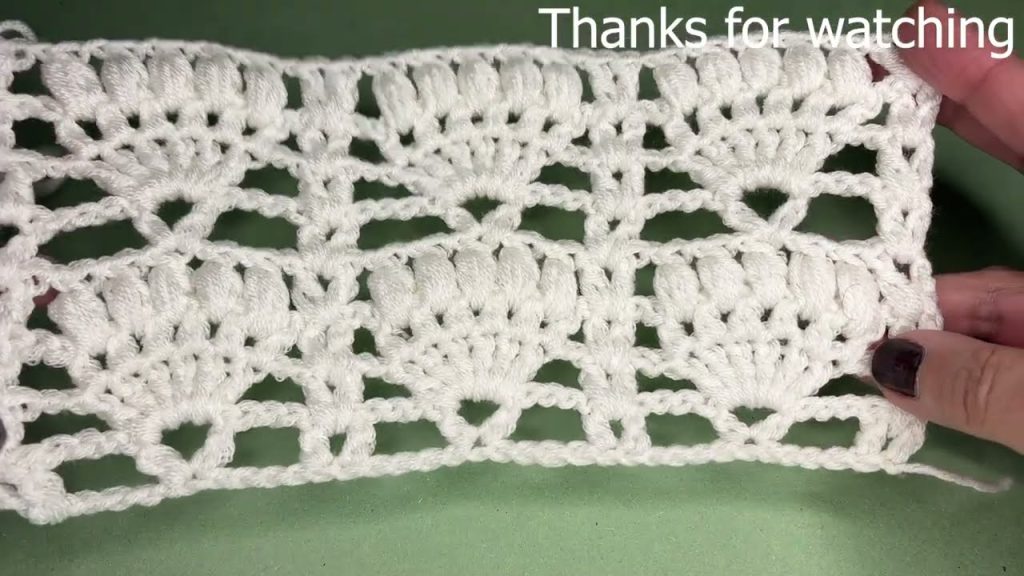
Step 5: Continuing the Pattern
- Repeat Rows 2 and 3 alternately.
- Continue this pattern until your project reaches your desired size.
Step 6: Finishing Touches
- Once your project reaches the desired size, finish with either a Row 2 or Row 3, depending on the look you want.
- Fasten off, and weave in all ends securely.
- Blocking: Blocking will help to even out the stitches and give your project a professional finish.

Enjoy creating your beautiful, handmade project with the “Modern Mosaic” stitch!
Video tutorial:
