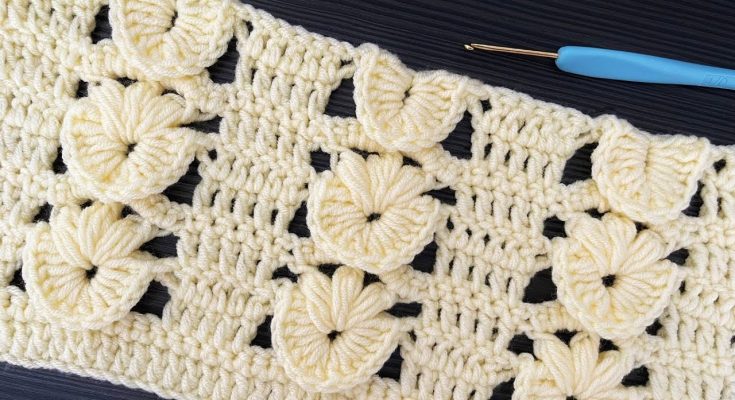
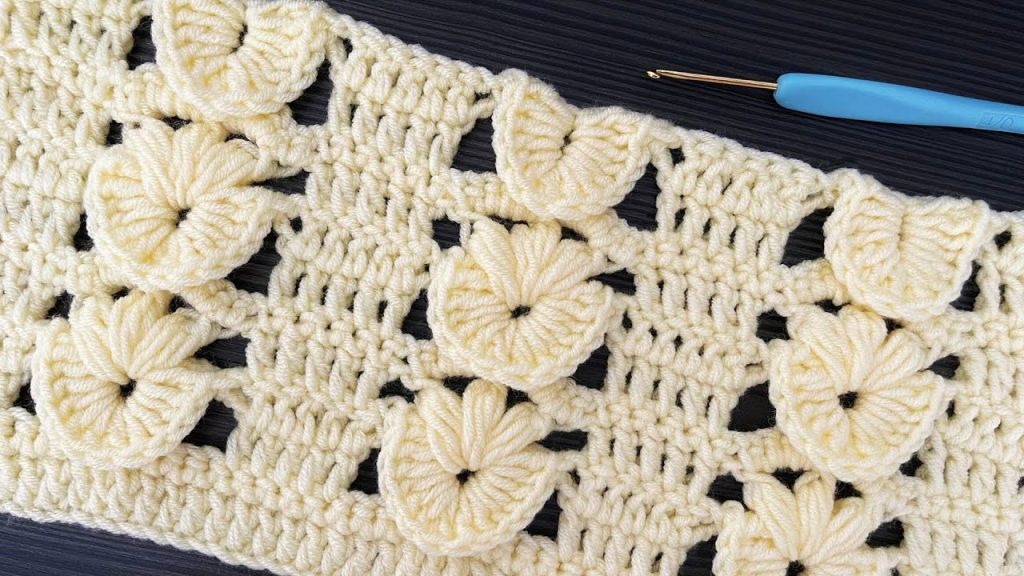
There’s a certain magic to a crochet stitch that creates a beautiful, intricate texture with surprising simplicity. The “Enchanted Meadow” Crochet Stitch is a perfect example, featuring a lovely, lacy pattern that is wonderfully open and elegant, yet made with only basic stitches. This detailed tutorial will guide you through mastering this stitch, which is perfect for creating a lightweight blanket, a delicate shawl, a market bag, or a beautiful garment.
This stitch is an excellent choice for a beginner looking to expand their skills beyond the basics or for an experienced crocheter wanting a fast and fun project that results in a beautiful, lacy fabric. The rhythmic, two-row repeat is easy to memorize and makes for a wonderfully meditative project.
Why Crochet with the Enchanted Meadow Stitch?
- Beautiful, Lacy Texture: The stitch creates an elegant, open fabric that is perfect for blankets, shawls, and scarves.
- Lightweight & Drapey: The open nature of the stitch makes the fabric light and airy, with a beautiful drape.
- Beginner-Friendly: Uses only fundamental crochet stitches, making it accessible for those new to the craft.
- Versatile: The stitch can be used for a wide variety of projects, from garments to home decor.
- Works Up Quickly: The combination of simple stitches and a larger hook means your project will grow fast!
1. Planning Your Project: Size & Materials
- Finished Size: The size is completely customizable and depends on the project you are making. The pattern is a multiple of 2 stitches + 1.
- Yarn Choice: Choose a yarn that is soft and has good stitch definition.
- Fiber: A smooth, worsted weight acrylic, wool, or a cotton blend is recommended. Avoid highly textured or fuzzy yarns, as they can obscure the beautiful stitch pattern.
- Weight: DK (#3) or Worsted Weight (#4) yarn is ideal for this stitch, as it creates a beautiful, lightweight fabric.
- Color: A single, solid color will best highlight the lacy texture of the stitch.
- Quantity: This will depend on the size of your project.
2. Materials You’ll Need
- Yarn: Your chosen quantity of yarn.
- Crochet Hook: 4.0 mm (G-6 US) or a hook size that gives you a lovely, flexible fabric with your yarn. A looser gauge is better for this stitch.
- Scissors: For cutting yarn.
- Yarn Needle (Tapestry Needle): For weaving in ends.
- Stitch Markers (Optional): To mark the beginning and end of rows.
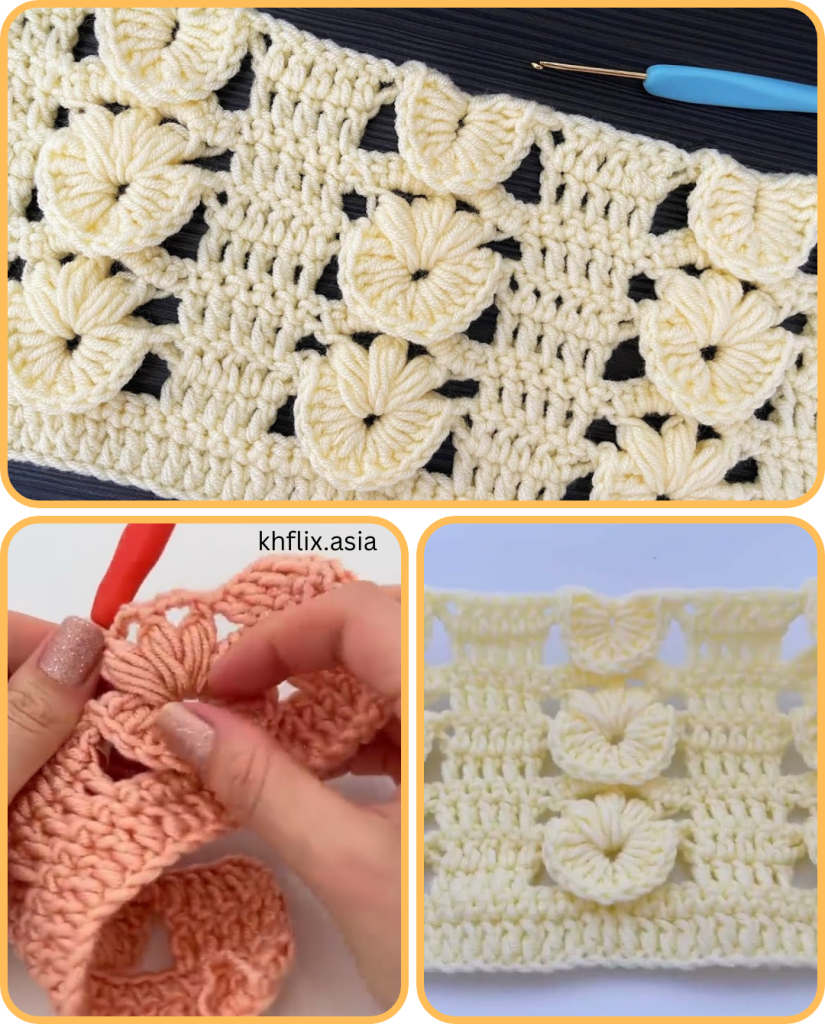
3. Essential Crochet Stitches & Techniques
- Slip Knot
- Chain (ch)
- Single Crochet (sc)
- Double Crochet (dc)
- Chain Space (ch-sp): The space created by a chain in the previous row.
4. Let’s Master the Enchanted Meadow Stitch!
This stitch is worked in rows, and the pattern is a simple two-row repeat.
Pattern Notes:
- The pattern is a multiple of 2 stitches + 1.
- Ch 1 at the start of a row does NOT count as a stitch.
- Ch 3 at the start of a row counts as a dc.
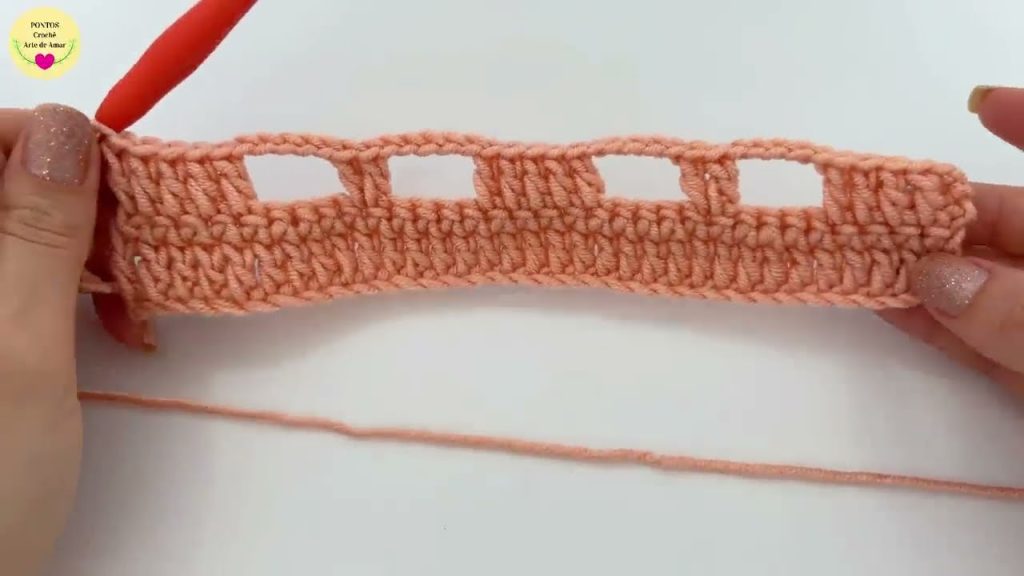
Row 1: Foundation
- Ch a multiple of 2 + 1. (e.g., 51 for a small project).
- Dc in the 4th ch from the hook. Ch 1, skip 1 ch, dc in the next ch. Repeat from * to * across the row.
- End with a dc in the last ch.
- This creates a row of dc stitches separated by ch spaces.
Row 2: The Shell Row
- Ch 3 (counts as 1 dc), turn.
- Dc in the first stitch (the base of the ch 3).
- Work 3 dc into the next ch-1 space. Repeat from * to * across the row until you reach the last ch-1 space.
- Work 3 dc into the last ch-1 space.
- Dc in the last stitch (the top of the ch 3 from the previous row).
Row 3: The Shell Top
- Ch 1 (does not count as a stitch), turn.
- Sc in the first stitch.
- Ch 3, skip the next 2 dc (the middle of the shell), sc in the next stitch. Repeat from * to * across the row.
- Sc in the last stitch.
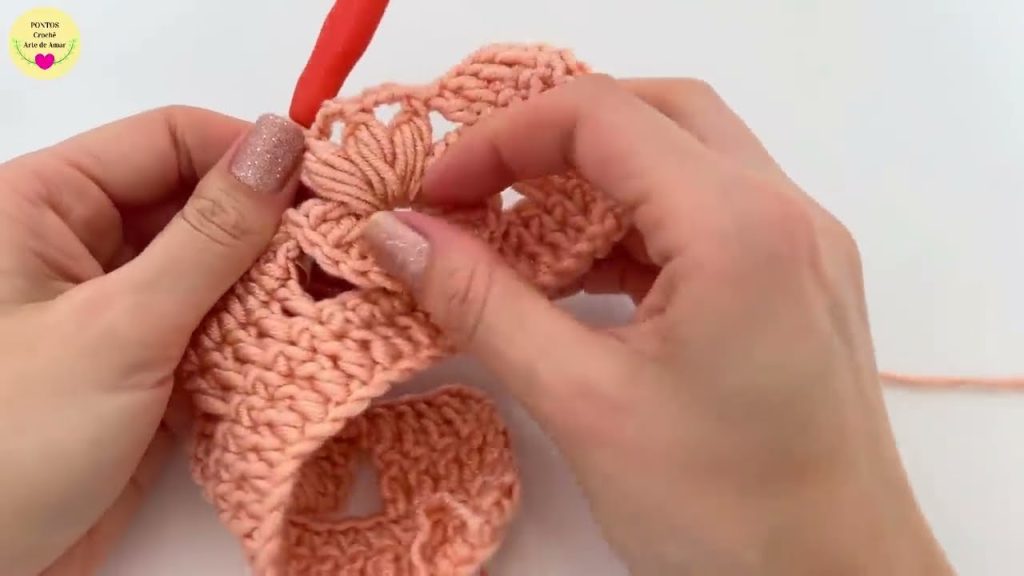
Step 5: Continuing the Pattern
- Repeat Rows 2 and 3 alternately.
- Continue this pattern until your project reaches your desired size.
Step 6: Finishing Touches
- Once your project reaches the desired size, finish with either a Row 2 or Row 3, depending on the look you want.
- Fasten off, and weave in all ends securely.
- Blocking: Blocking will open up the lace and give your project a beautiful, professional drape. Gently wet or steam the finished piece and pin it to its final dimensions, allowing it to dry completely.
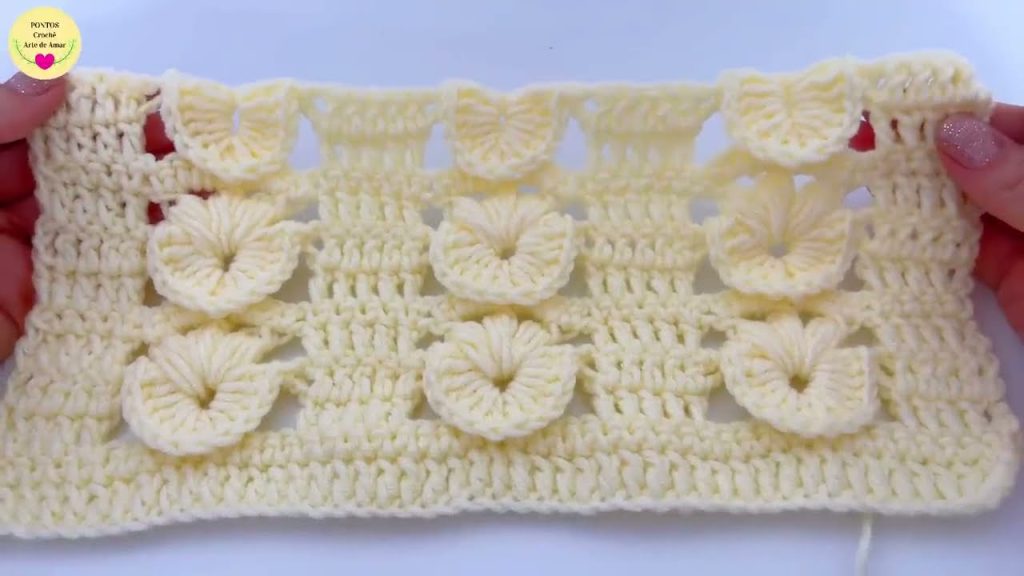
Enjoy creating your beautiful, handmade project with the “Enchanted Meadow” stitch!
Video tutorial:
