🧶 Project Overview:
This hat is worked in the round from the top down, making it easy to adjust for different head sizes. We’ll use single or half double crochet stitches, making it great for beginners. You’ll end up with a cozy, stretchy, and stylish beanie.
📦 Materials Needed:
| Item | Details |
|---|---|
| Yarn | Worsted weight (Category 4) |
| Crochet Hook | 5.0 mm (H-8) for adults, 4.5 mm for kids |
| Yarn Needle | For weaving in ends |
| Scissors | Basic crafting scissors |
| Stitch Marker | Optional, for marking the start of rounds |
📐 Hat Size Reference Chart:
| Size | Crown Diameter | Hat Height | Head Circumference |
|---|---|---|---|
| Toddler | 5.5″ | 6.5″ | 18–19″ |
| Child | 6″ | 7″ | 19–20″ |
| Teen/Adult | 6.5–7″ | 8–9″ | 21–23″ |
🧵 Stitches & Abbreviations (U.S. Terms):
- ch – chain
- sl st – slip stitch
- sc – single crochet
- hdc – half double crochet
- st(s) – stitch(es)
- inc – increase (2 stitches in same stitch)
- dec – decrease (2 stitches together)
🎓 Skill Level:
Beginner to Intermediate
🔄 Construction Method:
Top-down, worked in joined rounds or continuous spiral rounds.
🎯 INSTRUCTIONS:
🌀 STEP 1: Start the Magic Ring (or ch 4 and join)
Make a magic ring (or ch 4 and sl st to form a ring).
🧢 STEP 2: Crown Increases
Round 1:
Ch 2 (counts as hdc), 9 hdc into ring. Join with sl st. (10 hdc)
Round 2:
Ch 2, 2 hdc in each st around. Join. (20 hdc)
Round 3:
Ch 2, *1 hdc in next st, 2 hdc in next st* repeat around. Join. (30 hdc)
Round 4:
Ch 2, *1 hdc in next 2 sts, 2 hdc in next* repeat. Join. (40 hdc)
Continue increasing by adding 10 stitches per round until you reach the crown diameter for your size:
| Size | Stop at Round | Total Stitches |
|---|---|---|
| Toddler | Round 5 | 50 |
| Child | Round 6 | 60 |
| Adult | Round 7 | 70 |

🎩 STEP 3: Work Even (No Increases)
Now that you have your crown, start building the body of the hat.
Rounds 8–15 (or desired height):
Ch 2, hdc in each st around. Join. (same stitch count as last round)
Repeat until the hat measures the height needed for your size.
💡 Try the hat on as you go to check fit, especially for children.
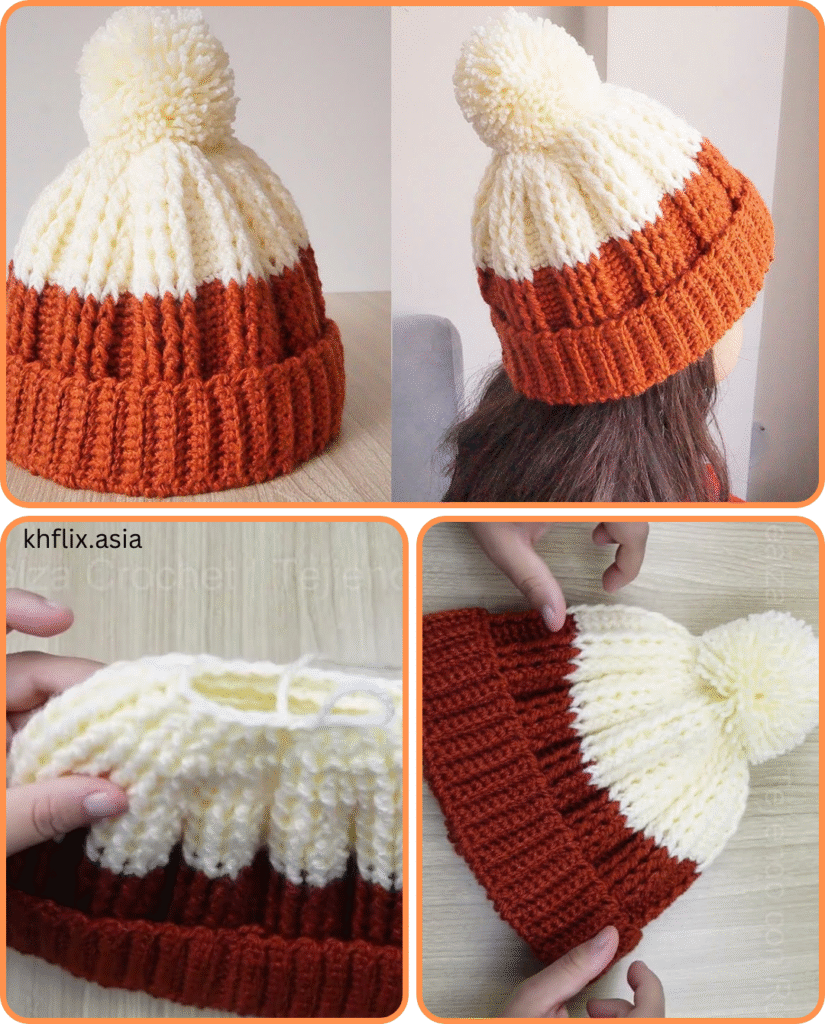
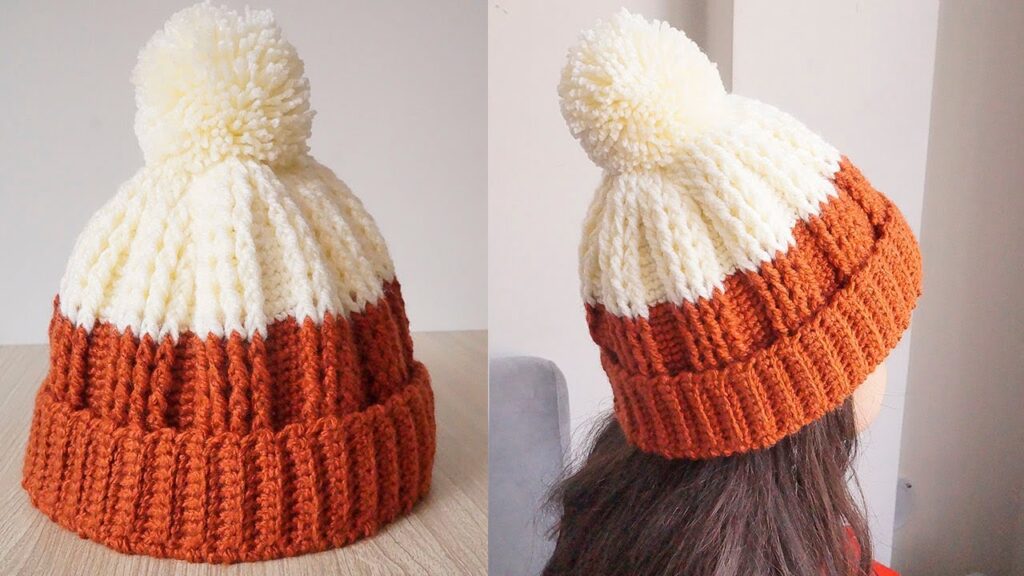
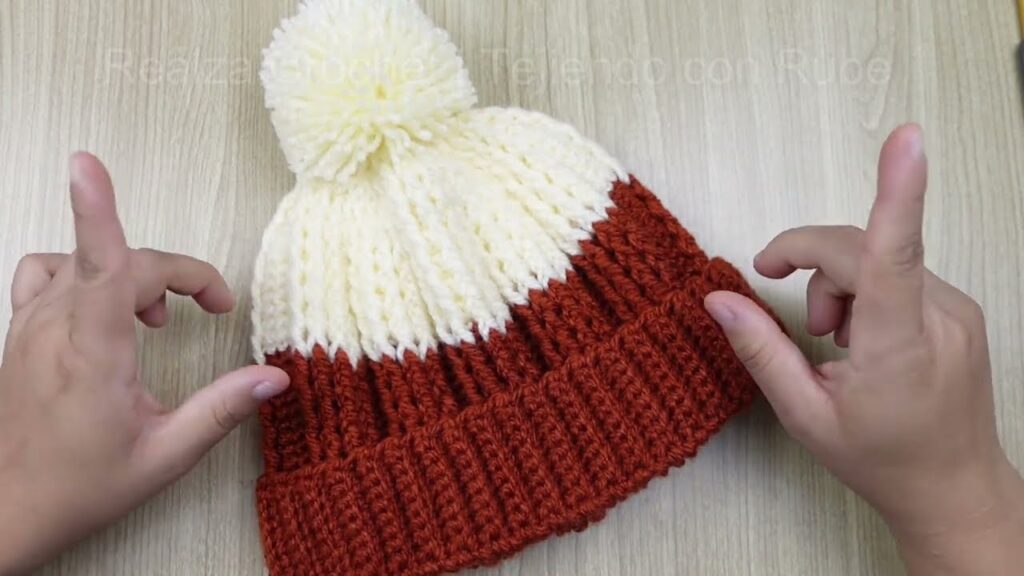
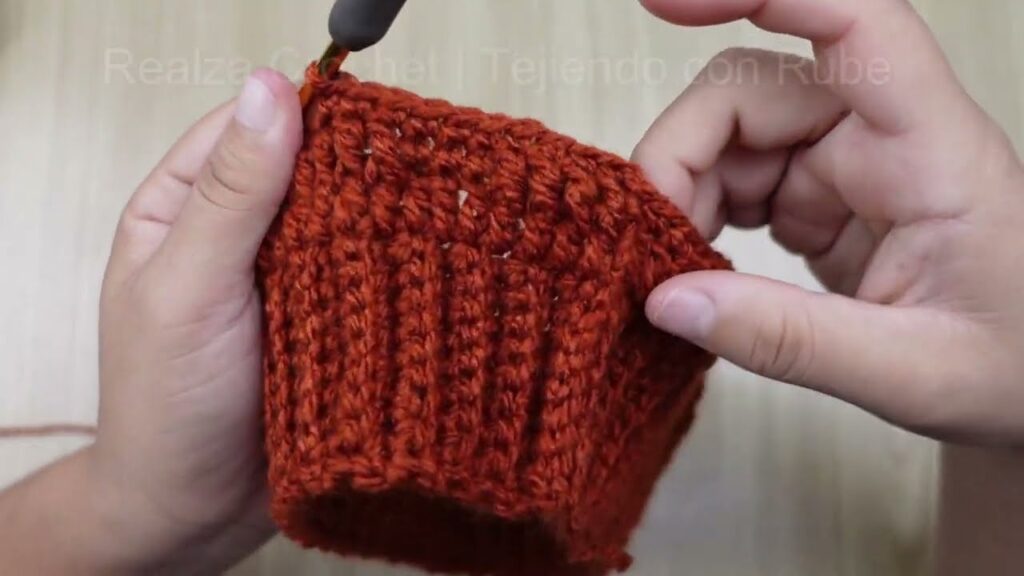
🧶 STEP 4: Optional Ribbed Brim (for a stretchier edge)
Switch to sc in back loop only (BLO):
Rounds 16–18:
Ch 1, sc BLO in each st around. Join.
This gives the brim a knitted look and adds a snug fit.
✂️ STEP 5: Finish Off
- Fasten off and weave in ends using your yarn needle.
- Block lightly if desired (especially for wool hats).
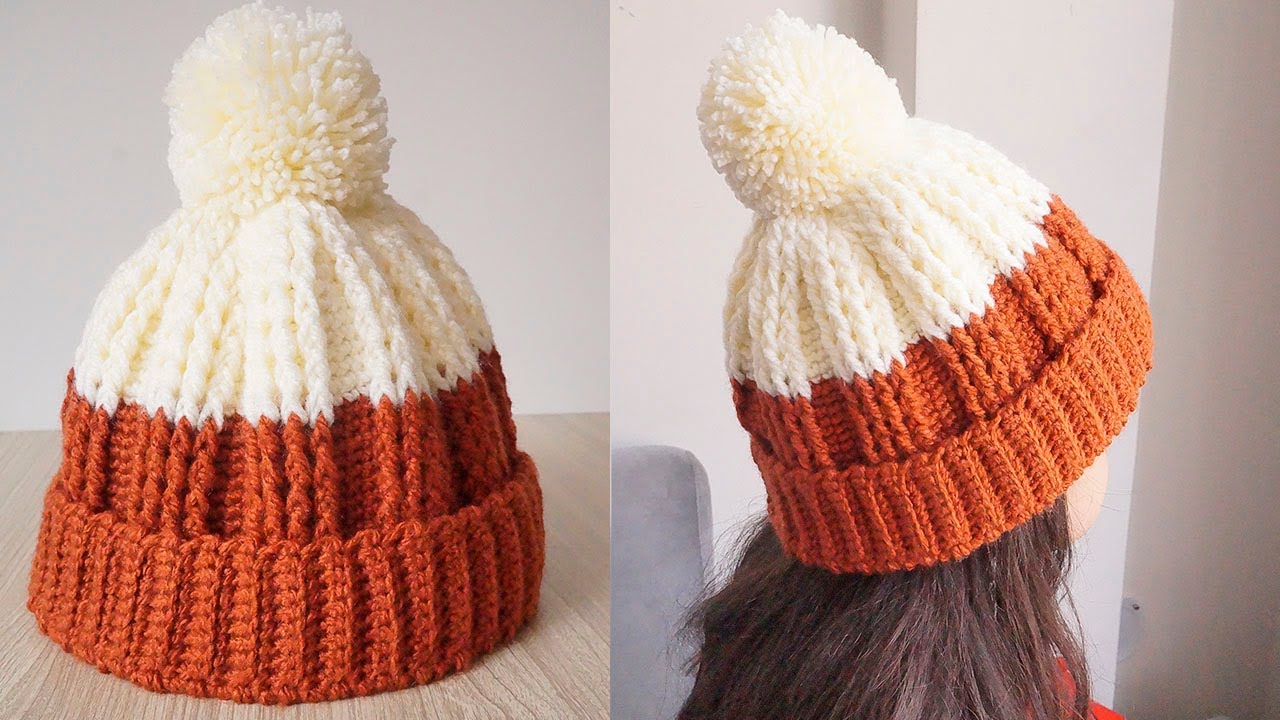
🎨 Customization Ideas
- Stripes: Change yarn color every few rows.
- Pom-pom: Add one to the top for a fun finish!
- Earflaps: Attach two flaps on sides for extra warmth.
- Name/Initial: Stitch on a monogram or patch.
👩👧 Child & Adult Sizing Tips
- If the hat is too loose, go down a hook size or subtract one increase round.
- For stretchier fit, use a ribbed band (hdc in BLO).
- Yarn with elasticity (like wool blends) stretches better than stiff cotton.
🧼 Care Instructions
- Machine washable yarns (like acrylic) are ideal for kids.
- Hand wash and lay flat to dry for delicate yarns like wool.
Video tutorial:
🎉 Final Thoughts
Now you have a beautiful, handmade crochet hat that fits children and adults alike. Once you’ve mastered this basic pattern, you can customize it in countless ways — from fun colors to seasonal designs.