
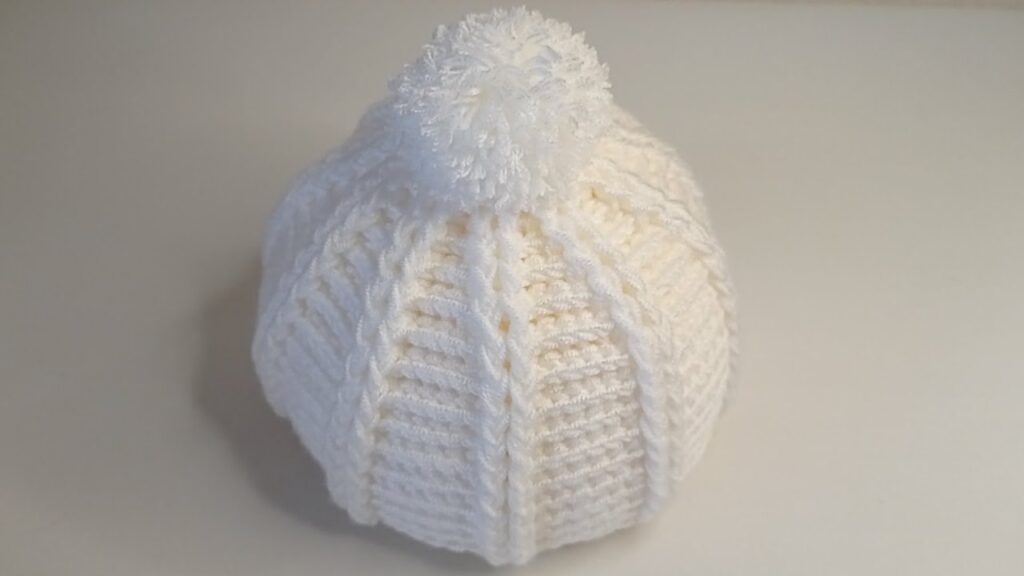
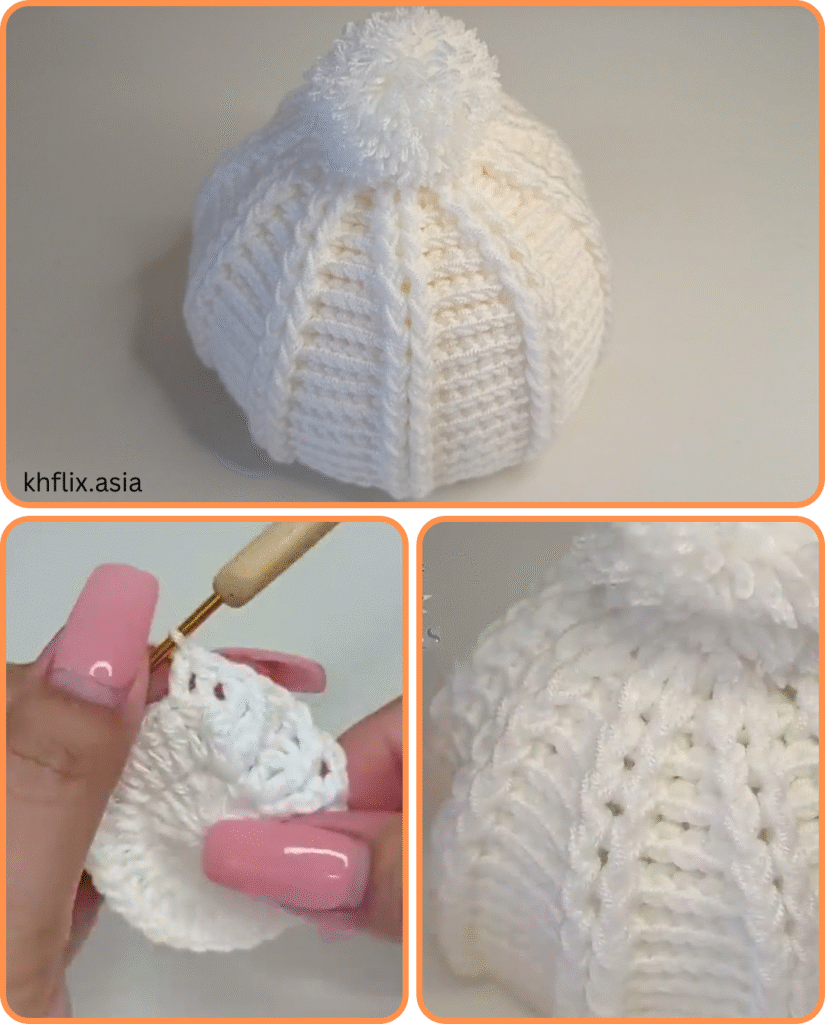
A Textured Masterpiece for Cold Weather!
Looking to elevate your winter accessories with a luxurious, dimensional look? The crochet embossed hat is your next go-to project. With its raised stitches and bold texture, the embossed design mimics intricate knit cables or sculpted patterns, giving it a professional, sophisticated flair—all created using basic crochet techniques.
This detailed guide will walk you through every step to create your own crochet embossed hat that looks and feels like a designer piece, yet remains cozy, warm, and completely handmade.
✅ What is an Embossed Crochet Hat?
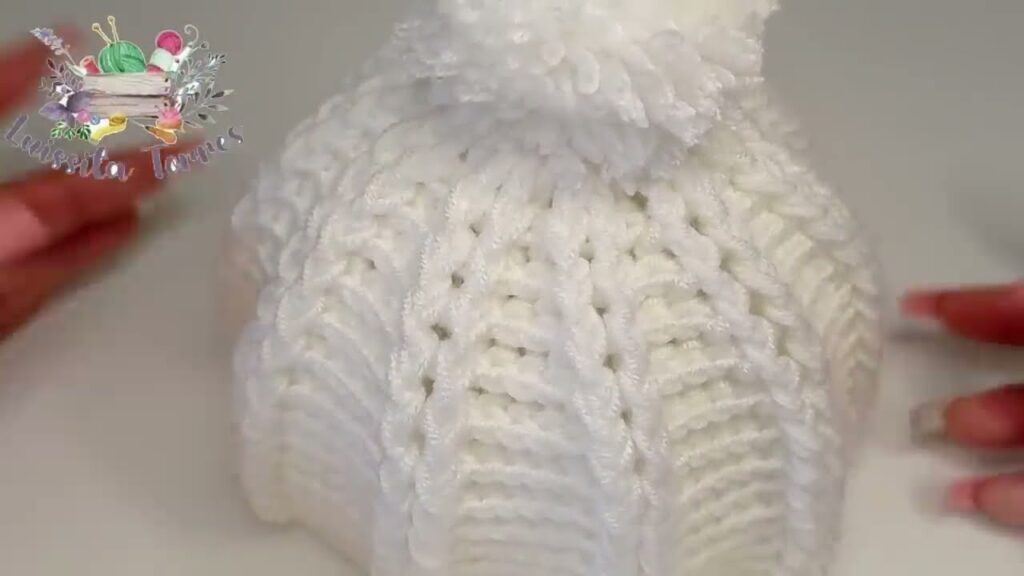
An embossed crochet hat features raised patterns or motifs created by using post stitches (like front post double crochet) over a background of flat stitches (typically single or half double crochet). The result is a 3D texture that pops, adding depth and elegance to a standard crochet beanie.
These hats are popular for their:
- Elegant, sculptural texture
- Unisex design
- Warmth and thickness, ideal for winter
- Customizable motifs (leaves, cables, braids, flowers, etc.)
🧶 Materials You’ll Need
- Yarn: Worsted weight (#4) yarn
(A smooth yarn with good stitch definition works best. Wool or acrylic blends are ideal.) - Crochet Hook: 5.0 mm (H/8) or size recommended for your yarn
- Tapestry Needle: For weaving in ends
- Scissors
- Stitch Marker (optional)
🧵 Stitches & Abbreviations (US Terms)
- ch = chain
- sl st = slip stitch
- sc = single crochet
- hdc = half double crochet
- dc = double crochet
- fpdc = front post double crochet
- bpdc = back post double crochet
- st(s) = stitch(es)
📌 Special Stitch – Front Post Double Crochet (fpdc):
- Yarn over, insert hook from front to back to front around the post of the stitch below.
- Yarn over, pull up a loop, complete dc as usual.
- Creates a raised, textured effect.
📐 Sizing Guide (Standard Adult Size)
- Crown Diameter: ~6.5″ (16.5 cm)
- Hat Height: ~8″–9″ (20–23 cm)
- Circumference: ~20″–22″ (stretches to fit average adult head)
🧢 Step-by-Step Pattern: Crochet Embossed Hat
This pattern creates a crown-down hat in the round with embossed vertical ridges or leaf-like motifs.
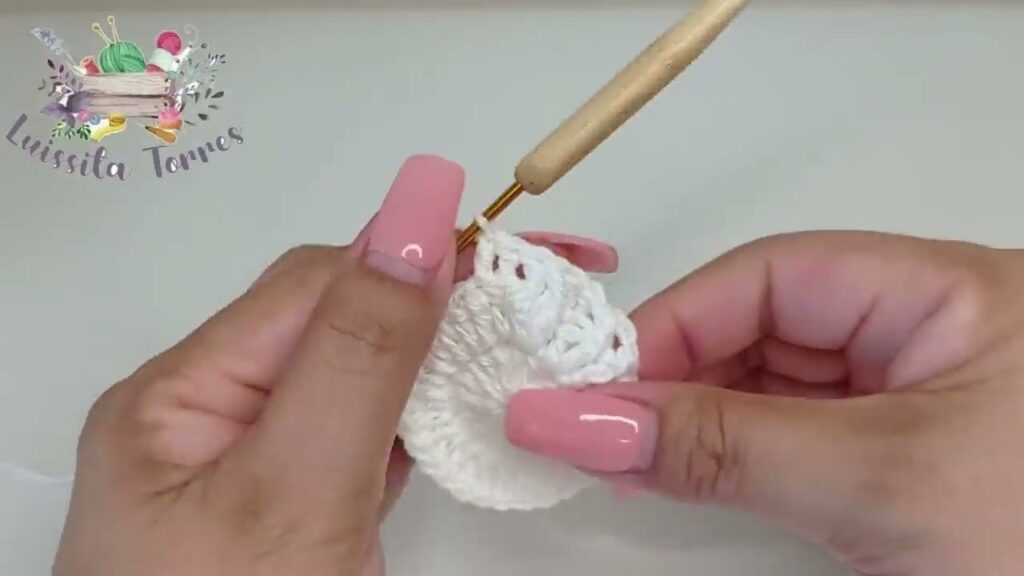
🔹 Step 1: Make the Crown
- Magic Ring, ch 2 (does not count as a stitch).
- Round 1: 12 dc into ring. Sl st to first dc. (12 sts)
- Round 2: Ch 2. 2 dc in each st around. Sl st to join. (24 sts)
- Round 3: Ch 2. 1 dc in next st, 2 dc in next – repeat around. (36 sts)
- Round 4: Ch 2. 1 dc in next 2 sts, 2 dc in next – repeat. (48 sts)
- Round 5: Ch 2. 1 dc in next 3 sts, 2 dc in next – repeat. (60 sts)
- Round 6: Ch 2. 1 dc in next 4 sts, 2 dc in next – repeat. (72 sts)
Stop increasing when crown diameter is approx. 6.5–7 inches (16.5–18 cm).
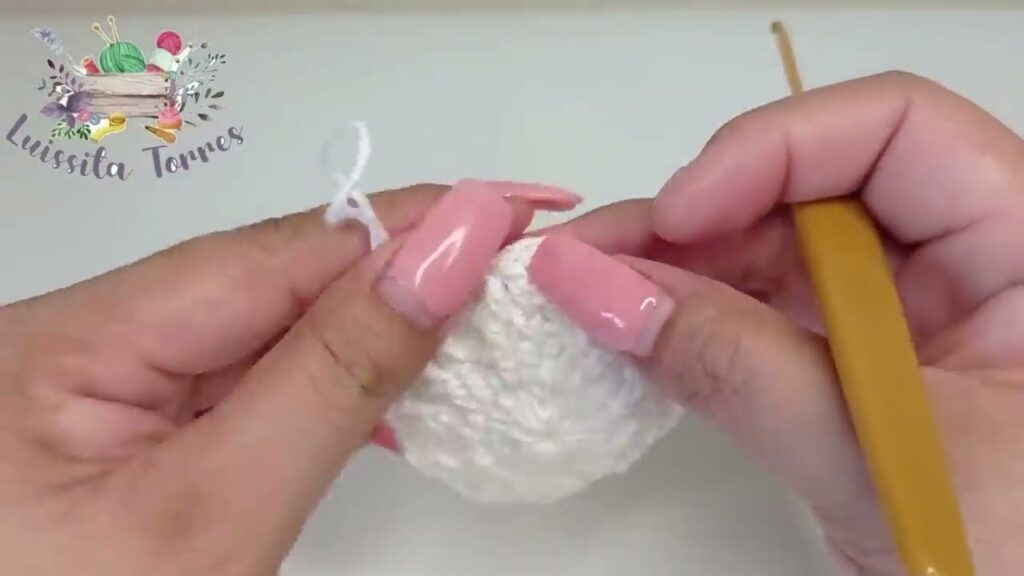
🔹 Step 2: Begin the Embossed Body
You’ll now work the post stitch pattern over the established flat dc rounds.
Round 7 (Set Up Embossed Pattern):
- Ch 2, fpdc around next dc, dc in next 5 sts – repeat around. (12 ridges)
- Sl st to join.
This sets up the vertical texture. Adjust spacing if needed to create cables or leaves.
🔹 Round 8–16 (Build Texture):
Continue working in rounds with this pattern:
- Dc in regular sts.
- Always fpdc around the same post stitch to build height.
- For leaf or cable patterns, alternate fpdc locations to cross over or split.
Example for basic embossed ridges:
- Ch 2, fpdc around fpdc from previous row, dc in next 5 – repeat around.
Optional:
- Use fpdc2tog or fpdc front cross to shape leaves or twist cables.
- Add bpdc to background for extra depth.
🔹 Step 3: Ribbed Brim (Optional)
Switch to back and front post double crochets for a stretchy brim:
Round 17–20:
- Fpdc in next st, bpdc in next – repeat around.
- This creates a ribbed, snug finish at the edge of the hat.
Adjust brim height to preference (2–4 rounds typically).
🔹 Step 4: Finish Off
- Sl st to join final round.
- Fasten off and weave in ends.
- Block gently if needed to shape the embossed design.
Optional:
- Add a pom-pom, tag, or button for added flair.
🎨 Design Variations & Inspiration
- Embossed Leaves: Shift the placement of fpdc stitches outward every few rows.
- Twisted Cables: Cross two sets of fpdc every 4–5 rows for a cable look.
- Geometric Ridges: Use alternating fpdc and bpdc patterns.
- Two-Tone Hats: Use a contrasting color for the brim or ridges.
- Matching Sets: Make a scarf or mittens with matching embossed texture.
💡 Tips for Success
- Keep your fpdc tension looser than regular dc to avoid puckering.
- Stitch markers help track motif repeats in the round.
- Use light-colored yarn for better visibility while learning embossing techniques.
- Practice post stitches on a swatch before starting the full hat.
🧣 Why You’ll Love This Hat
- Unisex and Timeless: A great gift for anyone.
- Warm & Thick: Ideal for snowy, cold climates.
- Visually Stunning: Looks complex but uses simple techniques.
- Creative Freedom: Endless design opportunities with post stitches.
✅ Final Thoughts
The Crochet Embossed Hat offers the perfect balance between style and substance. It’s warm enough for the coldest winter day, stylish enough to wear to a holiday market, and unique enough to stand out in a crowd. Whether you stick to simple ridges or explore intricate leaf or cable motifs, this hat will quickly become one of your favorite makes.
Perfect as a handmade gift or for your own collection, the embossed hat adds elegance and artistry to any winter wardrobe.
Video tutorial:


