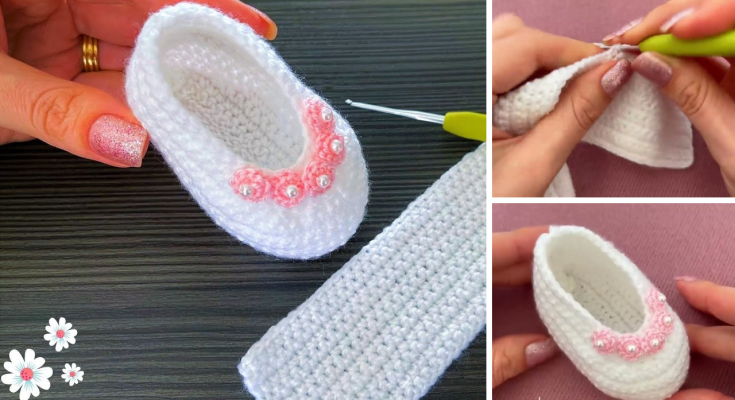
Crocheting has long been a beloved handicraft, cherished for its ability to transform simple threads into intricate patterns and functional items. Among the many popular items made through crochet, baby footwear stands out as an especially charming category. Within this niche, crochet baby sneakers have gained immense popularity for their stylish look, practicality, and handmade warmth. These tiny shoes are more than just adorable accessories—they’re heirloom-quality keepsakes that blend fashion, function, and heart.
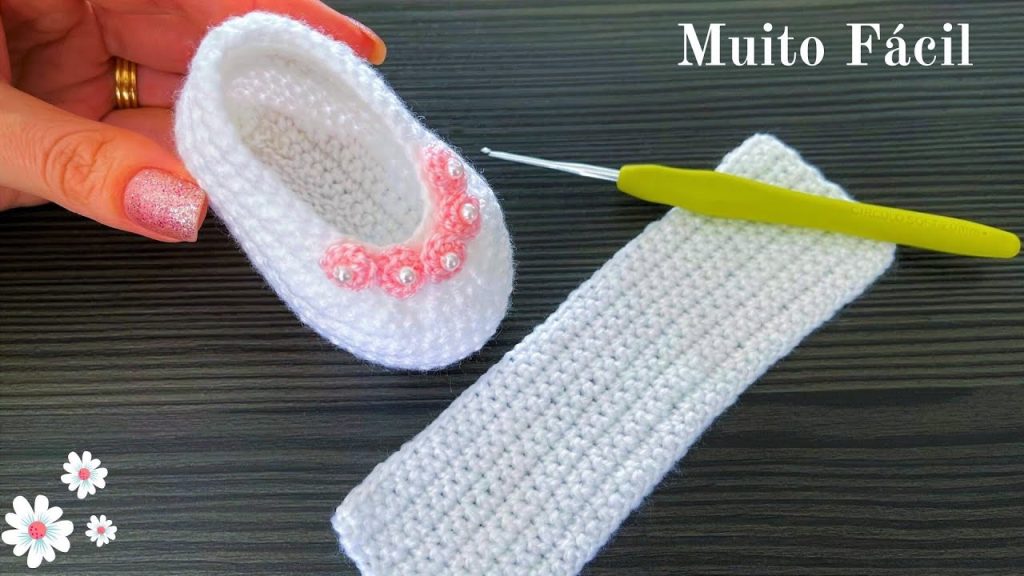
A Brief History of Crochet Baby Footwear
Crochet, derived from the French word for “hook,” has been practiced for centuries. Initially used to create lace and household items, crochet eventually expanded into clothing and accessories. Handmade baby items, especially booties and caps, have long been traditional gifts at baby showers and christenings. The modern twist came when crafters began replicating the look of popular adult sneakers—like Converse or Vans—on a miniature scale for babies, blending vintage techniques with modern fashion trends.
Why Crochet Baby Sneakers?
1. Uniquely Stylish
Crochet baby sneakers often mimic the design of classic athletic shoes, such as high-top or low-top sneakers. They come in an array of colors and styles, often personalized to match an outfit or theme. This makes them a favorite choice for photo shoots, baby showers, and stylish everyday wear.
2. Comfort and Warmth
Unlike stiff store-bought baby shoes, crochet sneakers are soft and breathable, making them ideal for a baby’s sensitive skin. The yarn offers gentle insulation without overheating.
3. Handmade Heirlooms
A pair of handcrafted baby sneakers carries sentimental value. They can be passed down through generations or preserved as a memento of a baby’s early months.
4. Great for Gifts
Crochet baby sneakers make thoughtful, handmade gifts that reflect time, care, and creativity. They’re perfect for birthdays, holidays, and baby showers.
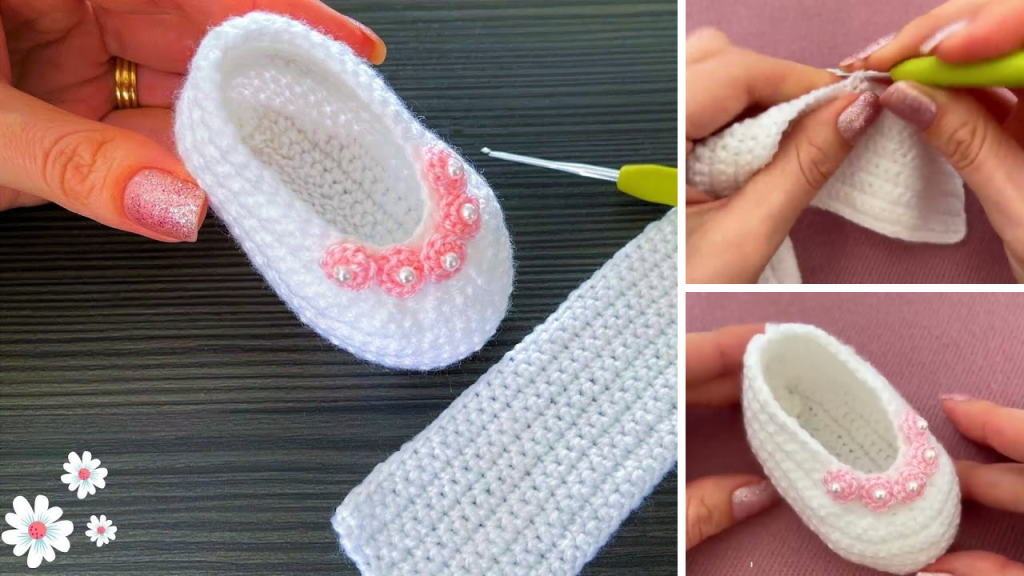
🧶 How to Make Crochet Baby Sneakers (Step-by-Step Pattern)
📏 Finished Size:
- Sole: Approx. 9 cm / 3.5 inches
- Fits: 0–6 months
🧵 Materials Needed:
- Worsted weight yarn (Size 4) in two colors (e.g., white for sole, red or blue for upper)
- 3.5 mm (E) crochet hook
- Yarn needle
- Scissors
- Stitch markers (optional)
- Small white or black buttons (optional for decoration)
- Optional: Soft cotton yarn if baby has sensitive skin
🧩 Abbreviations (US Terminology):
| Abbreviation | Meaning |
|---|---|
| ch | chain |
| sc | single crochet |
| hdc | half double crochet |
| dc | double crochet |
| sl st | slip stitch |
| inc | increase (2 in 1 stitch) |
| dec | decrease (sc 2 together) |
| st(s) | stitch(es) |
| Rnd | round |
🪡 Construction Overview:
- Sole
- Upper Shoe
- Tongue
- Heel and Ankle
- Laces and Details
🔹 Part 1: Sole (Make 2)
With white yarn:
Rnd 1: Ch 11.
Work 2 sc in 2nd ch from hook, sc in next 7 ch, 5 sc in last ch.
(Continue around the other side of the chain:)
Sc in next 7 ch, 3 sc in last ch.
Join with sl st. (24 sts)
Rnd 2: Ch 1, 2 sc in same st, 2 sc in next st, sc in next 7 sts,
2 sc in each of next 5 sts, sc in next 7 sts, 2 sc in last 3 sts.
Join. (34 sts)
Rnd 3: Ch 1, sc in same st, [2 sc in next st, sc in next st] repeat across the rounded ends, sc in sides.
Join. Fasten off and weave in ends.
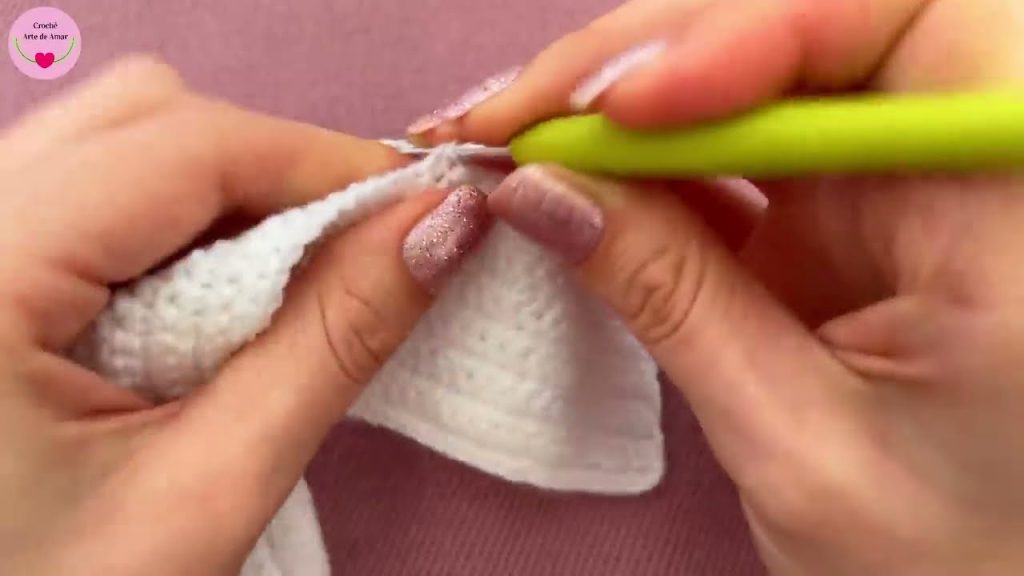
🔹 Part 2: Upper Shoe
Attach contrast color yarn (e.g., red):
Rnd 4: With shoe sole facing up (right side facing), attach yarn in center back.
Ch 1, sc around in back loops only to form a clean edge. Join. (34 sts)
Rnd 5–6: Ch 1, sc in each st around. Join. (34 sts)
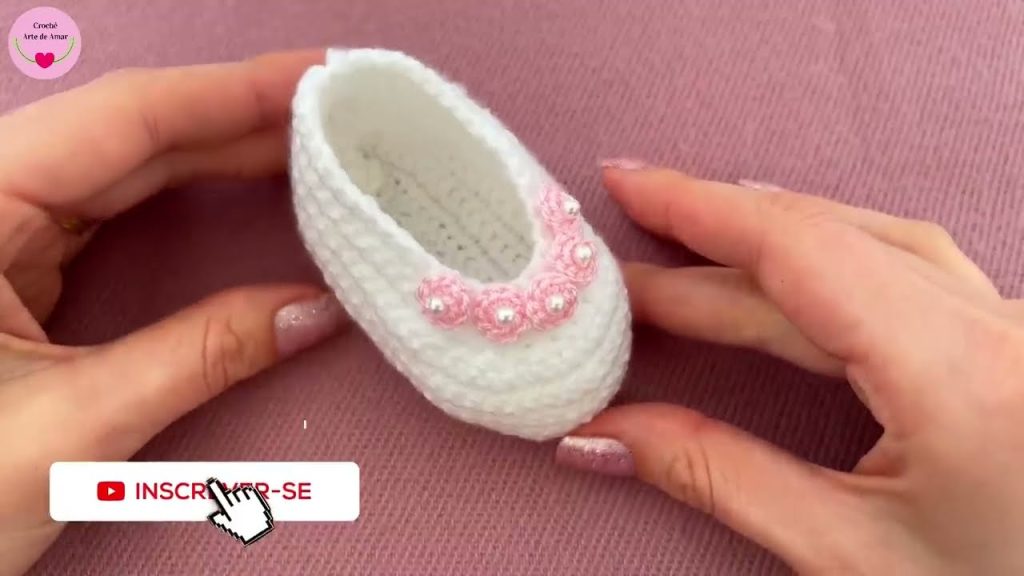
🔹 Part 3: Tongue
Work in rows, not rounds.
From center front (approx. between stitches 12 and 23 of Rnd 6), attach yarn.
Row 1: Ch 1, sc in 11 sts. Turn.
Row 2–6: Ch 1, sc across 11 sts. Turn.
Fasten off. Weave in ends. (You now have a flat tongue section sticking up.)
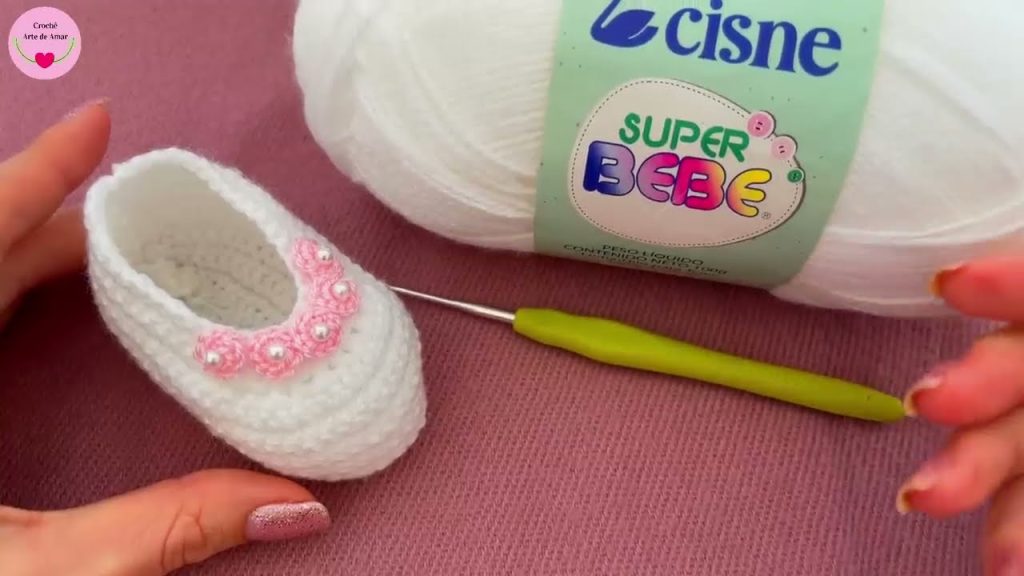
🔹 Part 4: Heel and Ankle Support
Rejoin contrast yarn at the back heel.
Work around the opening, skipping the tongue area.
Rnd 1: Ch 1, sc evenly around the back and sides (approx. 20–24 sts), but do not sc across tongue. Join.
Rnd 2–3: Repeat Rnd 1 to build ankle height. Fasten off.
🔹 Part 5: Laces and Details
Eyelets:
Use white yarn and surface slip stitches or embroider 3–4 small loops on each side of the shoe opening.
Laces:
Ch 60 (or desired length) in white yarn. Fasten off and weave the chain in like a shoelace.
Optional Logo Patch:
Use white yarn to make a small circle (magic ring, 6 sc, join). Embroider a star or initial in the center and sew it to the outer ankle area.
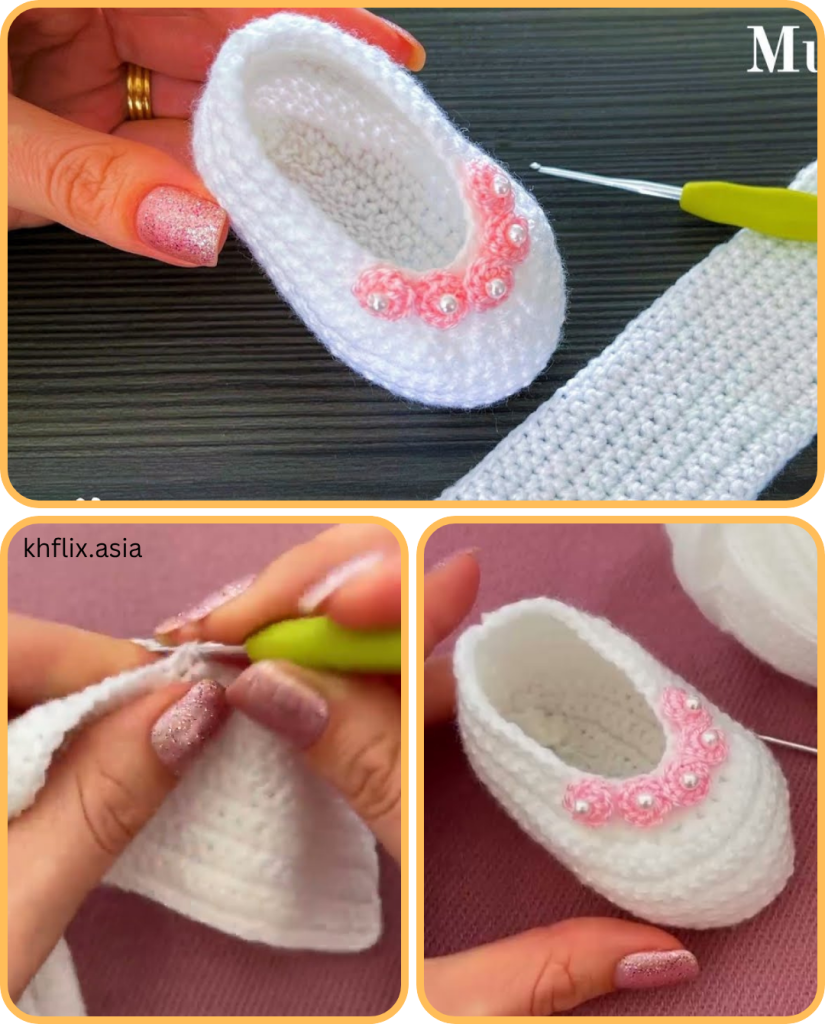
🎀 Finishing Touches
- Use a yarn needle to tidy and weave in all loose ends.
- Optionally, steam block gently to shape the sneakers.
- You can add non-slip soles using fabric paint or dot grips if baby is starting to stand.
✅ Tips for Success
- Use stitch markers to track the start of each round.
- Be sure both shoes are symmetrical by counting stitches exactly.
- Experiment with color combinations for fun themed sneakers (e.g., sports teams, superheroes).
Final Thoughts
Crochet baby sneakers are a testament to the enduring charm of handmade artistry. More than just practical footwear, they are miniature works of art, woven with love and intention. Whether you’re a beginner just picking up your first hook or an experienced crocheter looking for your next project, baby sneakers are both a delightful challenge and a heartwarming gift.
Their universal appeal—combining the coziness of crochet with the cool factor of modern sneakers—ensures that these tiny shoes will continue to step stylishly through the world of baby fashion for years to come.
Video tutorial:
