Introduction: Crochet Meets the Beauty of Nature
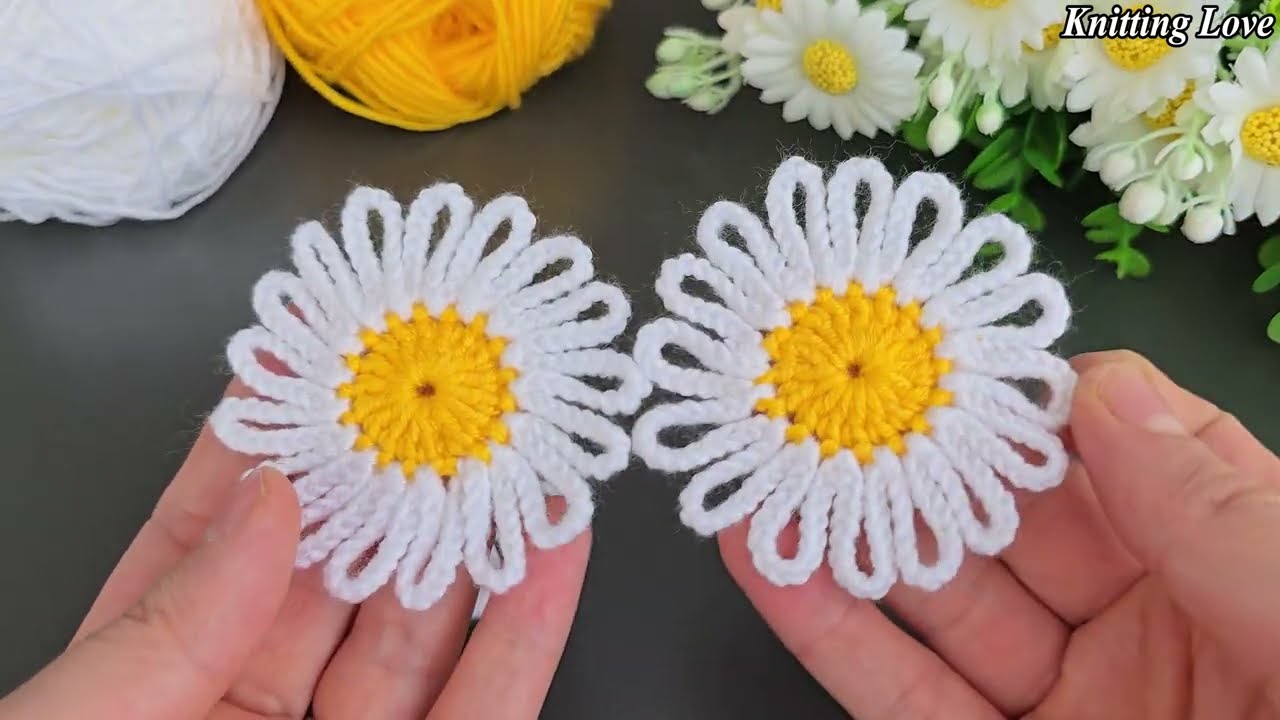
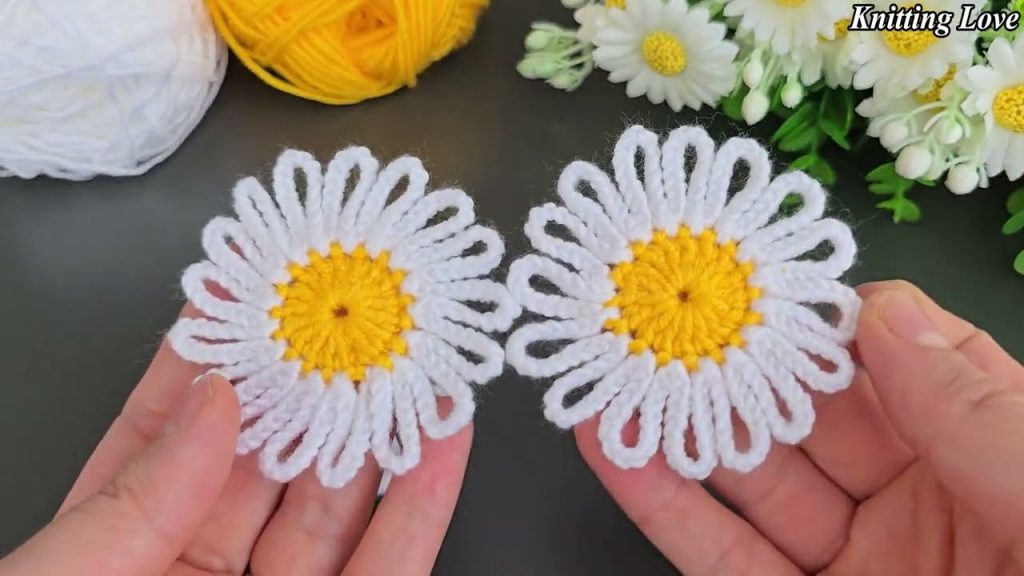
Crochet flowers are one of the easiest and most enjoyable ways to explore the art of crochet. They’re quick, versatile, and full of charm. Among the many types of crochet flowers, the daisy holds a special place. With its bright center and delicate petals, it symbolizes innocence, cheerfulness, and the joys of spring.
Whether you’re just learning to crochet or looking for a quick project to brighten your day, a simple crochet daisy is the perfect choice. This guide is designed specifically for beginners and will walk you through each step of making a very easy daisy flower using basic stitches and minimal materials.
Why Make Crochet Daisies?
Before we get into the how-to, let’s look at why this little flower is worth adding to your crochet toolkit:
- 🌼 Fast and fun – Make one in under 15 minutes!
- 🌼 Great stash-buster – Use up small yarn scraps.
- 🌼 Versatile – Attach them to hats, bags, hair clips, cards, blankets, or garlands.
- 🌼 Beginner-friendly – Uses only simple stitches (chain, slip stitch, and double crochet).
- 🌼 Seasonal décor – Ideal for spring and summer themes.
Materials You’ll Need
This daisy requires only a few basic supplies:
Yarn
- Worsted weight (category 4) yarn works best for beginners.
- Color A (Center of the flower): Yellow or gold
- Color B (Petals): White or pastel color
You can use cotton, acrylic, or any scrap yarn you have on hand.
Hook
- 5.0mm (H-8) crochet hook is great for worsted yarn.
- You can adjust the hook size based on your yarn type.
Other Notions
- Yarn needle (for weaving in ends)
- Scissors
Crochet Stitches You’ll Use
If you’re brand new to crochet, here are the stitches you’ll need to know:
- Chain (ch)
- Slip Stitch (sl st)
- Double Crochet (dc) – US terminology
(Note: If you’re in the UK, this would be a “treble crochet”)

Pattern Overview: Structure of the Daisy
A classic crochet daisy consists of:
- A yellow center (made in the round)
- A ring of white petals created around the center
You’ll first make the center, then build petals around it in a single round. This basic construction makes it ideal for beginners and easy to memorize!
Step-by-Step Instructions
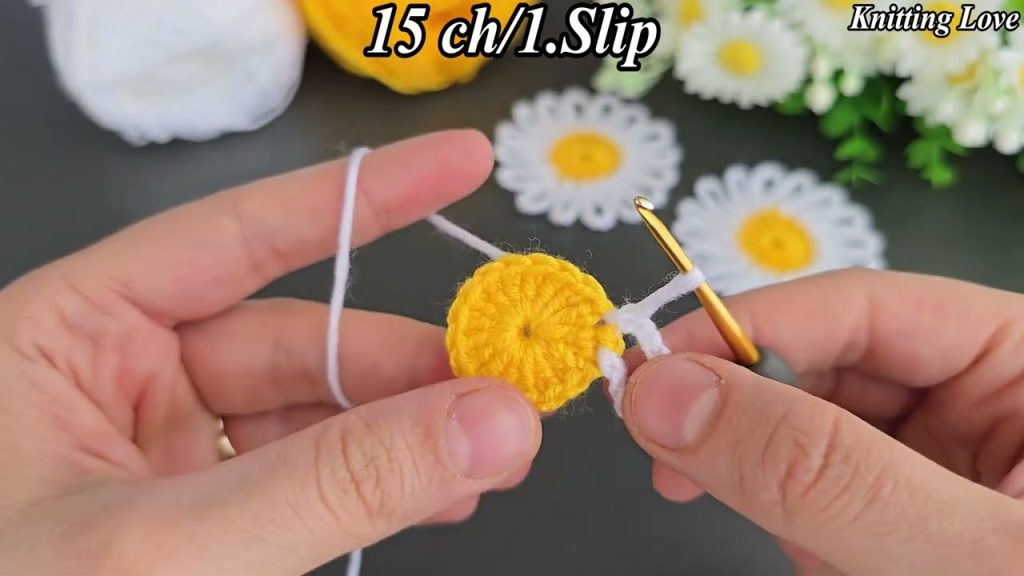
🌼 Step 1: Make the Center (in Yellow)
Option A: Magic Ring (for no hole in the center)
OR
Option B: Chain 4, slip stitch to form a ring
Round 1:
- Chain 1 (does not count as a stitch).
- Work 10 single crochet (sc) into the ring.
- Slip stitch to the first sc to join the round.
- Fasten off yellow.
💡 You now have a small circle that forms the center of your daisy.
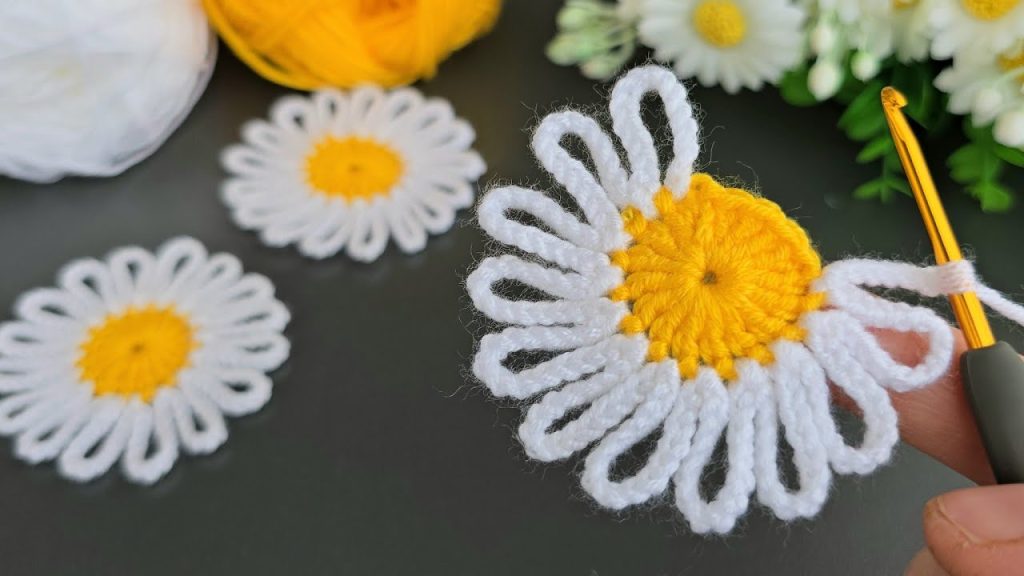
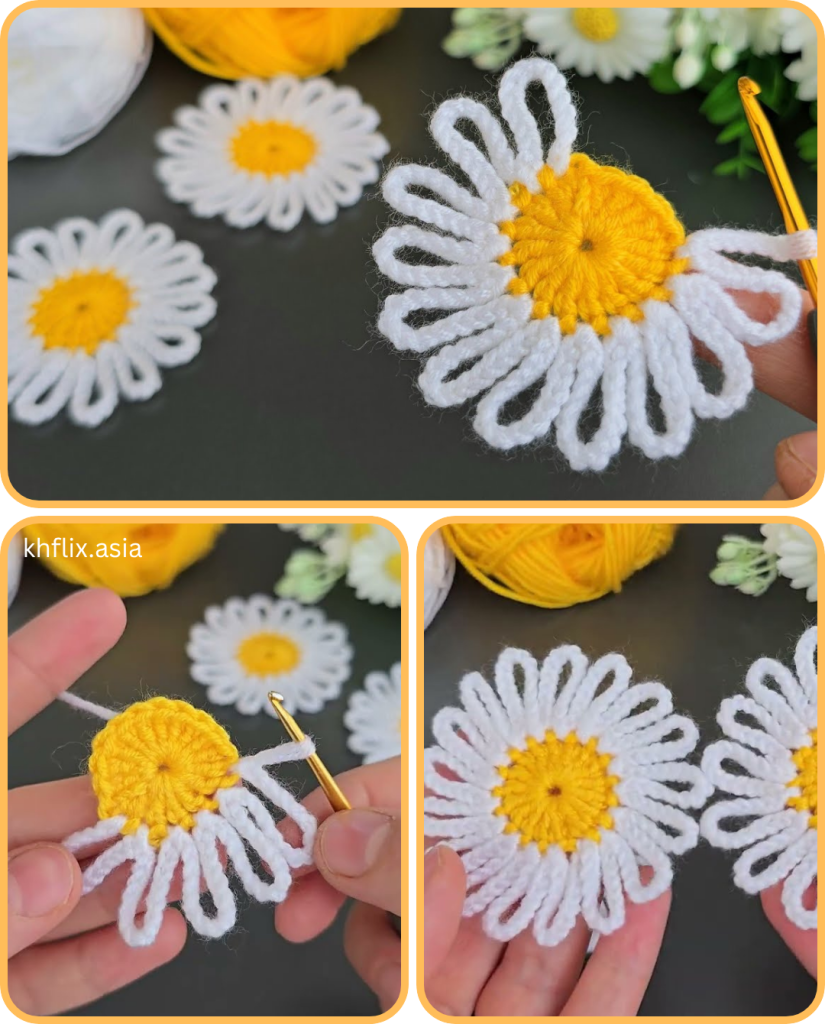
🌼 Step 2: Make the Petals (in White)
Attach White Yarn:
- Join with a slip stitch into any stitch from the center circle.
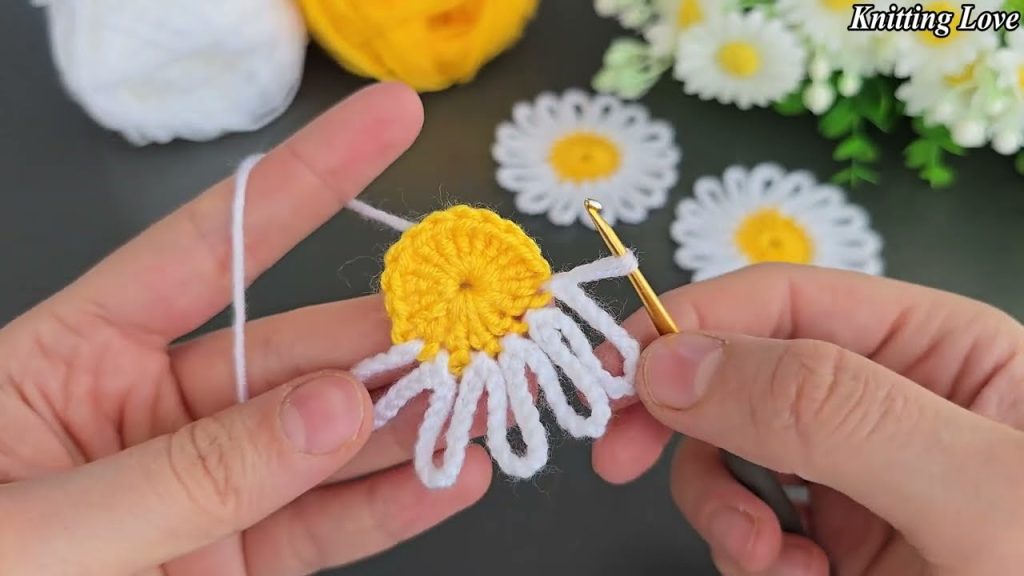
Petal Round:
Repeat the following around (you’ll make 10 petals total, one in each stitch of the center round):
*Ch 2, 2 dc into the same stitch, ch 2, sl st into the same stitch.*
Let’s break it down:
- Ch 2: Start the petal
- 2 dc: These form the height and fullness of the petal
- Ch 2: Completes the shape
- Sl st into the same stitch: Anchors the petal
Move to the next stitch and repeat the entire petal sequence.
Final Step:
- After the 10th petal, slip stitch to the base of the first petal to finish the round.
- Fasten off and weave in all ends using your yarn needle.
👏 That’s it! You’ve now completed a simple, beautiful crochet daisy flower.
Optional Embellishments and Variations
Once you’ve mastered the basic daisy, you can try adding your own spin:
🌼 Layered Daisy
- Create a second daisy with slightly smaller petals.
- Sew or glue it on top of the first one for a 3D effect.
🌼 Mini Daisy
- Use finer yarn (e.g., DK or sport weight) and a smaller hook for a dainty version.
🌼 Petal Shape Variations
- Use half double crochets (hdc) for shorter, rounder petals.
- Try triple crochets (tr) for long, spiky petals.
Creative Ways to Use Crochet Daisies
Once you have a handful of daisies, the possibilities are endless. Here are some ideas to spark your creativity:
Wearables
- Sew to headbands or hair clips
- Embellish beanies, scarves, or baby clothes
- Add to tote bags or jackets
Home Décor
- String into a daisy garland for seasonal décor
- Attach to throw pillows or curtains
- Glue onto picture frames or baskets
Gift Ideas
- Add to handmade greeting cards
- Use as embellishments for wrapped presents
- Make bouquet arrangements or flower pins
Tips for Beginners
- Keep your tension relaxed – Especially in the petal round; tight stitches can curl.
- Practice the magic ring – It’s a useful skill, but the chain-4 method works fine too.
- Use contrasting colors – It helps you see the stitches better when learning.
- Make multiples – Like anything in crochet, repetition builds confidence.
Common Questions (FAQ)
❓ Can I make the flower larger?
Yes! Add more stitches to the center (e.g., 12 sc instead of 10) and adjust petal spacing.
❓ Can I use this for amigurumi or appliqué?
Absolutely. This flat flower is great for sewing onto amigurumi or using in flat appliqué projects.
❓ Can kids or older adults learn this pattern?
Yes! It’s a fantastic beginner pattern for all ages and easy to follow with just a few basic stitches.
Final Thoughts: Bloom with Every Stitch
Making a crochet daisy is one of those small joys in the crafting world. It’s quick, cute, and perfect for beginners. As you make more, you’ll naturally become more confident with your stitches and start experimenting with your own designs and uses.
Every daisy you crochet is a small burst of sunshine—and it all starts with just a hook, some yarn, and your hands.
So, grab your yarn and get blooming! 🌼
Video tutorial:


