
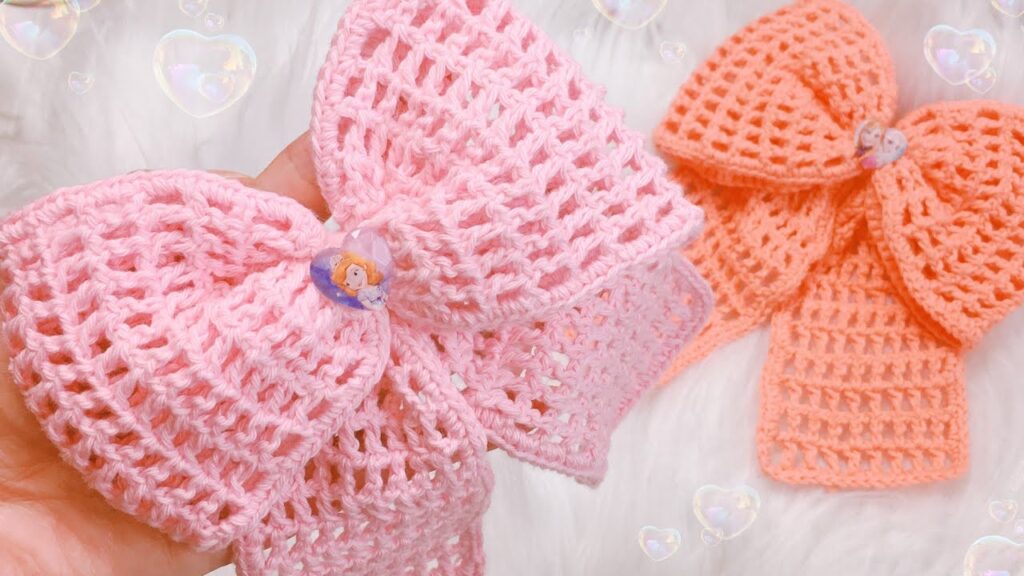
Crochet bows are the perfect blend of simplicity and style. They’re quick to make, beginner-friendly, and endlessly versatile. Whether you want to embellish a hat, add flair to a gift, create hair accessories, or decorate your home, a handmade crochet bow adds a soft, charming touch to any project.
In this article, you’ll learn how to crochet a beautiful bow step-by-step, using basic stitches. It’s an ideal mini project for beginners and a great way to use up leftover yarn from other creations.
🧶 Materials You’ll Need
- Yarn: Any weight works, but worsted weight (medium #4) or cotton DK (#3) yarn is recommended for shape and stability.
- Hook: Use a size appropriate for your yarn (commonly 4.0 mm or 5.0 mm for worsted weight).
- Scissors
- Tapestry Needle (for sewing and weaving in ends)
- Optional:
- Hair clip, brooch pin, or headband for attaching the bow
- Hot glue or needle & thread
📏 Sizing Tips
The size of your bow will depend on:
- The length and width of the rectangle you crochet
- The yarn thickness and hook size
- How tightly you cinch the center when shaping the bow
This pattern is customizable: increase or decrease rows and stitches to change the size.
🧵 Stitches & Abbreviations (US Terms)
- ch = chain
- sc = single crochet
- hdc = half double crochet
- dc = double crochet
- sl st = slip stitch
- st(s) = stitch(es)
🎀 How to Crochet a Beautiful Bow: Step-by-Step
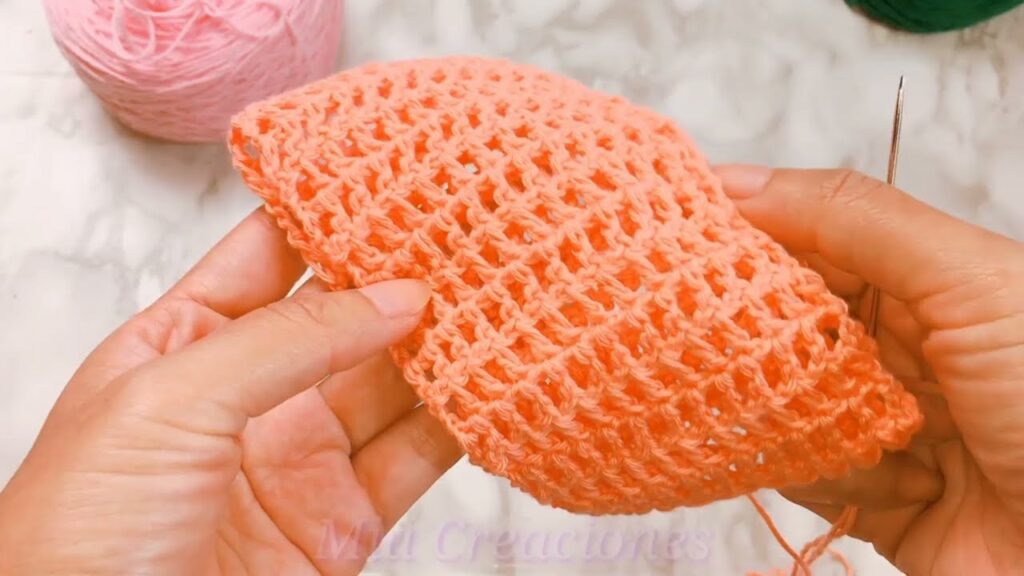
🔹 Step 1: Crochet the Main Rectangle
This rectangle will be cinched in the middle to form the bow shape.
Pattern (Using Half Double Crochet):
- Ch 21 (or desired width of bow)
- Row 1: Hdc in 2nd ch from hook and across (20 hdc). Ch 1, turn.
- Row 2–8: Hdc across each row. Ch 1, turn.
- Repeat until your rectangle is the desired height. (8 rows = small bow; 12+ rows = large bow)
- Fasten off and leave a long tail for sewing.
➡️ You now have a rectangular swatch about 5–6 inches wide and 3–4 inches tall (adjustable).
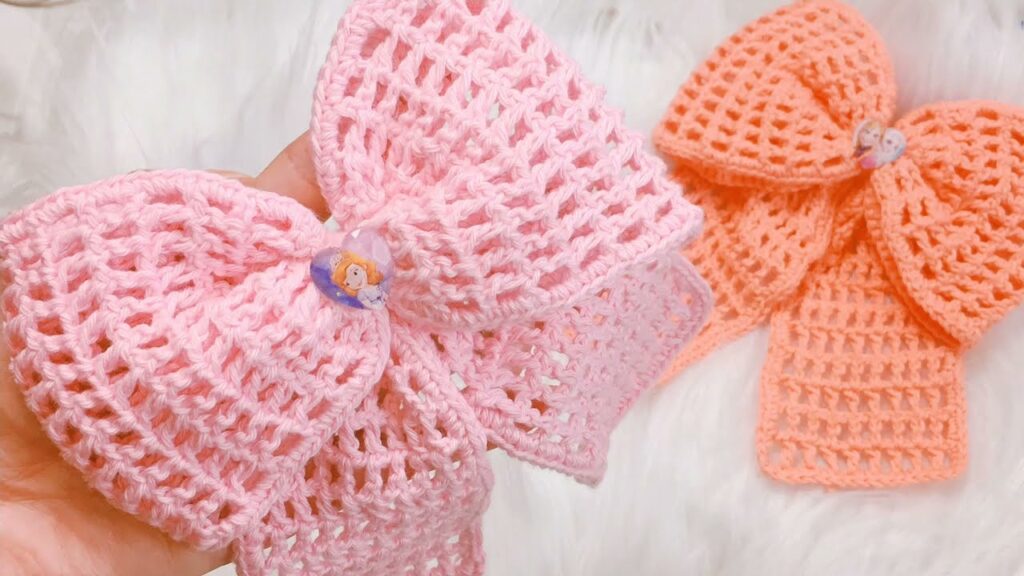
🔹 Step 2: Shape the Bow
- Fold the rectangle like an accordion or pinch it evenly in the middle.
- Wrap the yarn tail tightly around the center several times to form the classic bow shape.
- Knot it securely at the back and weave in the remaining end.
🔸 Optional: You can also crochet a center band instead of wrapping yarn.
Center Band Pattern:
- Ch 6
- Row 1: Sc in 2nd ch from hook and across (5 sc)
- Row 2–4: Sc in each st across. Ch 1, turn.
- Wrap this around the center of the bow and stitch the ends together neatly at the back.

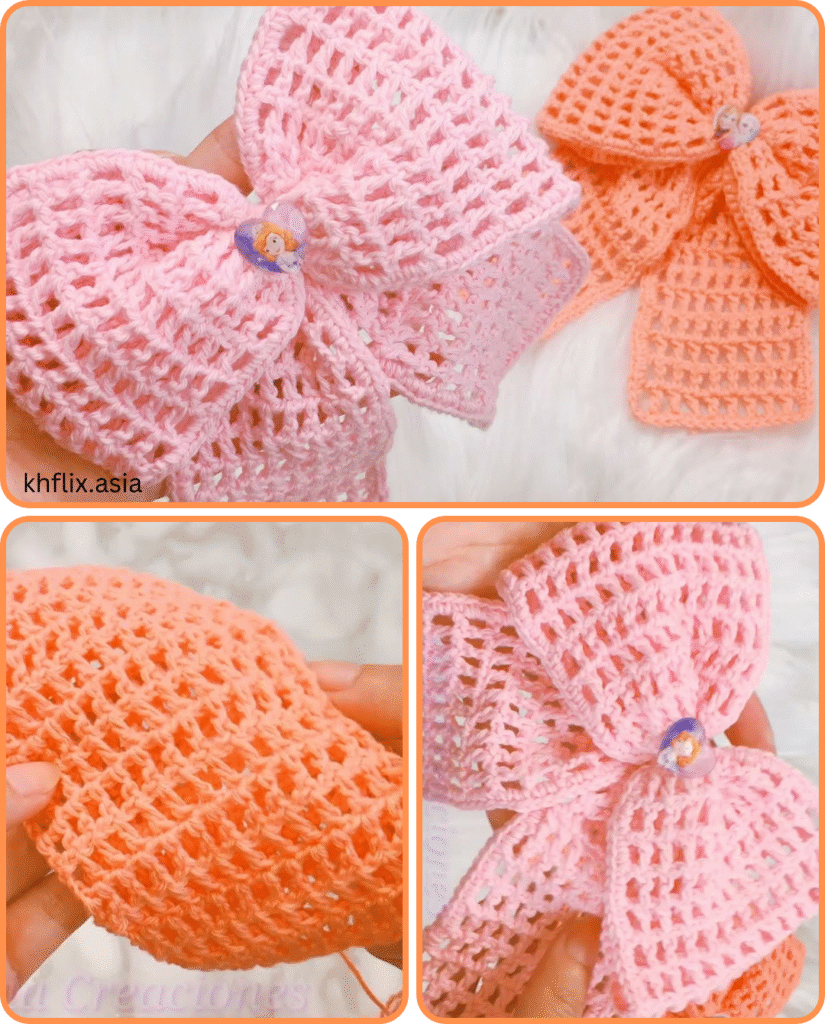
✨ Customization Ideas
- Colors: Make solid, striped, or ombré bows.
- Texture: Use puff stitches, bobble stitches, or shell stitches for added flair.
- Edge Design: Add picot edging or scallops around the rectangle for a frilly bow.
- Yarn Types:
- Use cotton yarn for structure
- Use acrylic or velvet yarn for soft, plush bows
- Add metallic yarn for sparkle
📌 Ways to Use Your Crochet Bow
- Hair Accessories: Attach to a clip, headband, or ponytail holder.
- Clothing Embellishment: Sew onto hats, scarves, cardigans, or bags.
- Gift Wrap: Use instead of ribbon for a handmade touch.
- Brooch or Pin: Add a pin backing for a wearable bow.
- Home Decor: Attach to wreaths, cushions, or garlands.
- Keychains and Bag Charms: Add a keyring for a stylish accessory.
🧵 Tips for Best Results
- Keep your tension even for clean edges.
- Lightly block your bow with steam (if using cotton) for better shape.
- Make several in different sizes to layer or group together.
✅ Final Thoughts
Crocheting a beautiful bow is a fun, fast, and rewarding project. With just a few simple stitches and a bit of yarn, you can create a stylish accessory that’s as practical as it is pretty. Perfect for all ages, crochet bows make charming additions to handmade gifts or stylish wardrobe accents.
Whether you’re a beginner looking for an easy first project or a seasoned crocheter wanting to use up scrap yarn, this is a go-to pattern that never goes out of style.
Video tutorial:


