
Nothing captures the delicate beauty of spring quite like the sakura, or cherry blossom. These tiny, pale pink flowers symbolize renewal, hope, and fleeting beauty. Now, with a bit of yarn and creativity, you can bring the charm of cherry blossoms into your home or wardrobe with this easy crochet pattern.
Crochet sakura flowers are small, quick to make, and incredibly versatile—they can be turned into brooches, appliqués, hair clips, earrings, bookmarks, or garlands. This article will walk you through how to crochet your own sakura blossoms with simple step-by-step instructions.

🧶 Materials You’ll Need
- Yarn: Light (DK) or fine (sport) weight yarn in:
- Light pink (petals)
- Yellow or white (optional, for center)
- Crochet Hook: 2.5 mm to 3.5 mm depending on your yarn weight
- Tapestry Needle: For weaving in ends
- Scissors
- Stitch Marker (optional)
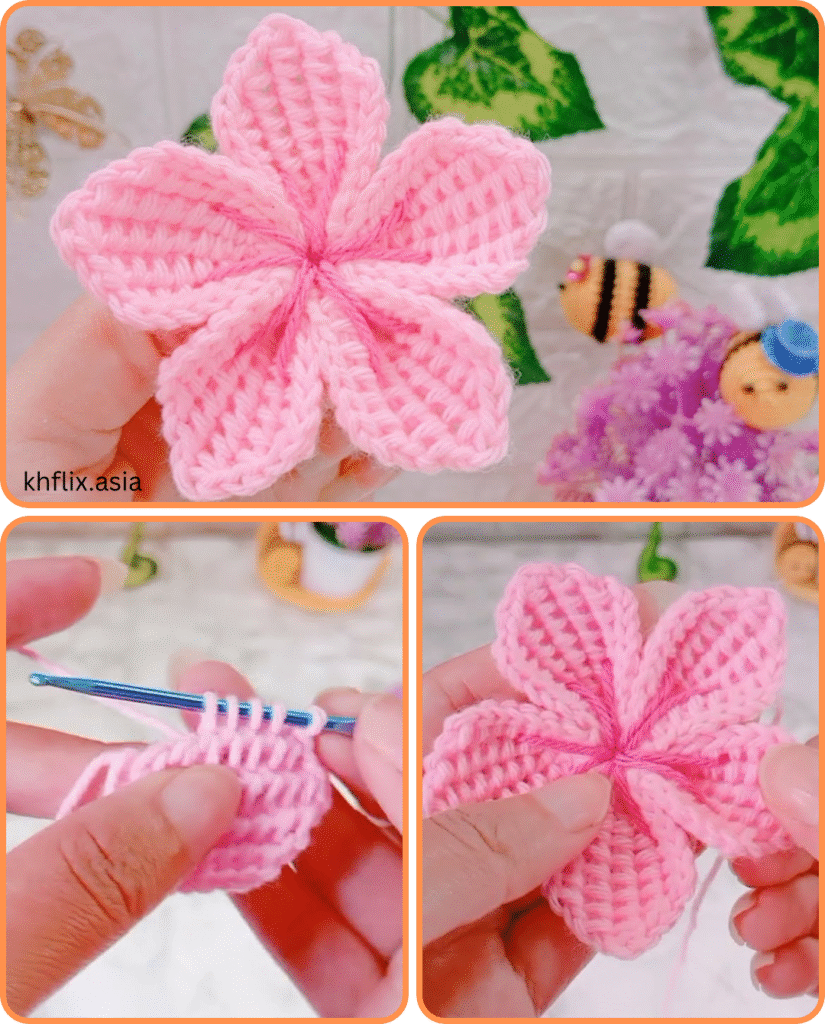
🌸 Understanding the Sakura Shape
A sakura flower typically has 5 petals with soft curves or slight points. The design we’ll crochet here is stylized to reflect that. This pattern uses basic crochet stitches like chains, slip stitches, single crochets, and double crochets, making it accessible for beginners.
🧵 Stitches & Abbreviations (US Terms)
- ch = chain
- sl st = slip stitch
- sc = single crochet
- dc = double crochet
- tr = treble crochet
- st(s) = stitch(es)
- magic ring = adjustable ring to start in the round
🌸 Step-by-Step Pattern: Easy Crochet Sakura Flower
✅ Step 1: Create the Center Ring
- Make a magic ring, OR
- Ch 4, sl st into first ch to form a ring.
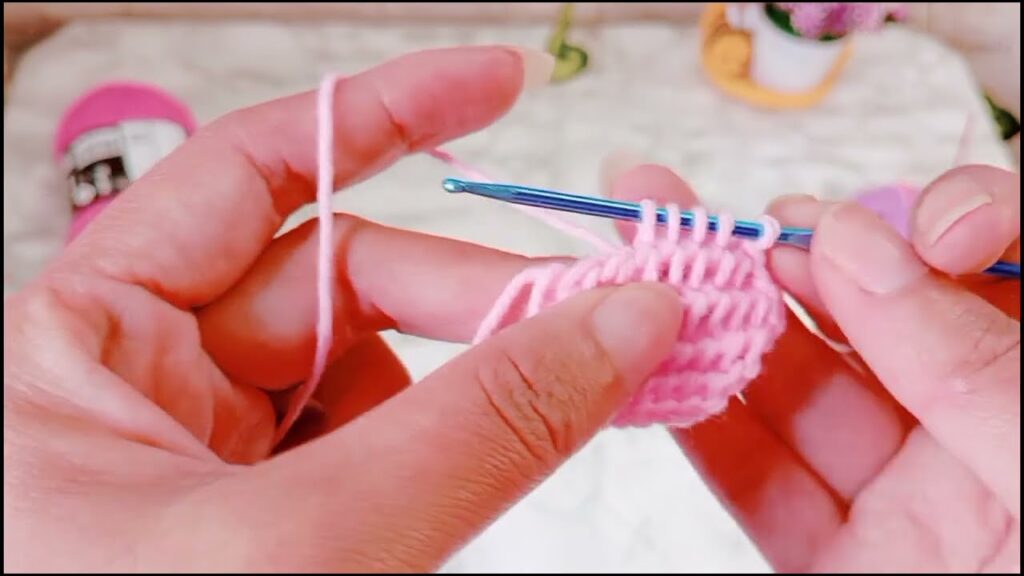
✅ Step 2: Make the Base for Petals
- Ch 1, work 5 sc into the ring.
- Sl st into the first sc to join the round. (5 sts total)
- This creates a tiny circle from which the petals will sprout.
✅ Step 3: Crochet Each Petal (Repeat 5 times)
For each petal:
- Ch 2
- In the next stitch:
- Work 1 dc,
- 1 tr,
- 1 dc,
- Ch 2,
- Sl st into the same stitch to finish the petal.
➡️ Repeat this sequence in each of the 5 sc stitches from Round 1.
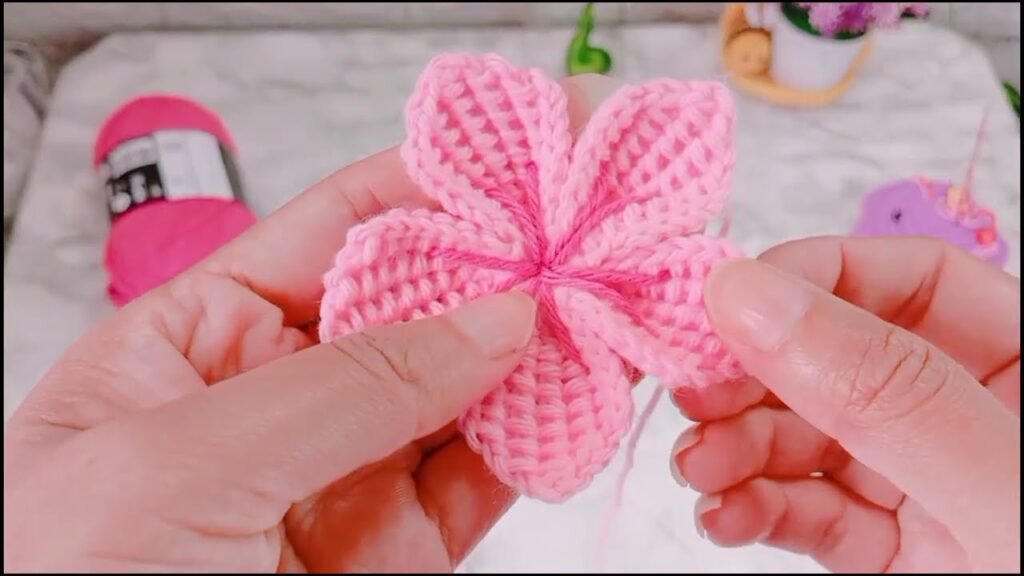
By the end, you’ll have 5 beautiful petals fanning out from the center.
✅ Step 4: Finish Off
- After the last petal, sl st into the base of the first petal.
- Fasten off.
- Weave in ends using a tapestry needle.
🌸 Optional: Use yellow yarn and embroider a few stitches in the center to mimic the stamen (flower center), or add a tiny bead or French knot for decoration.
🌈 Customization Ideas
- Color Variations: Try white, blush pink, or even pastel ombre yarns.
- Layered Blossoms: Make a smaller version and sew it on top of a larger one for a 3D effect.
- Add Leaves: Crochet tiny green leaves to attach behind your sakura.
- Scented Flowers: Lightly spray with fabric-safe fragrance for a soft aroma.
💡 Creative Uses for Crochet Sakura Flowers
- Hair Clips or Barrettes
- Decorative Brooches
- Sew onto Scarves or Hats
- Add to Greeting Cards
- Embellish Bags or Purses
- Make a Spring Garland
- Use in Jewelry (Earrings or Pendants)
🧵 Tips for Beginners
- Use cotton yarn for a defined shape and structure.
- Keep your tension consistent so the petals are even.
- Practice the magic ring separately if you’re not familiar with it—it’s a helpful skill for crocheting in the round.
Video tutorial:
🌸 Final Thoughts
Crocheting sakura flowers is a joyful and simple project that brings springtime beauty to any creation. Whether you’re making a single bloom or a full branch of blossoms, the process is quick, creative, and deeply satisfying. It’s also a perfect way to use up small yarn scraps and add a handcrafted touch to your accessories or gifts.


