
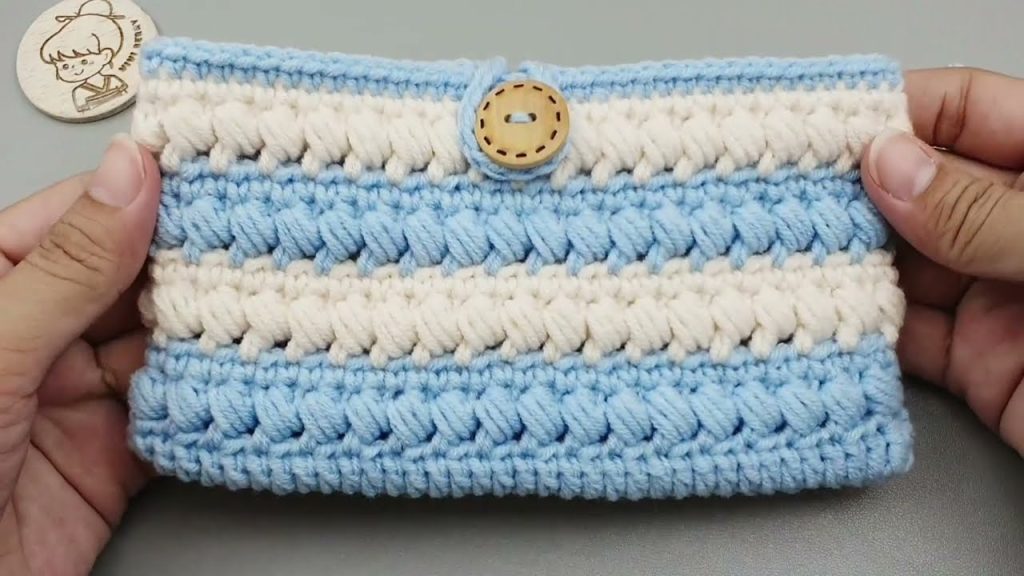
Crocheting your own mini bag is a delightful and creative way to blend fashion, function, and craftsmanship. Whether you’re a beginner just starting out or a seasoned crocheter looking for a quick and satisfying project, a super easy crochet mini bag is the perfect choice.
Mini bags are trendy, lightweight, and versatile—they can be used as coin purses, crossbody bags, wristlets, or even stylish storage for small essentials like lip balm, earbuds, or cards. In this step-by-step guide, you’ll learn how to make a beautiful crochet mini bag with simple stitches, minimal materials, and maximum impact.
🧶 Why Crochet a Mini Bag?
Mini bags are one of the most rewarding projects in the world of crochet. Here’s why they’re so popular:
✅ Beginner-Friendly
No advanced stitches or complex shaping required! A basic mini bag uses single or half double crochet stitches, making it ideal for those learning.
✅ Quick to Make
Most mini bags can be made in just 1–2 hours, offering instant satisfaction and a confidence boost.
✅ Customizable
Choose your yarn, color, size, strap, and closure—each bag is a unique creation.
✅ Practical & Stylish
Mini bags are the perfect size to carry essentials without the bulk. They can be dressed up or down depending on the design.
🧵 Materials You’ll Need
To create your super easy crochet mini bag, gather the following supplies:
🧶 Yarn
- Type: Worsted weight (medium #4) cotton or acrylic yarn
- Amount: 50–100g depending on size and strap length
🪝 Hook
- Recommended Size: 4.0 mm or 4.5 mm (US G-6 or G-7)
- Adjust based on your yarn type and desired tightness
✂️ Other Supplies
- Yarn needle (for weaving ends)
- Scissors
- Stitch markers (optional)
- Button or magnetic clasp (optional)
- Lining fabric (optional for extra durability)
- Measuring tape
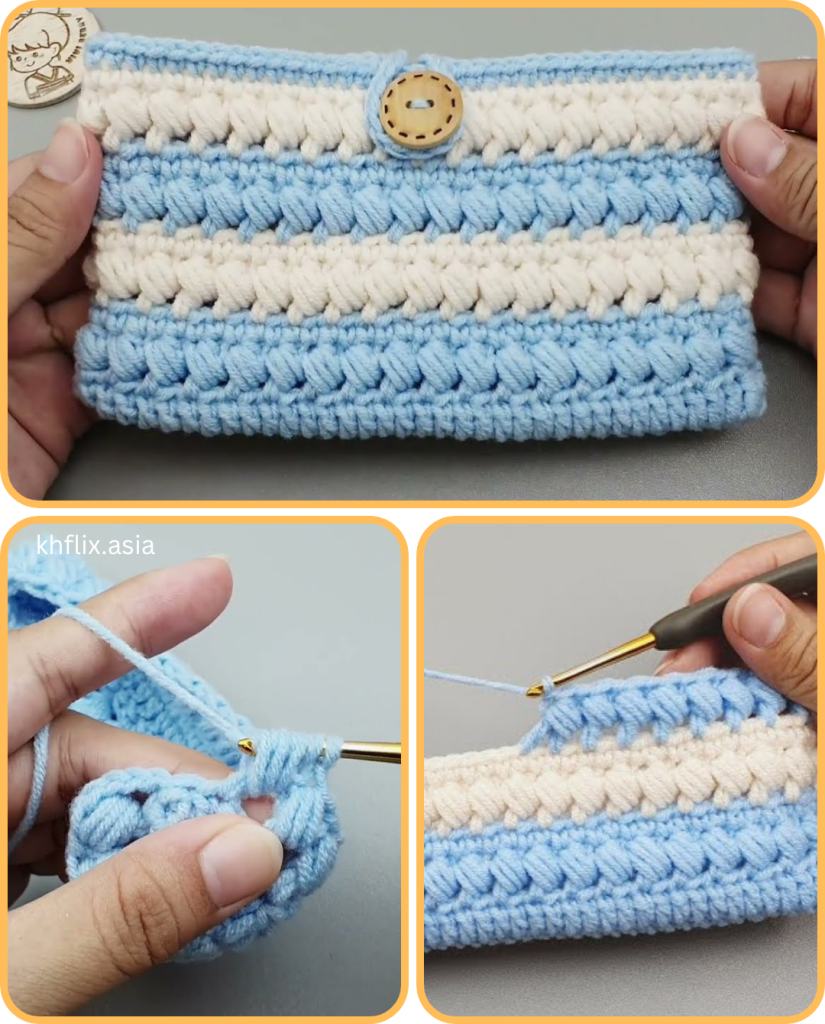
🪡 Crochet Mini Bag Pattern: Step-by-Step Instructions
This mini bag is made by crocheting a flat rectangle, folding it in half, seaming the sides, and adding a strap. You’ll use single crochet (sc) throughout.
🧾 Basic Stitch Abbreviations
- ch – chain
- sc – single crochet
- st – stitch
- sl st – slip stitch
- RS/WS – right side/wrong side
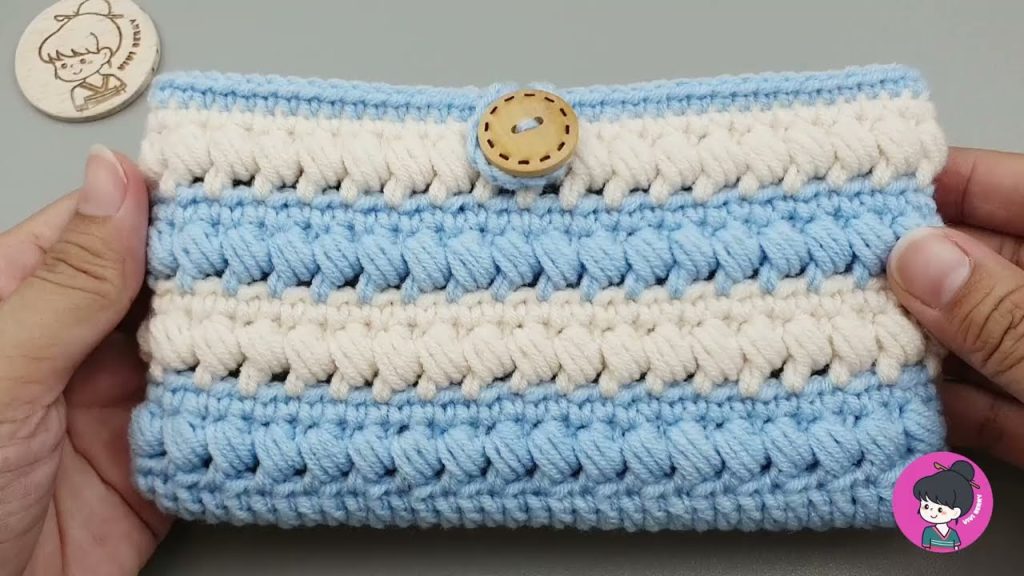
📏 Finished Size
- Width: approx. 6 inches (15 cm)
- Height: approx. 5 inches (12.5 cm)
- Strap: approx. 40–50 inches (adjustable)
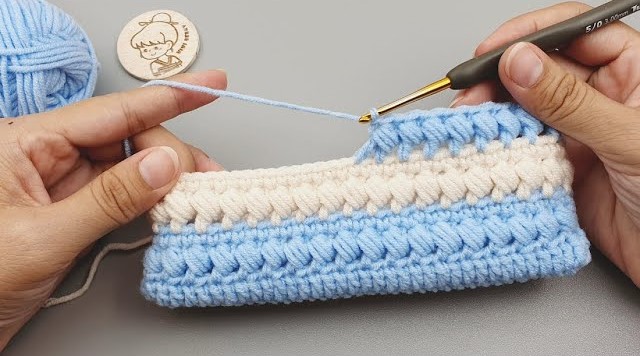
📘 Step 1: Crochet the Base Panel
- Foundation Chain:
Ch 26 (or adjust to your desired width) - Row 1:
Sc in 2nd ch from hook and in each st across. (25 sts)
Ch 1, turn. - Rows 2–30:
Sc in each st across. Ch 1, turn.
(Continue until the piece measures about 10 inches or desired height.)
Tip: Add or subtract rows to make your bag taller or shorter.
📘 Step 2: Fold and Seam the Bag
- Fold the rectangle in half widthwise, matching up the short edges.
- Use slip stitch, single crochet, or whip stitch to seam the sides together.
- Leave the top edge open.
You now have a pouch-style mini bag!
📘 Step 3: Add a Strap (Optional)
Simple Strap Option:
- Ch 120 (for a crossbody strap, adjust as needed)
- Sl st into the side of the bag, ch 1.
- Turn, and sc in each ch back across.
- Attach the end to the other side of the bag and fasten off.
Alternative:
- Use a braided yarn strap, i-cord, or even a chain or leather strap for a more polished look.
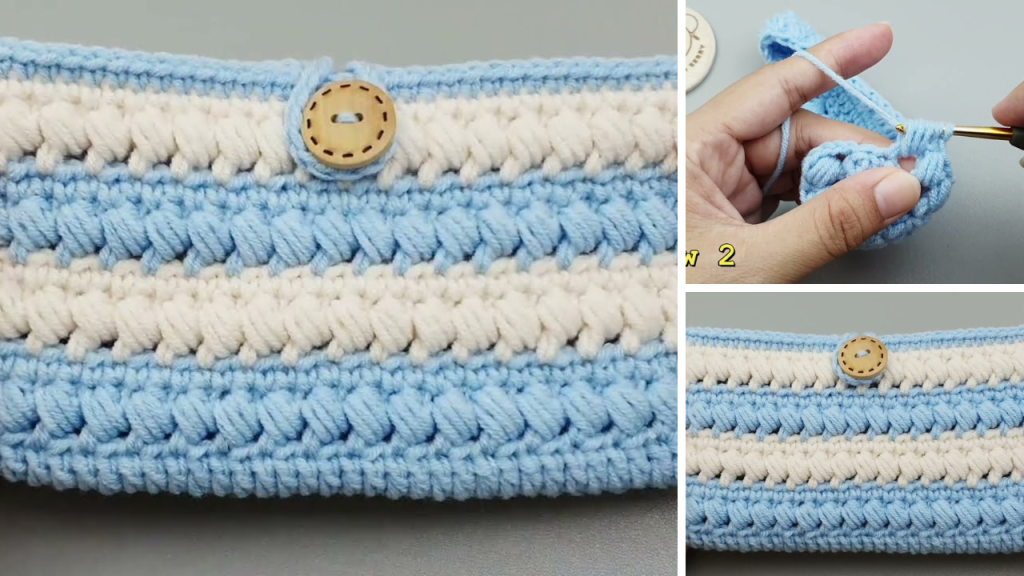
📘 Step 4: Add a Closure (Optional but Recommended)
Choose one of the following:
- Button & Loop:
Sew a button to the front flap. Ch 10 and attach to the opposite side to form a loop. - Magnetic Snap:
Sew or glue a magnetic snap to the inner edges for a sleek finish. - Drawstring Top:
Skip the closure and weave a chain cord through the top row of stitches.
🧩 Optional Enhancements
🧵 Lining Your Bag
- Cut a piece of fabric slightly smaller than the finished bag size.
- Fold the edges and stitch a simple hem.
- Hand sew or use fabric glue to attach the lining to the inside of your bag.
🌸 Decorative Elements
- Add:
- Crocheted flowers
- Appliqué patches
- Pom-poms or tassels
- Embroidery details (like initials)
💡 Design Variations
Once you’ve mastered the basic mini bag, try these creative tweaks:
🔷 Granny Square Mini Bag
- Crochet two identical granny squares and join them.
- Seam the sides and add a strap.
🔶 Round Mini Purse
- Work in the round using increases (e.g., starting from a magic circle).
- Seam two identical circles together for a cute coin purse.
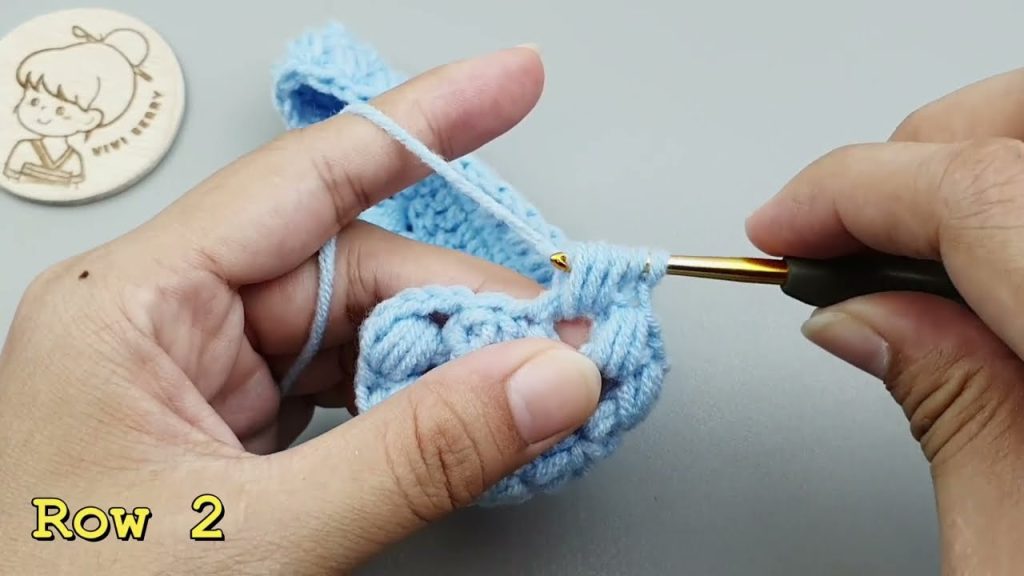
🔸 Textured Stitch Mini Bag
- Use half double crochet (hdc), moss stitch, or bobble stitch for texture.
🧵 Troubleshooting and Tips
❓ Bag feels floppy?
- Use a smaller hook for tighter stitches or switch to cotton yarn.
- Add a fabric lining for more structure.
❓ Strap too stretchy?
- Crochet two layers or reinforce with fabric or chain.
❓ Zipper closure option?
- If you’re comfortable sewing, you can add a zipper to the top for a clean, secure closure.
🎁 Uses for a Crochet Mini Bag
Mini crochet purses aren’t just cute—they’re useful too! Here’s how you can use or gift them:
- Coin purse or wallet
- Makeup pouch
- Gift bag (place small items inside)
- Festival bag
- Kid’s crossbody purse
- Craft show items or Etsy products
🎨 Inspiration and Style Ideas
- Minimalist: Neutral tones, tight stitches, simple button
- Boho Chic: Earthy colors, fringe, wooden beads
- Pop Style: Bright colors, appliqués, playful details
- Elegant: Black or metallic yarn, gold chain strap, lined interior
🧶 Conclusion: Mini Bag, Maximum Creativity
A crochet mini bag may be small in size, but it offers endless creative possibilities. Whether you’re crafting your first purse or experimenting with new ideas, this project is a perfect blend of simplicity and style. It’s quick to make, incredibly customizable, and totally functional.
With just a bit of yarn, a hook, and a spark of creativity, you can crochet a beautiful, handmade purse that reflects your personality and serves your needs. So grab your tools and get stitching—your perfect mini bag is just a few rows away!
Video tutorial:


