
Crocheting your own headband is a fun, functional, and beginner-friendly way to dive into the world of yarn crafts. Whether you’re looking for a quick DIY gift, a stylish winter accessory, or simply a relaxing weekend project, a crochet headband is the perfect choice. You’ll not only improve your skills, but you’ll also end up with a wearable, cozy, and customizable piece.
In this step-by-step tutorial, you’ll learn how to make a simple and stretchy crochet headband using basic stitches. This guide is designed especially for beginners—no previous experience required!
🧵 Why Make a Crochet Headband?
Crochet headbands are the ultimate quick-win project. Here’s why they’re such a great choice for both new and experienced crafters:
✅ Beginner-Friendly
No shaping or complex patterns—just straight rows and simple stitches.
✅ Quick and Satisfying
You can complete a basic headband in under an hour.
✅ Stylish and Functional
Keep your ears warm in winter or hold your hair back while working out.
✅ Fully Customizable
Change the width, stitch type, color, and embellishments to suit your style.
✅ Great for Gifts
They make excellent last-minute gifts for birthdays, holidays, or handmade stocking stuffers.
🧶 Materials You’ll Need
To crochet your headband, gather these supplies:
Yarn:
- Weight: Worsted weight (#4)
- Type: Acrylic or cotton blends work best for softness and elasticity
- Amount: 30–60g depending on size and stitch
Hook:
- Size: 5.0 mm (US H-8)
(Check your yarn label for a recommended hook size)
Notions:
- Yarn needle (for weaving in ends)
- Scissors
- Measuring tape
- Stitch marker (optional)
📝 Basic Crochet Terms (US Terms)
| Abbreviation | Stitch Name |
|---|---|
| ch | Chain |
| sc | Single Crochet |
| hdc | Half Double Crochet |
| dc | Double Crochet |
| sl st | Slip Stitch |
| st(s) | Stitch(es) |
📏 Size Guide
A crochet headband should have a snug fit. Use this table to choose the correct length:
| Head Circumference | Headband Length (unstretched) |
|---|---|
| Child (4–10 yrs) | 18–19 inches (46–48 cm) |
| Teen/Small Adult | 20 inches (51 cm) |
| Average Adult | 21 inches (53 cm) |
| Large Adult | 22 inches (56 cm) |
Tip: Make the band 1–2 inches shorter than the head to allow for stretch.
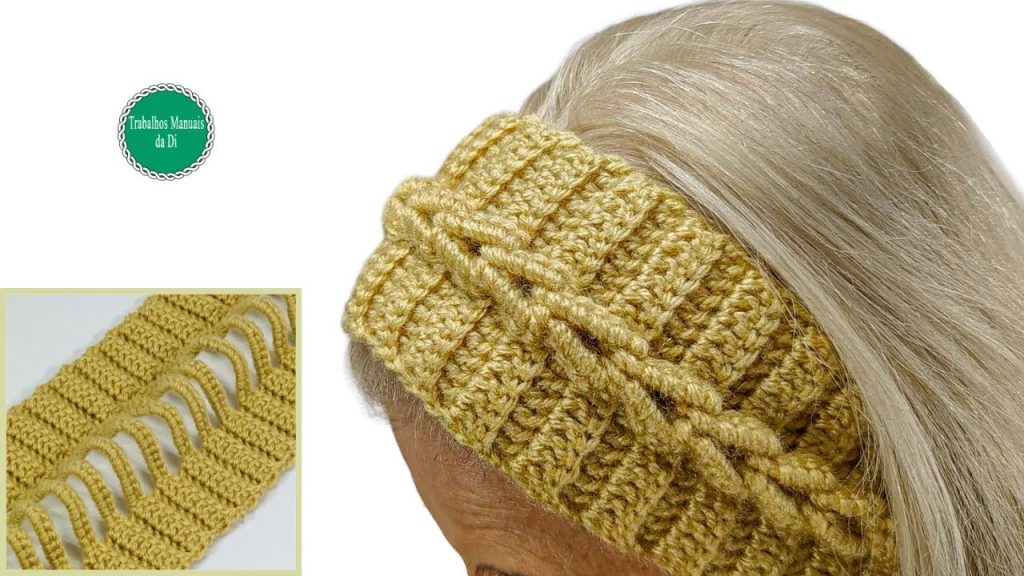
👣 Step-by-Step: Easy Crochet Headband (Flat Panel Method)
This headband is made as a flat rectangle using half double crochet stitches, then seamed at the ends.
✨ Step 1: Create a Foundation Chain
- Ch 12 (for approx. 3-inch width, adjust for wider/narrower band)
- You can chain more or less depending on your preferred width.
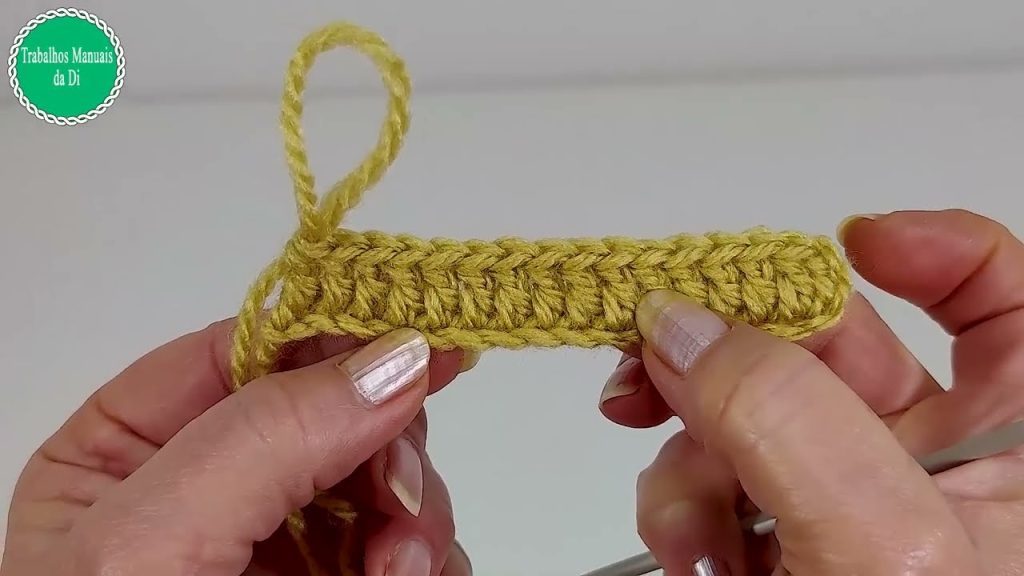
✨ Step 2: Work the First Row
- Row 1: Hdc in 2nd ch from hook and in each st across.
(You should have 11 hdc if you chained 12)
Ch 1, turn.
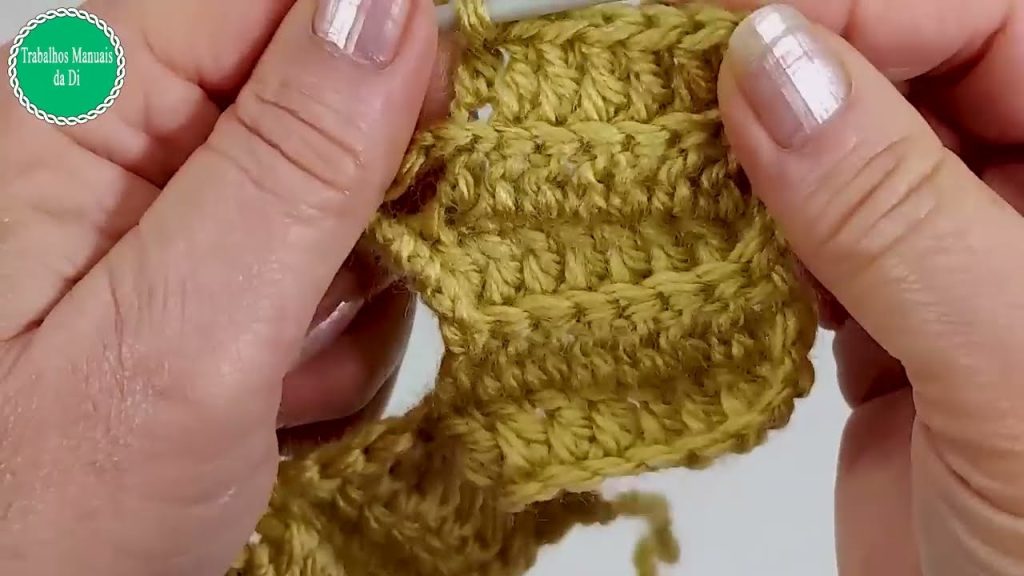
✨ Step 3: Repeat Rows Until Desired Length
- Rows 2–X: Hdc in each stitch across. Ch 1, turn.
Continue this pattern until your headband measures your target headband length (see sizing chart above).
✨ Step 4: Seam the Ends
Once your band is long enough:
- Fold it in half so the short ends meet.
- Sl st or whip stitch the ends together with a yarn needle.
- Fasten off and weave in all ends.
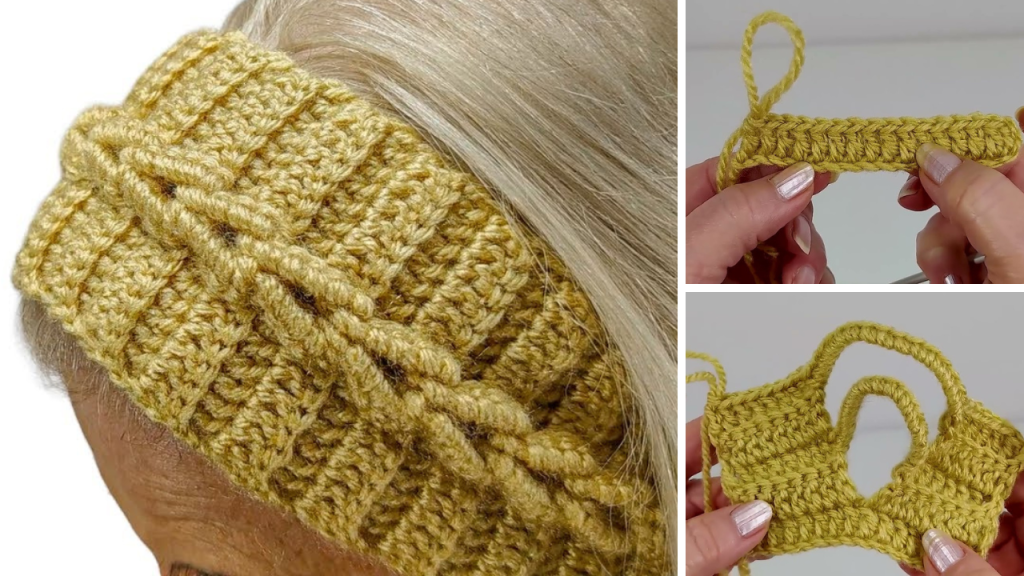
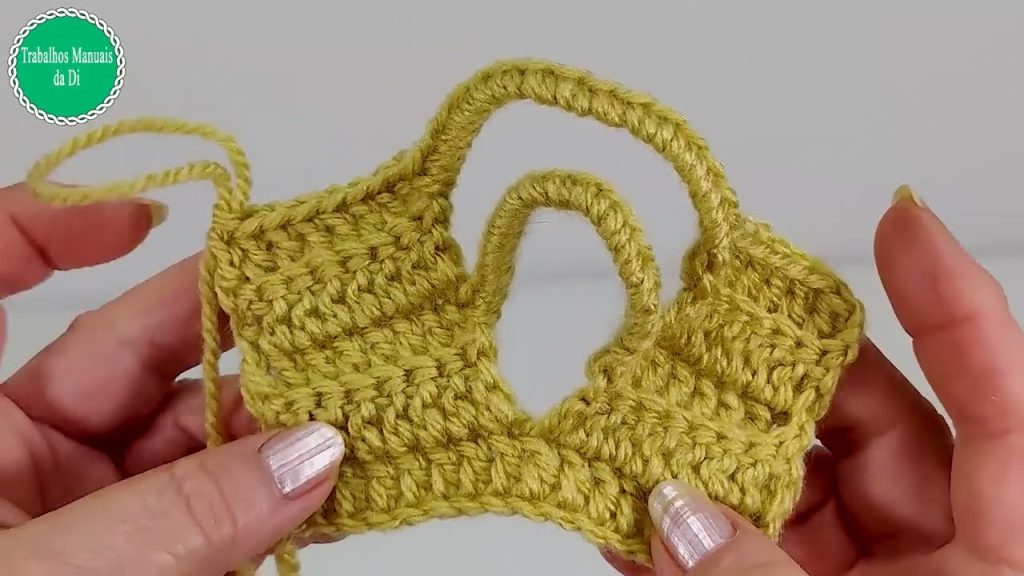
✨ Step 5: Optional Twist or Knot (Headwrap Style)
For a stylish twist:
- Before sewing, fold each end into a “C” shape.
- Interlock them so each fold sandwiches the other.
- Sew through all four layers.
- Turn inside out for a clean, twisted look.
🎨 Customization Ideas
Take your basic headband to the next level with these ideas:
🧩 Use Different Stitches:
- Ribbed Texture: Use back loop only (BLO) hdc for a knit-like finish.
- Shell or V-stitch: For a lacy, feminine look.
- Granny Stripe: A colorful retro style.
🎀 Add Embellishments:
- Buttons
- Crochet flowers
- Pom-poms
- Embroidery
- Appliqué patches
🎨 Play with Color:
- Stripes (change colors every few rows)
- Ombre or gradient yarn
- Color blocking
👒 Variations: Other Headband Styles to Try
Once you’ve completed your first headband, explore these easy variations:
🔁 1. Double Crochet Headband
- Uses dc instead of hdc for a more open, airy texture.
🔁 2. Ear Warmer Style
- Make it wider (4–5 inches) to double as an ear warmer for winter.
🔁 3. Tunisian Crochet Headband
- Use the Tunisian simple stitch for a thicker, knit-like fabric.
🔁 4. Boho Twisted Wrap
- Use lightweight yarn and lace stitches for a spring/summer vibe.
🧶 Common Beginner Questions (FAQs)
❓ What’s the best yarn for a headband?
Worsted weight acrylic or cotton yarn works best. Look for yarn that’s soft but holds shape well.
❓ How do I make sure it fits?
Measure the head and subtract 1–2 inches to account for stretch. Use a measuring tape as you go.
❓ How do I make it tighter or looser?
Adjust the number of rows. More rows = longer = looser. Fewer rows = tighter.
❓ Can I sell headbands I make?
Yes! As long as you’re not using a copyrighted pattern without permission, handmade headbands are great for Etsy, markets, or gifts.
🎁 Gift Ideas Using Crochet Headbands
Crochet headbands make thoughtful and personal gifts. Here are a few pairing ideas:
- Winter Bundle: Headband + matching scarf or mittens
- Spa Set: Headband + face scrubby + handmade soap
- Workout Pack: Headband + water bottle holder
- Mother/Daughter Sets: Matching headbands in different sizes
📚 Learn More & Next Steps
Once you’re comfortable with the basics, try these advanced options:
- Add a buttoned closure for adjustable sizing
- Add a fleece or jersey lining for winter wear
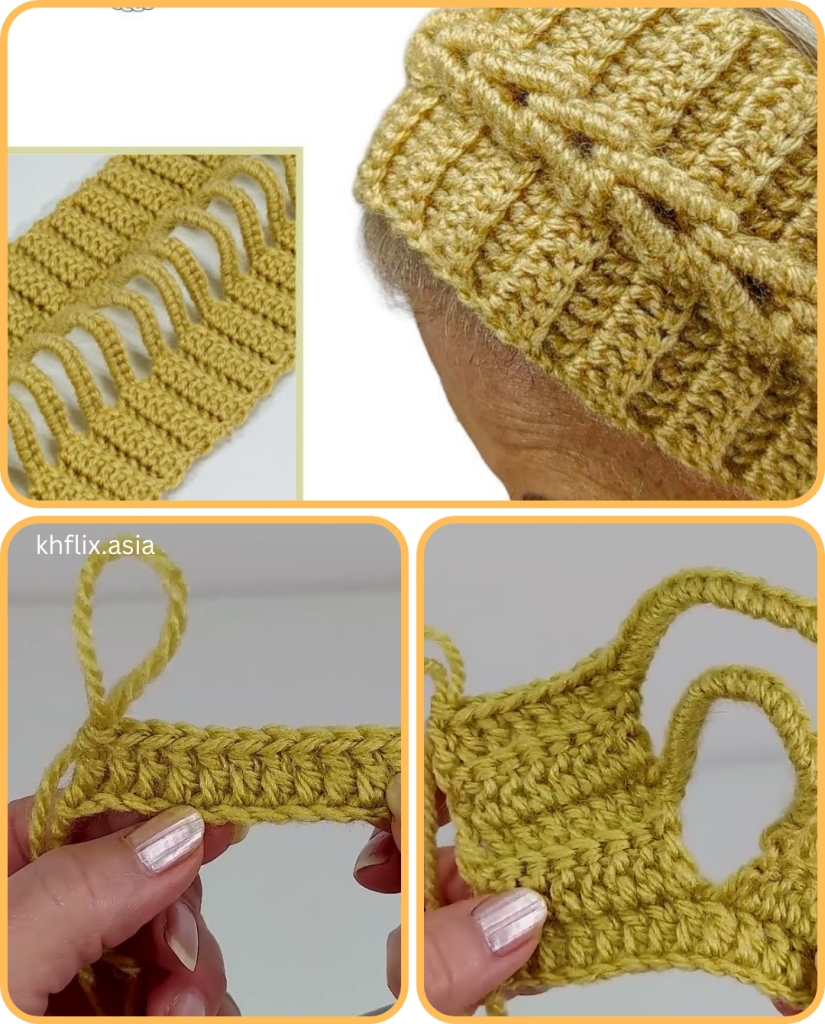
- Explore textured stitches like bobble, waffle, or basketweave
You can also try making a crochet turban headband, wide twisted ear warmer, or even a baby-size headband with a bow.
🧵 Conclusion: Simple, Stylish, and Handmade
A crochet headband is a perfect project to start or expand your crochet journey. With just a hook, some yarn, and a little time, you can create something beautiful, wearable, and personal. Whether you’re keeping cozy in winter or styling your hair for a sunny day, your handmade headband will reflect your creativity and care.
So grab your hook, pick your favorite yarn, and let your crochet adventure begin—one stitch at a time.
Video tutorial:


