
Crocheting a rose is one of the most rewarding projects for crafters of all skill levels. Roses are timeless symbols of love, beauty, and elegance—and when crocheted, they become lasting keepsakes that can be used in countless ways. From decorating hats, scarves, and bags to enhancing home décor with floral arrangements, a crochet rose is both charming and versatile.
In this in-depth guide, you’ll learn how to crochet a beautiful rose step-by-step, including pattern instructions, materials needed, styling tips, and variations for size and color. Whether you’re a beginner or a seasoned crocheter, this tutorial will walk you through everything you need to create stunning floral works of art.
🧶 Why Crochet a Rose?
Crocheting a rose is the perfect project for many reasons:
- 🌼 Great for gifts (Mother’s Day, birthdays, weddings)
- 🌼 Quick project—can be completed in under an hour
- 🌼 Ideal stash-buster for using leftover yarn
- 🌼 Customizable with endless color and size options
- 🌼 Non-wilting flowers for eternal beauty
✂️ Materials You’ll Need
Yarn:
- Worsted weight yarn (Category 4) is a popular choice, but you can also use lighter or bulkier yarn depending on your desired size.
- Acrylic or cotton yarns work best for defined petals.
Hook:
- Crochet hook size G/6 (4.0 mm) or H/8 (5.0 mm) (adjust to suit yarn size and desired firmness).
Other Tools:
- Yarn needle
- Scissors
- Stitch marker (optional)
- Green yarn if making a stem or leaves
- Floral wire or pipe cleaner (optional, for stiff stems)
🧵 Basic Crochet Stitches You Need to Know
This rose uses simple stitches, making it accessible even for beginners:
- Chain (ch)
- Single Crochet (sc)
- Half Double Crochet (hdc)
- Double Crochet (dc)
- Slip Stitch (sl st)
If you’re new to these, watching a few short videos on each stitch will set you up for success.
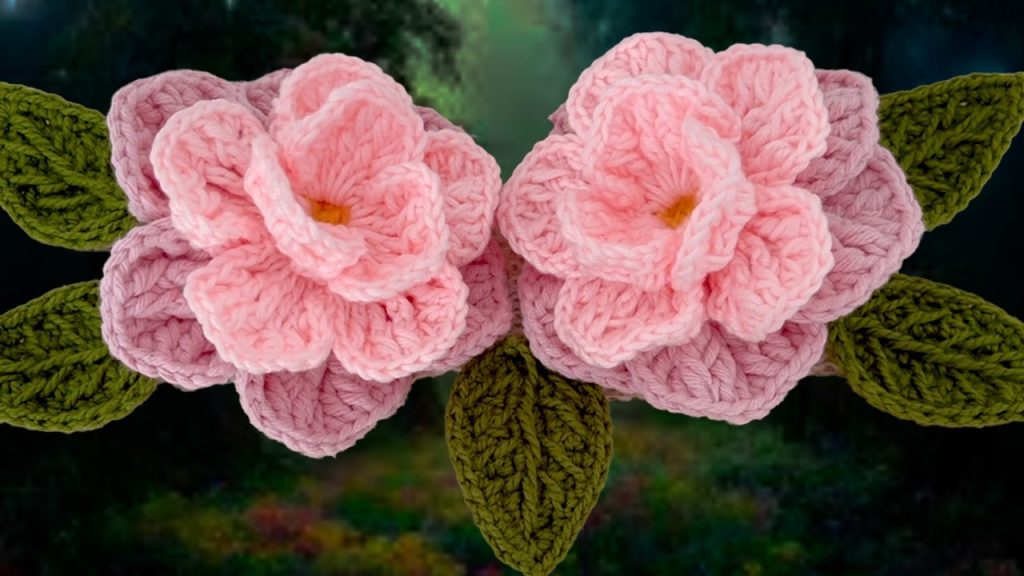
🌹 Basic Crochet Rose Pattern (Flat Spiral Rose)
This is one of the easiest and most elegant crochet rose patterns. It’s crocheted as a long spiral strip that’s rolled into a rose shape.
Finished Size:
- Approx. 2–3 inches in diameter (adjustable with yarn weight and hook size)
STEP 1: Crochet the Rose Strip
Foundation Chain:
Ch 51 (or any multiple of 6 + 3 for larger roses)
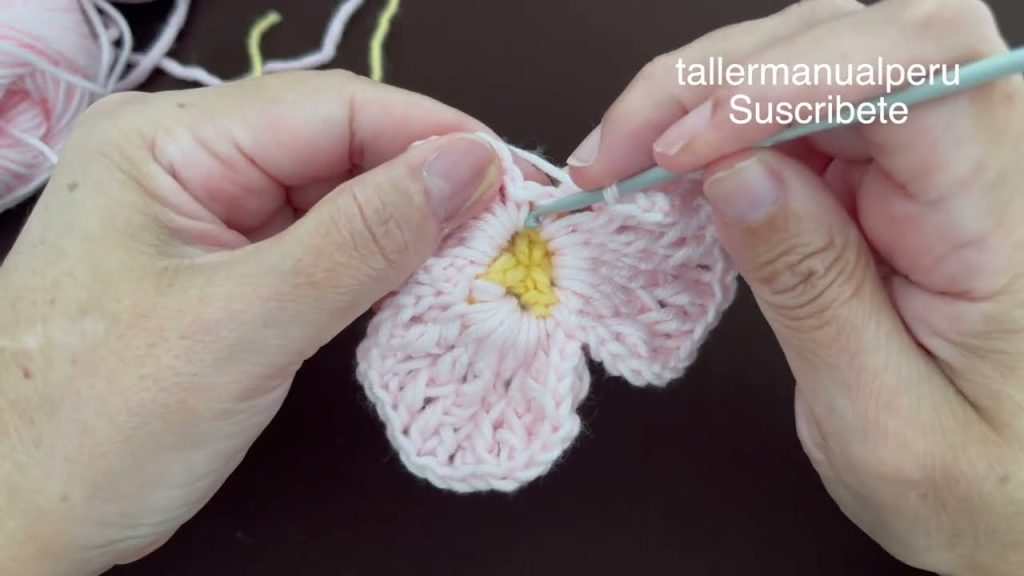
Row 1:
Starting in the 3rd chain from hook:
- (Sc, hdc, dc, hdc, sc) in each ch across.
This creates the ruffled, petal-like edge. The rose will naturally start to curl.
At the end of the row, fasten off, leaving a long tail for sewing.
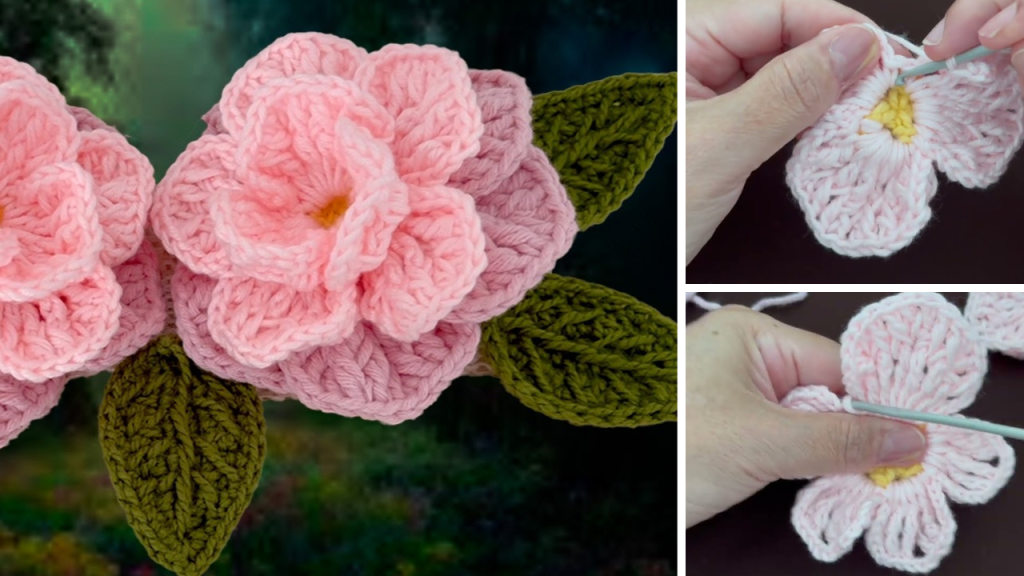
STEP 2: Roll and Shape the Rose
- Begin rolling the strip from one end, forming the shape of a rose as you go.
- Use the long yarn tail and a yarn needle to sew through the base of the rose to hold it together.
- Make several passes with the needle to ensure the rose doesn’t unravel.

STEP 3: Add a Leaf (Optional)
Leaf Pattern:
Using green yarn:
Ch 7
Row 1:
- In 2nd ch from hook: sl st, sc, hdc, dc, hdc, sc, sl st.
- Fasten off and sew to the bottom of the rose.
You can make 1–3 leaves depending on your preference.
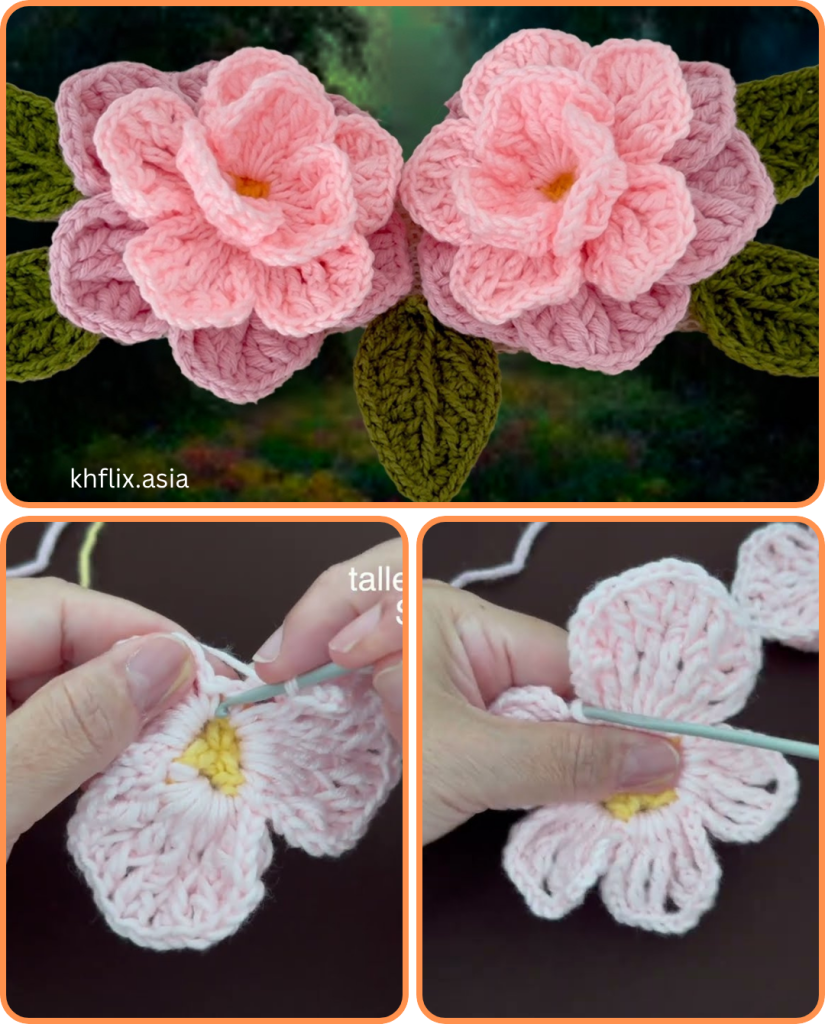
🌿 Variation: 3D Layered Rose Pattern (More Realistic)
For a fuller, more layered rose, try this intermediate-level variation.
Ch 62
Row 1:
- In 4th ch from hook: dc in next 3 ch, ch 2, sl st in next ch
- Repeat across to end.
This creates 12–14 petals that are more pronounced.
Assembly:
- Roll tightly from one end and sew the base.
- The petal layers will create a beautiful, dense rose shape.
🌸 Ways to Use Your Crochet Rose
The versatility of crocheted roses makes them perfect for:
🌼 Wearables
- Hair clips or headbands
- Brooches and pins
- Attach to scarves, hats, or bags
🌼 Home Décor
- Bouquet arrangements
- Wall art or wreaths
- Embellishing pillows or throws
🌼 Special Occasions
- Wedding bouquets or boutonnieres
- Valentine’s Day gifts
- Birthday or Mother’s Day cards
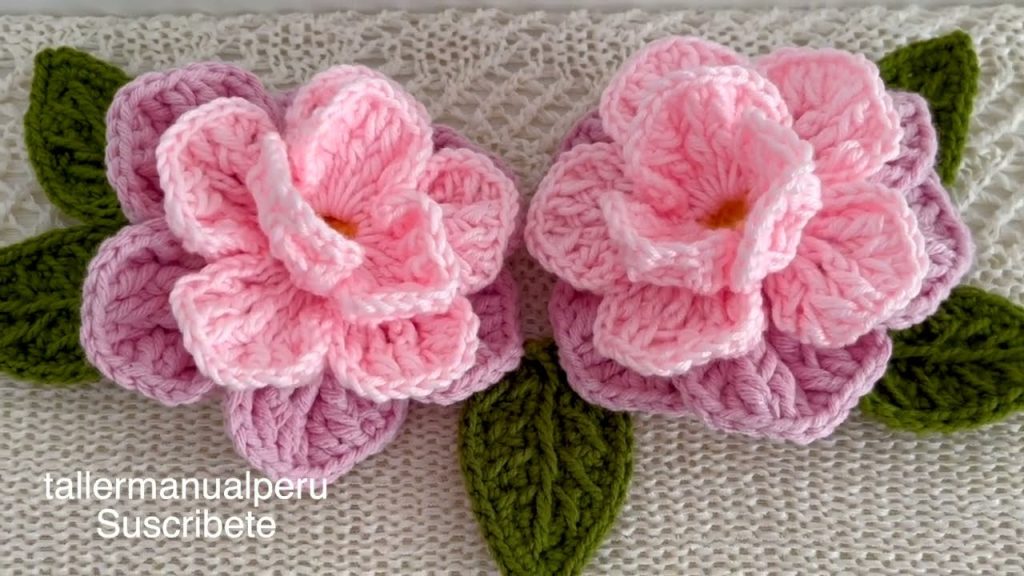
🎨 Customizing Your Crochet Rose
You can personalize your rose with the following ideas:
| Feature | Options |
|---|---|
| Color | Red, pink, yellow, white, blue, even rainbow |
| Size | Adjust chain length and yarn thickness |
| Style | Add beads, glitter yarn, or metallic thread |
| Stem | Attach to floral wire or crochet a green stem |
| Leaves | Embroider veins or crochet 3D layered leaves |
🧺 Tips for Perfect Roses
- Tension control: Keep even tension for consistent petal shapes.
- Blocking: Lightly steam or pin into shape for a more polished look.
- Layering: Use different shades of the same color for a more realistic bloom.
- Bulk yarn: Try chunky yarn for oversized statement roses.
🧶 Recommended Yarn Brands
- Caron Simply Soft (smooth, good drape)
- Lily Sugar ‘n Cream (stiff texture for sculptural roses)
- Red Heart Super Saver (budget-friendly, durable)
- Lion Brand 24/7 Cotton (great stitch definition)
❤️ Final Thoughts
Crocheting beautiful roses is a wonderful way to add handmade charm to any project. They’re quick to make, endlessly customizable, and suitable for beginners with just basic skills. As you practice and get creative with your colors and styles, you’ll find that no two roses are ever exactly the same—just like nature intended.
So whether you’re looking to surprise a loved one with a forever rose, decorate your home with handmade blooms, or simply enjoy a relaxing craft, crocheting roses is a skill worth cultivating. 🌹
Video tutorial:


