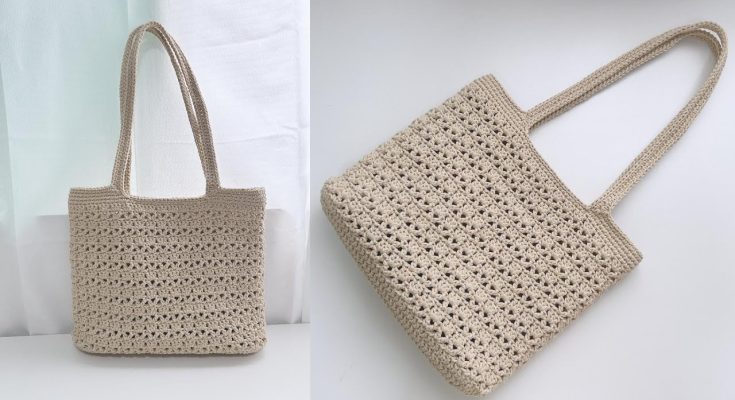
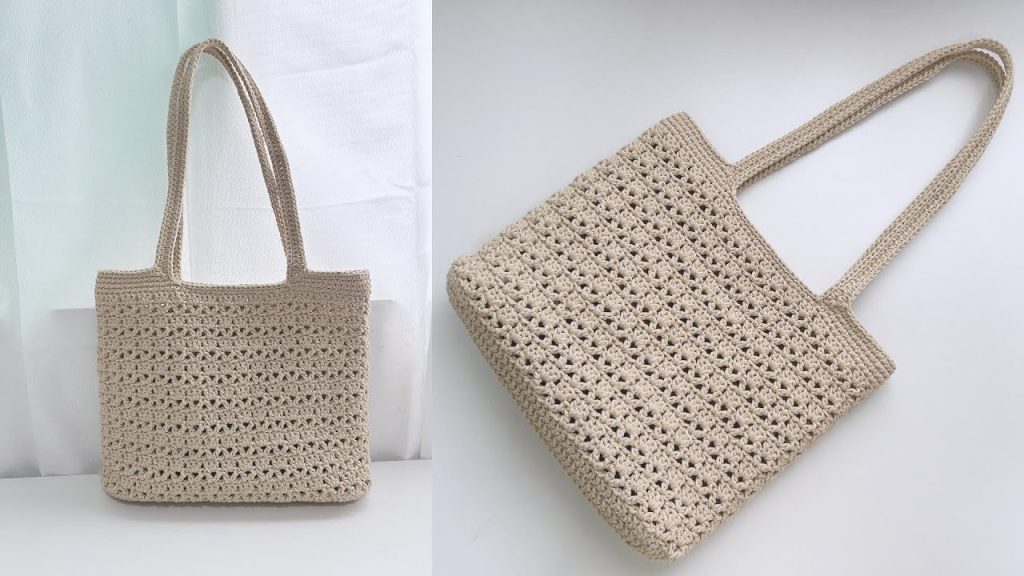
A crocheted tote bag is a fantastic project for both beginners looking to expand their skills and experienced crocheters wanting a versatile accessory. It’s not only practical for groceries, beach trips, or everyday essentials, but also a wonderful way to showcase your crafting abilities and personal style. This detailed guide will walk you through creating a sturdy and chic tote bag.
Skill Level: Easy to Intermediate
This pattern is suitable for confident beginners with knowledge of basic stitches and those with intermediate crochet skills.
Materials You’ll Need:
- Yarn: Approximately 400-600 yards of worsted weight (Aran/10-ply) cotton or cotton blend yarn. Cotton is highly recommended for bags as it’s durable, holds shape well, and has minimal stretch. Jute or a sturdy acrylic can also work. Choose a main color and an accent color if you like.
- Crochet Hook: 5.0 mm (H/8 US) or size needed to obtain gauge. A larger hook creates a looser fabric, while a smaller hook makes a denser, sturdier bag.
- Stitch Markers: 2-4 to mark the beginning of rounds and key points.
- Yarn Needle: For weaving in ends and seaming.
- Scissors: For cutting yarn.
- Measuring Tape: For checking gauge and dimensions.
- Optional: Fabric lining (approx. 1/2 to 1 yard), magnetic snap closure, or a piece of plastic canvas for a super-sturdy bottom.
Gauge:
14 single crochet (sc) stitches x 16 rows = 4 inches (10 cm) Checking your gauge is crucial for this project. It ensures your bag will be the intended size. If your swatch is too small, go up a hook size. If it’s too large, go down a hook size. A slightly tighter tension is often beneficial for bags to make them more robust.
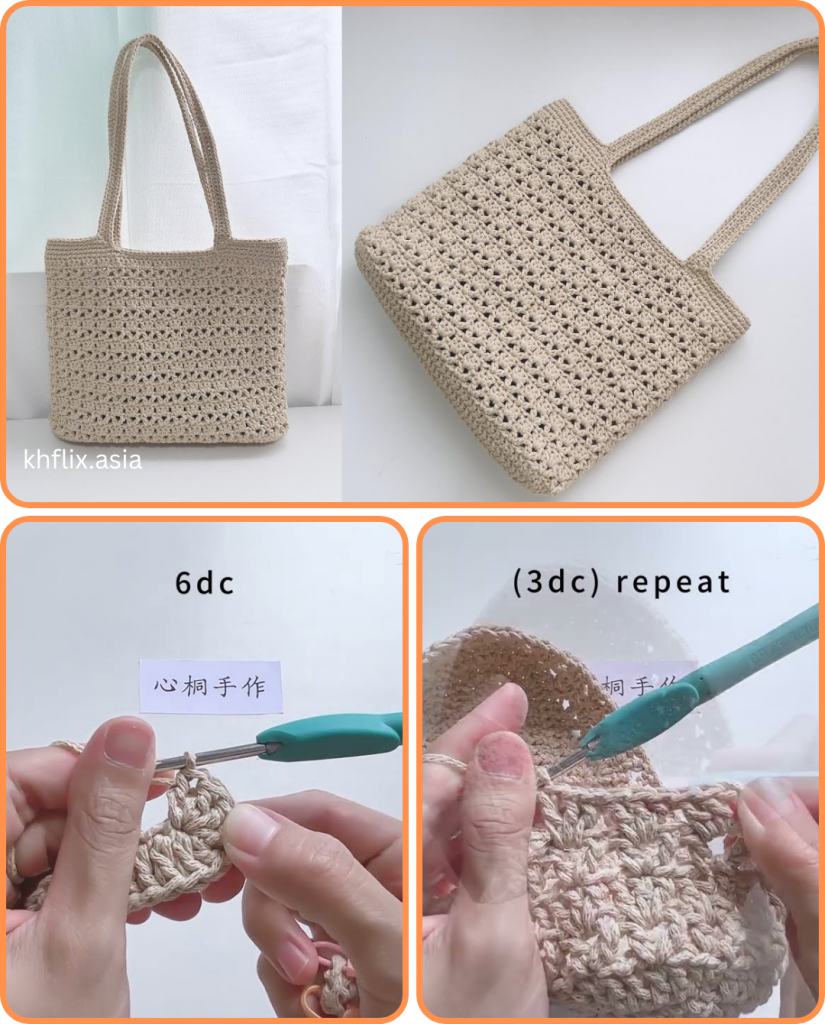
Finished Measurements (Approximate):
- Height (excluding handles): 12-14 inches (30-35 cm)
- Width (flat): 14-16 inches (35-40 cm)
- Base: 4-5 inches (10-12.5 cm) deep
Abbreviations (US Terms):
- ch: chain
- sl st: slip stitch
- sc: single crochet
- hdc: half double crochet
- dc: double crochet
- inc: increase (2 sc in one stitch)
- st(s): stitch(es)
- rnd: round
- fo: fasten off
- BLO: back loop only
Construction Overview:
This tote bag is typically constructed in two main parts: the oval base (worked in continuous rounds) and the body of the bag (worked in continuous rounds, building up from the base). The handles are then created separately and attached.
Pattern Instructions:
Part 1: The Oval Base
The base forms the bottom of your bag and is worked in continuous spirals of single crochet. Use a stitch marker to mark the first stitch of each round and move it up as you go.
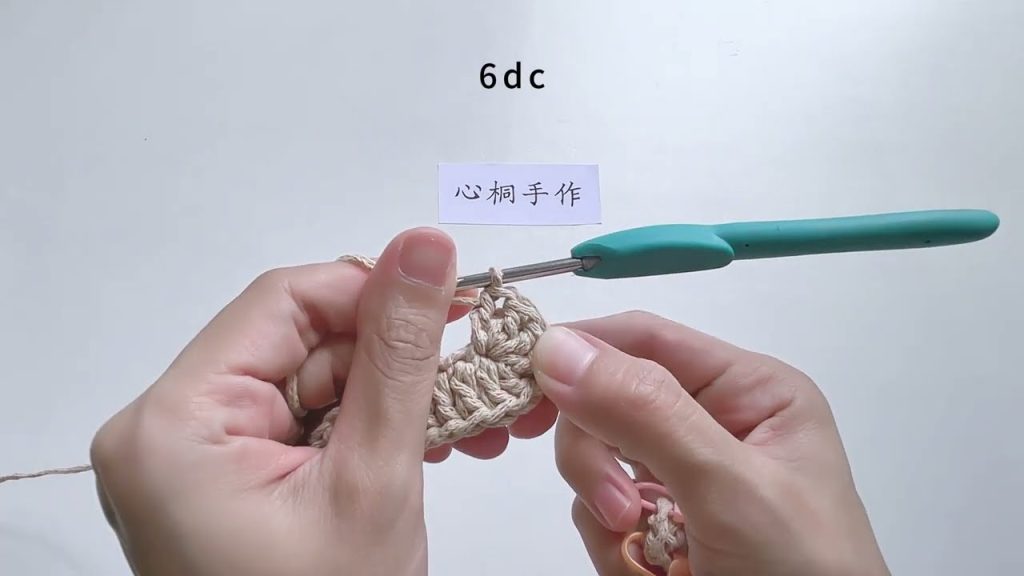
Rnd 1: Ch 31 (adjust for desired base length; your bag will be roughly this length + 1-2 inches for the curve). Sc in the 2nd ch from hook, sc in next 28 ch, 3 sc in the last ch. Working down the other side of the foundation chain: sc in next 28 ch, 2 sc in the last ch. (62 sc) Rnd 2: Inc in the first st, sc in next 28 sts, inc in next 3 sts, sc in next 28 sts, inc in next 2 sts. (68 sc) Rnd 3: Sc in the next st, inc in the next st, sc in next 28 sts, (sc in next st, inc in next st) 3 times, sc in next 28 sts, (sc in next st, inc in next st) 2 times. (74 sc) Rnd 4: Sc in the next 2 sts, inc in the next st, sc in next 28 sts, (sc in next 2 sts, inc in the next st) 3 times, sc in next 28 sts, (sc in next 2 sts, inc in the next st) 2 times. (80 sc)
Continue increasing evenly at the ends of the oval as needed until your base measures approximately 4-5 inches (10-12.5 cm) at its widest point. Each increase round adds 6 stitches. Aim for a final stitch count that is easy to work with (e.g., 86 or 92 stitches). Let’s assume you end with 86 sc after your desired number of increase rounds.
Part 2: The Body of the Bag
The body starts by working into the back loops only to create a defined edge, giving your bag a crisp bottom.
Rnd 1 (Transition): Sc in the BLO of each st around. (86 sc). This creates a neat, standing edge for your bag. Rnd 2: Sc in each sc around. Repeat Rnd 2 until the bag body measures approximately 12-14 inches (30-35 cm) tall from the base transition row, or your desired height.
Optional Ribbed Top Edge: For a slightly more structured top, you can switch to hdc stitches for the last few rounds. Last 3-4 Rounds: Ch 2 (does not count as st), hdc in each st around. Join with a sl st to the top of the initial ch 2.
Fasten off and weave in ends.
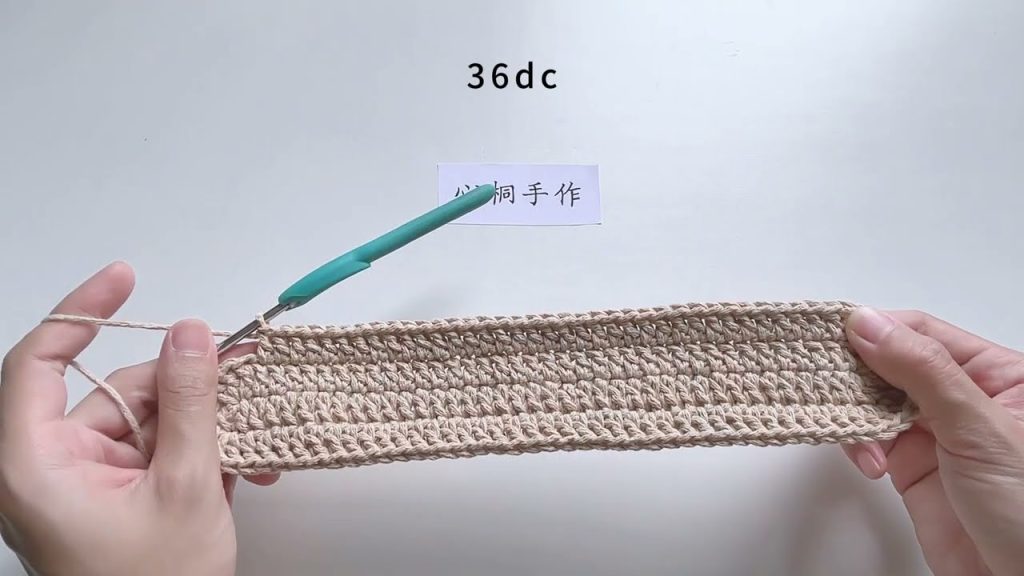
Part 3: The Handles (Make 2)
Simple, flat handles are sturdy and comfortable.
Row 1: Ch 6 (adjust width as desired). Sc in the 2nd ch from hook, sc in next 4 ch. (5 sc) Row 2: Ch 1, turn, sc in each sc across. (5 sc) Repeat Row 2 until the handle measures approximately 20-22 inches (51-56 cm) long, or your desired length for a shoulder bag or hand-carry tote. Fasten off, leaving a long tail (approx. 12-18 inches) for sewing.
Assembly:
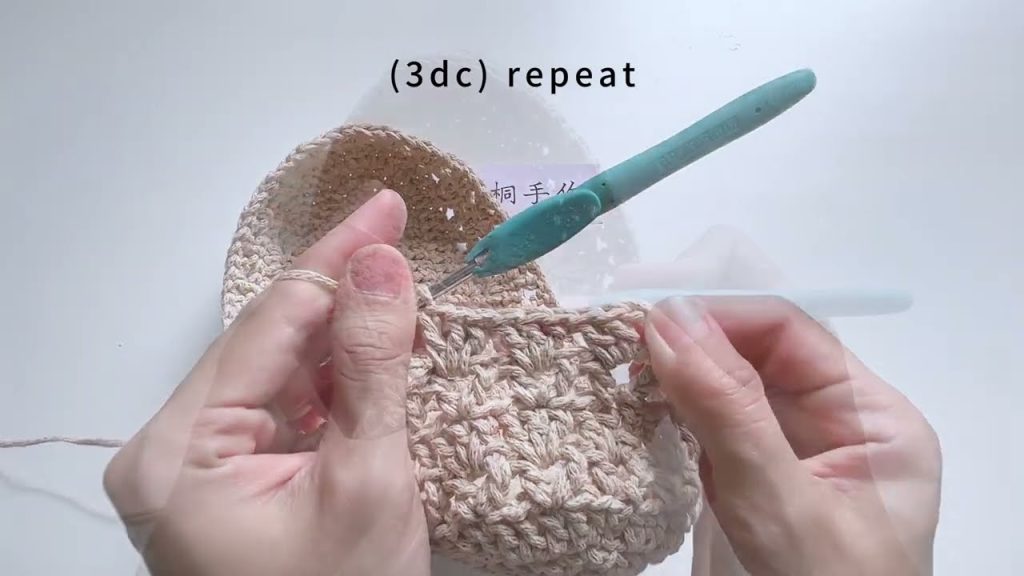
- Attach Handles: Lay your bag flat and evenly position the handles. Typically, you’ll place them on the inside of the bag, about 3-4 inches (7.5-10 cm) in from each side seam, or wherever they look best for comfortable carrying. Using your yarn needle and the long tails, securely sew the handles to the bag. Go back and forth multiple times with your needle to reinforce the attachment points – this is where your bag will experience the most stress!
- Weave in all remaining ends meticulously. A neat finish makes a huge difference.
Optional Enhancements:
- Plastic Canvas Base: For an extra-sturdy bottom that prevents sagging, cut a piece of plastic canvas to the exact dimensions of your crocheted base. Slip it inside the bag before attaching the handles or lining.
- Fabric Lining: Adding a fabric lining is highly recommended. It prevents small items from slipping through stitches, adds durability, and gives your bag a professional finish. Cut and sew a simple bag-shaped lining (with a flat bottom to match your crochet base) and hand-stitch or machine-stitch it securely into the inside of your crocheted bag.
- Closure: A magnetic snap closure sewn into the top edge of the bag (either directly to the crochet or to the fabric lining) can keep your belongings secure.
- Pockets: Sew a simple fabric pocket or crochet a small pocket and attach it to the inside of your lining for extra organization.

Tips for Success:
- Consistent Tension: Maintaining even tension throughout your work is vital for a bag that looks good and holds its shape.
- Sturdy Yarn Choice: Don’t skimp on yarn quality, especially for a tote. Cotton is the gold standard for its durability and stitch definition.
- Measure as You Go: Regularly measure your base and body height to ensure your bag is growing to your desired dimensions.
- Reinforce Handles: Seriously, spend extra time sewing on those handles! They bear the brunt of the weight.
- Personalization: Don’t be afraid to experiment! Change colors every few rounds for stripes, use a different stitch pattern for the body (like half double crochet for a denser fabric), or add tassels or pompoms for flair.
Crocheting a tote bag is a rewarding experience. You’ll end up with a functional and fashionable accessory that you’ll be proud to carry or give as a thoughtful, handmade gift!
