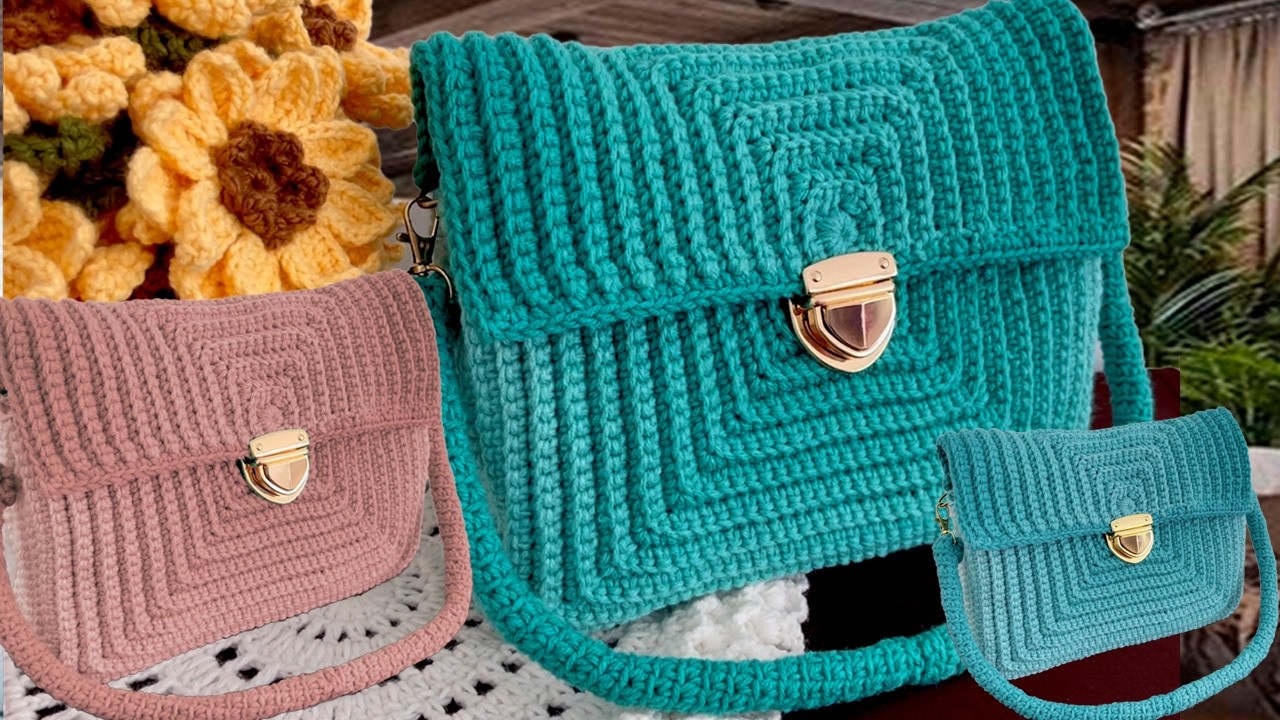
Crocheting a purse in one piece means less seaming and a cleaner finish, making it a satisfying project to complete. The basic idea is to crochet a long rectangle that will eventually fold into the body of the purse, with the flap often incorporated directly into the design.

Materials You’ll Need
Before you begin, gather your supplies. The right materials will make a big difference in the final look and feel of your purse.
- Yarn: The type of yarn you choose will depend on the desired look and durability of your purse.
- Worsted weight cotton or acrylic yarn: Excellent for sturdy, everyday bags. Cotton offers great stitch definition and is durable, while acrylic is widely available and comes in many colors.
- T-shirt yarn: Creates a very sturdy, chunky bag with a unique texture.
- Raffia or paper yarn: Ideal for summer bags with a natural, structured feel.
- Crochet Hook: The hook size will depend on your yarn’s weight. Always check the yarn label for recommended hook sizes. A good starting point is usually a 4.0 mm (G) to 5.5 mm (I) hook for worsted weight yarn.
- Scissors: For cutting yarn.
- Yarn Needle (Tapestry Needle): Essential for weaving in ends neatly.
- Stitch Markers (Optional but Recommended): Helpful for marking the beginning of rows or specific stitches, especially if you’re new to crocheting or working in the round.
- Magnetic Snap Closure, Button, or Zipper (Optional): For securing your purse.
- Fabric for Lining (Optional): To give your purse a more finished look and added durability.
- Sewing Needle and Thread (for lining and closure): If adding a lining or a snap/button.
Basic Stitches to Know
This pattern primarily uses fundamental crochet stitches:
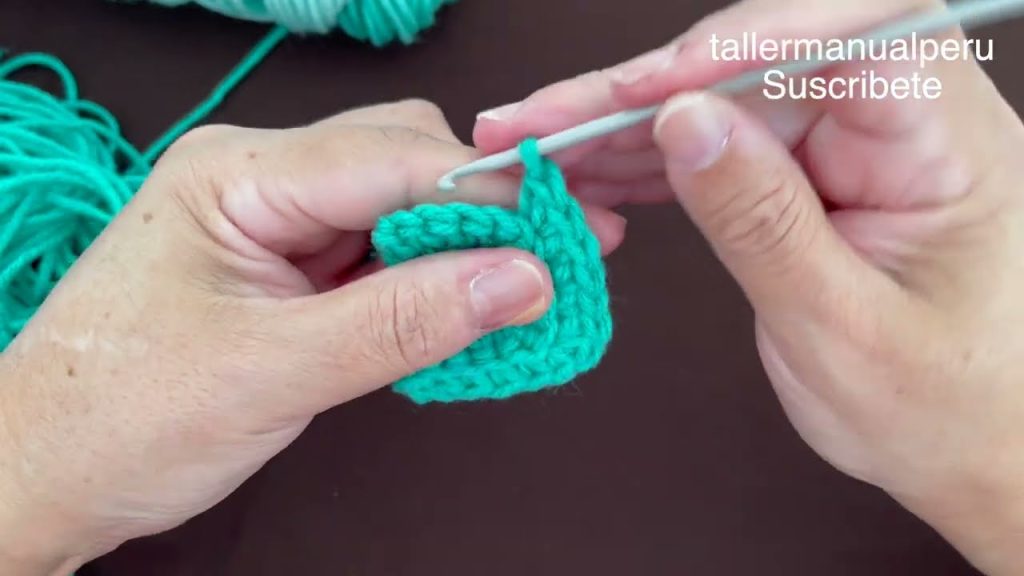
- Chain (ch): The foundation of most crochet projects.
- Single Crochet (sc): A basic, tight stitch.
- Half Double Crochet (hdc): A stitch taller than sc but shorter than dc.
- Double Crochet (dc): A taller, looser stitch.
You might also encounter slip stitch (sl st) for joining or finishing.
The Basic Concept: Crocheting a Rectangle
The most common method for a one-piece purse is to crochet a long, flat rectangle. This rectangle will then be folded and seamed to form the purse body.
Here’s a general outline of the process:
- Foundation Chain: You’ll start by chaining the desired width of your purse. Remember that this will be the width when the purse is folded.
- Working in Rows: You’ll then crochet in rows to create the length of your rectangle. This length needs to be sufficient to form the back of the purse, the bottom, the front of the purse, and the flap.
- Back Panel: This section will be the height of your purse.
- Bottom Panel: This section will be the depth/width of your purse’s base.
- Front Panel: This section will be the height of your purse.
- Flap: This section will be the length of your purse’s flap.
- Folding and Seaming: Once your rectangle is complete, you’ll fold the front and back panels up, bringing the sides together. You’ll then seam the side edges using a slip stitch or single crochet, creating the purse’s main compartment. The remaining portion of the rectangle forms the flap.
- Adding a Strap: You can crochet a strap directly onto the purse, or create a separate strap and attach it.
- Finishing Touches: Weave in all loose ends, add a closure, and consider adding a lining.
Step-by-Step Pattern Example (Simple Single Crochet Purse)
This is a basic pattern and can be adjusted for size and stitch pattern.
Body of the Purse
- Chain (ch) 31. (This will create a purse approximately 10 inches wide. Adjust by chaining more or fewer stitches, keeping in mind your tension and yarn.)
- Row 1: Sc in the second ch from hook and in each ch across. (30 sc). Ch 1, turn.
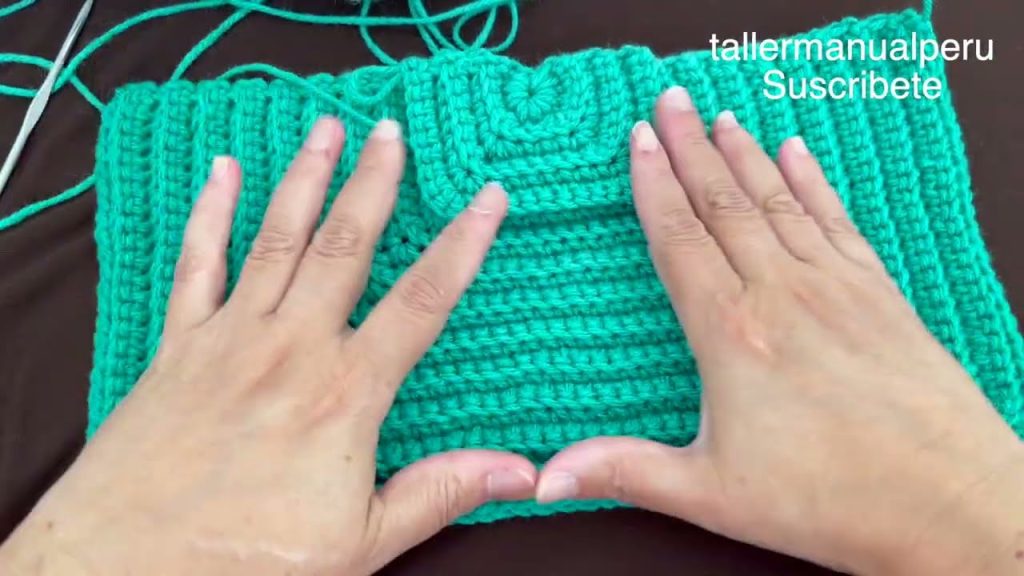
- Row 2 – 60 (or desired length): Sc in each sc across. (30 sc). Ch 1, turn.
- Tip: The total length of your rectangle (number of rows) should be roughly three times the desired height of your purse plus the desired length of your flap. For example, if you want a 7-inch tall purse with a 4-inch flap, your rectangle should be about (7 * 2) + bottom depth + 4 inches long. A good estimate for the bottom depth is 1-2 inches. If your gauge is 4 rows per inch, you’d need about 60-70 rows for a medium-sized purse.
- Consider a thicker bottom: For a sturdier bottom, you could crochet a few rows in a different stitch or use a thicker yarn for that section. You can also work around the foundation chain for the first few rows to create an oval base.
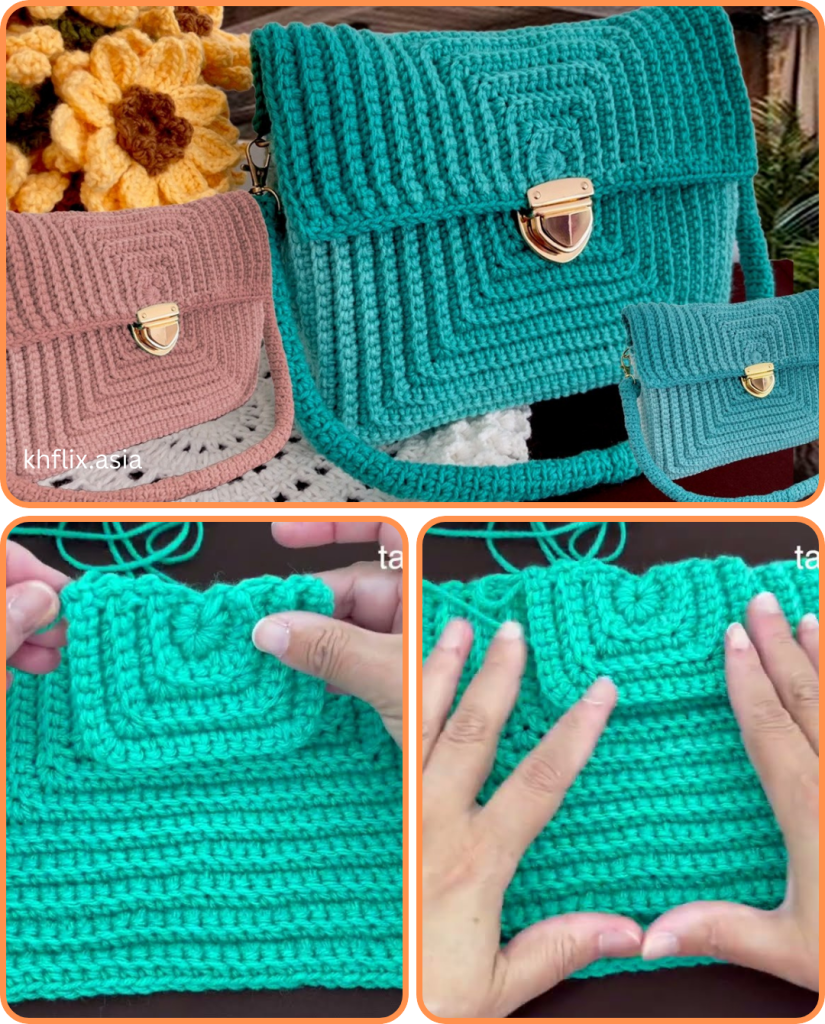
Forming the Purse
- Fold: Lay your long crocheted rectangle flat.
- Mark: Fold the bottom section up. For example, if your purse will be 7 inches tall, measure up 7 inches from one end. This will be the bottom of your purse. Then fold up the next 7 inches for the front panel. The remaining section will be your flap.
- Seam the Sides: With the wrong sides facing out (or right sides together, depending on your preferred seaming method), carefully align the side edges of the front and back panels.
- Method 1 (Slip Stitch): Insert your hook through both loops of the corresponding stitches on both sides and sl st across.
- Method 2 (Single Crochet): Insert your hook through both loops of the corresponding stitches on both sides and sc across.
- Repeat for the other side.
- Tip: Ensure your seams are neat and even for a professional finish.

Creating the Strap
You have a few options for the strap:
- Crocheted Strap (Attached):
- Decide where you want your strap to attach on the top corners of your purse.
- Join yarn with a sl st to the top corner of the purse. Ch desired length for your strap (e.g., 100-120 chains for a shoulder bag). Sl st to the opposite top corner of the purse.
- Work back across the chain in sc, hdc, or dc to create a sturdy strap. You can do multiple rows for a wider strap. Fasten off and weave in ends.
- Crocheted Strap (Separate):
- Ch desired length for your strap (e.g., 100-120 chains).
- Work in rows of sc, hdc, or dc until your strap is the desired width.
- Fasten off, leaving long tails for sewing.
- Sew the strap securely to the top corners of your purse using your yarn needle.
- Store-Bought Strap: Attach a store-bought leather or metal chain strap for a different look.
Finishing Touches
- Weave in Ends: Use your yarn needle to neatly weave in all loose yarn ends. This is crucial for a tidy and durable finish.
- Add a Closure:
- Button and Loop: Crochet a small chain loop on the flap that fits over a decorative button sewn onto the front of the purse.
- Magnetic Snap: Sew a magnetic snap closure to the inside of the flap and the front of the purse.
- Zipper: For the more adventurous, a zipper can be sewn into the top opening of the purse.
- Add a Lining (Optional but Recommended):
- Measure the dimensions of your purse. Cut a piece of fabric slightly larger than these measurements, allowing for seam allowances.
- Sew the fabric into a bag shape that fits snugly inside your crocheted purse.
- Hand-stitch or machine-stitch the lining into the inside of your crocheted purse, turning the raw edges under for a neat finish.
Tips for Success
- Gauge Swatch: Before starting, crochet a small gauge swatch (e.g., 4×4 inches) to check your tension. This will help ensure your purse comes out to the intended size. Adjust your hook size up or down if your swatch is too small or too large.
- Stitch Pattern Variation: Experiment with different stitch patterns for the body of the purse (e.g., moss stitch, granny stitch, ripple stitch) to create unique textures and looks.
- Yarn Choice: Consider the drape and stiffness of your chosen yarn. A stiffer yarn will create a more structured purse, while a softer yarn will result in a more relaxed, slouchy bag.
- Blocking: After completing your purse, blocking can help even out your stitches and give your purse a more professional shape. Lightly dampen the purse, shape it, and let it dry completely.
- Embellishments: Don’t be afraid to personalize your purse with embellishments like tassels, pompoms, appliques, or embroidery.
Crocheting a one-piece purse is a rewarding project that allows for a lot of creativity. With these detailed instructions and tips, you’ll be able to create a beautiful and functional accessory that’s uniquely yours. Happy crocheting!
Video tutorial:


