
Crochet squares (often called granny squares) are one of the most iconic and versatile patterns in the world of crochet. They’re perfect for beginners learning the basics, and they can be used to create almost anything: cozy blankets, bags, scarves, pillow covers, and more.
In this tutorial, you’ll learn how to make a basic square using simple stitches and a step-by-step approach. No fancy techniques—just easy, relaxing crochet.

🧵 Materials You’ll Need:
- Yarn: Any medium-weight yarn (Worsted Weight #4 is perfect)
- Crochet Hook: 5.0 mm (H) or as recommended by your yarn
- Scissors
- Yarn needle (for weaving in ends)
🧶 Stitches Used (US Terms):
- ch – Chain
- sl st – Slip Stitch
- dc – Double Crochet
- sp – Space
📏 Finished Size:
- Each square (depending on yarn/hook) will be about 4–5 inches wide.
- Make more rounds for a bigger square.

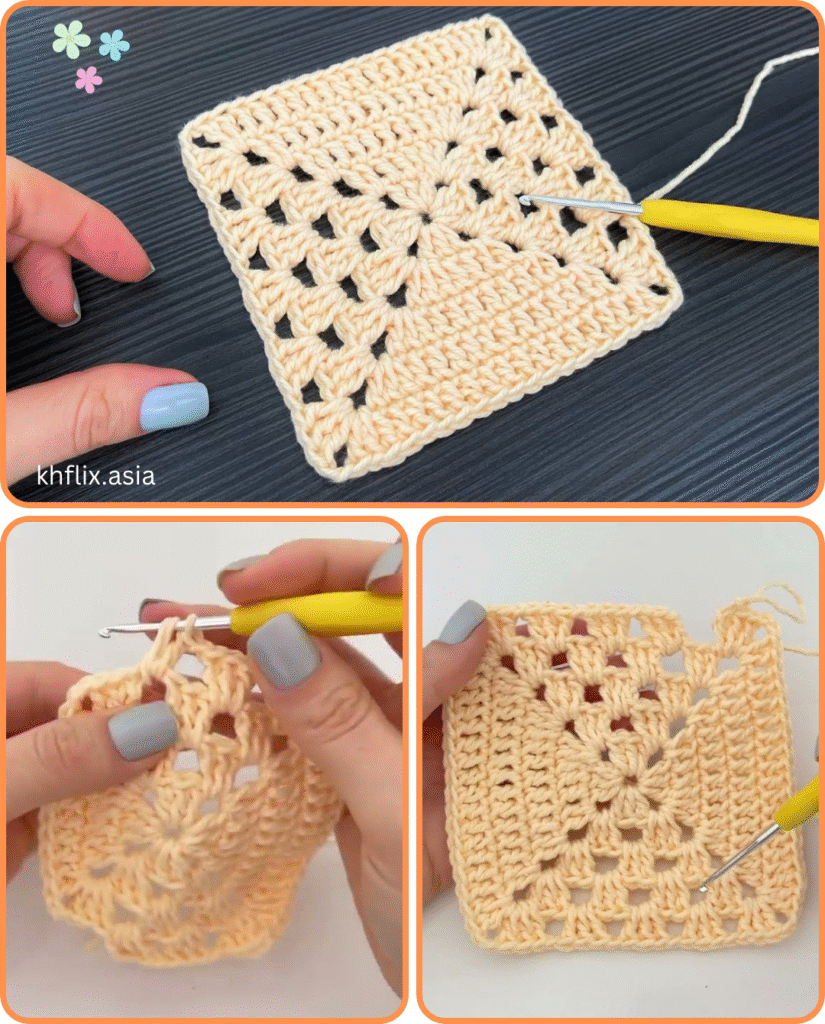
👣 Step-by-Step Instructions
Let’s make a classic double crochet square—easy, repetitive, and beginner-friendly.
✅ Step 1: Start with a Magic Ring (or Chain Ring)
You have two options:
- Option A (Magic Ring): Create a magic ring (great for a tight center).
- Option B (Chain Ring): Ch 4 and sl st into the first ch to form a ring.
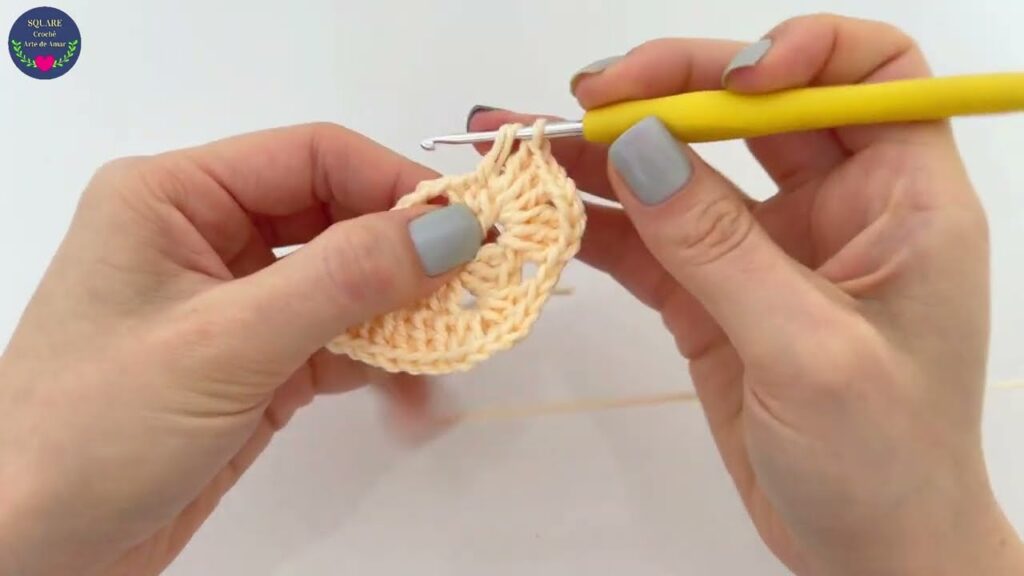
✅ Step 2: Round 1 – Foundation
- Ch 3 (counts as 1 dc).
- Into the ring, make 2 dc, ch 2 (corner).
- (3 dc, ch 2) — repeat 3 more times into the ring.
- Join with a sl st to the top of the beginning ch-3.
You should now have 4 groups of 3 dc, each separated by a ch-2 corner space.
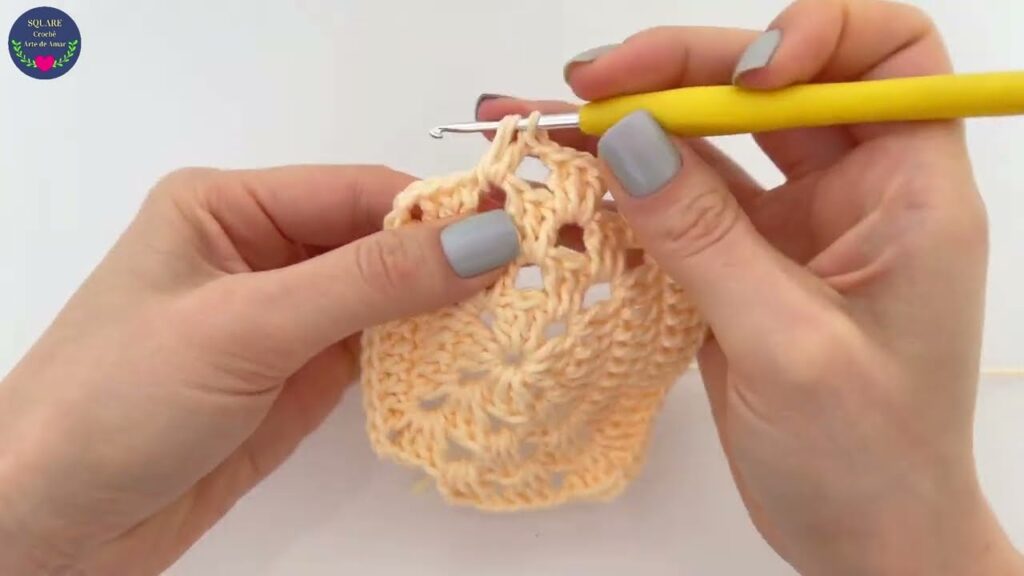
✅ Step 3: Round 2 – Build the Square
- Sl st over to the next ch-2 space.
- Ch 3, make 2 dc in the same corner space.
- Ch 2, make 3 dc in the same space (1st corner done).
- In the next ch-2 space, do (3 dc, ch 2, 3 dc).
- Repeat for all corners.
- Join with a sl st to the top of the ch-3.
Now your square has 2 clusters per side.
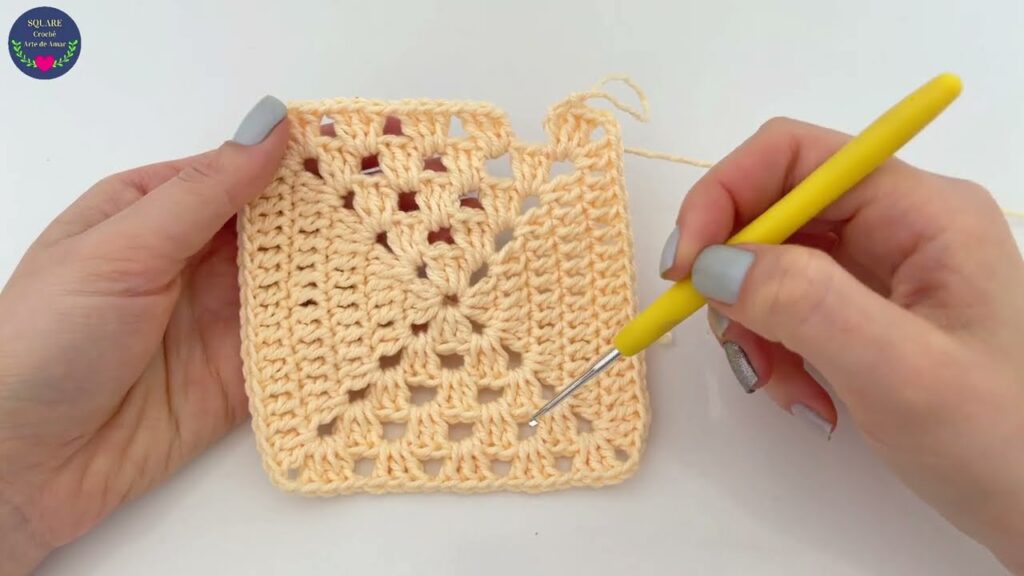
✅ Step 4: Round 3 – Continue Building
- Sl st over to the next corner space.
- Ch 3, 2 dc, ch 2, 3 dc (all in the corner).
- In the space between clusters (the side), do 3 dc.
- In the next corner space, (3 dc, ch 2, 3 dc).
- Repeat all the way around.
- Join with sl st.
You now have 3 clusters per side (1 in the middle and 1 in each corner).
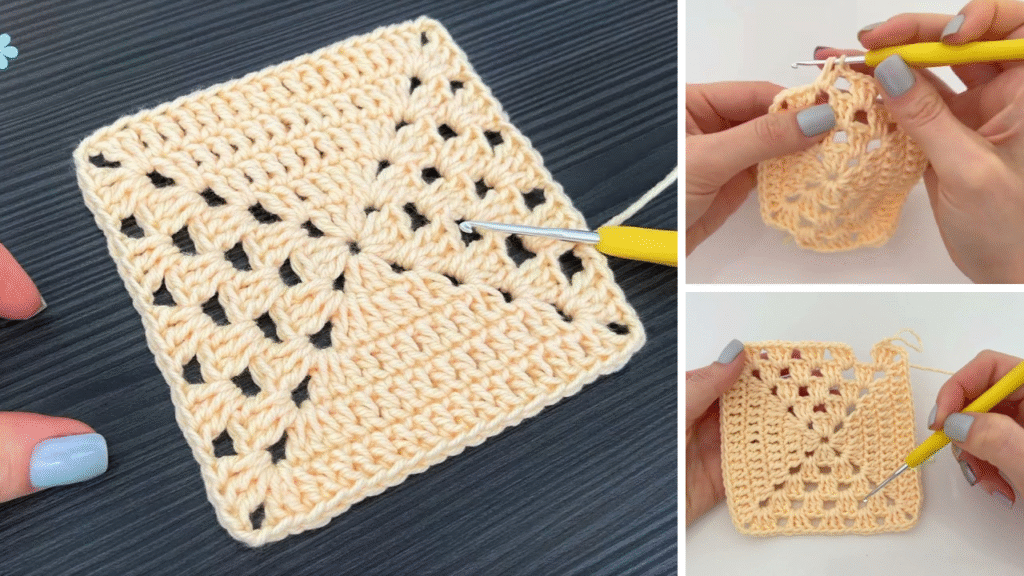
✅ Step 5: Continue for More Rounds
- Repeat the same pattern:
- Corners: (3 dc, ch 2, 3 dc)
- Sides: (3 dc in each space between clusters)
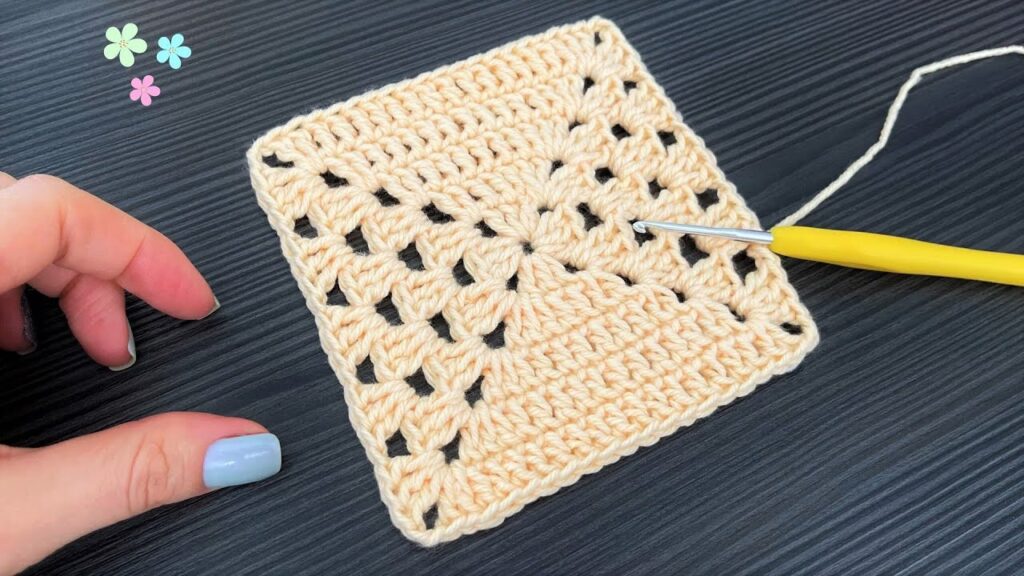
Each round adds another cluster per side. Make your square as big as you like!
✅ Step 6: Finish Off
- After your final round, sl st to join and fasten off.
- Use a yarn needle to weave in the ends.
🎉 You’ve made a beautiful crochet square!
🧼 Care Tips:
- Wash as recommended on your yarn label (usually machine washable for acrylic, hand-wash for natural fibers).
- To shape your square perfectly, block it by dampening it and pinning it flat to dry.
🌟 Customization Ideas:
- Change colors every round for a vibrant, classic granny square.
- Add a scalloped border or picot edge to dress it up.
- Join multiple squares together to create:
- Blankets
- Scarves
- Tote bags
- Pillow covers
💡 Helpful Tips:
- Keep your tension even so your square lies flat.
- If it starts to curl or pucker, block it or check your stitch counts.
- Use stitch markers if you lose track of corners.
🧵 Final Thoughts
Crocheting simple squares is an ideal way to practice, relax, and build up your yarn skills. Whether you make one or one hundred, these squares can be turned into beautiful, heartfelt handmade items.
Grab your hook, turn on some music or a podcast, and enjoy making your first (or next!) square. With just a few rounds, you’ll have something lovely and handmade to be proud of.
Video tutorial:


