
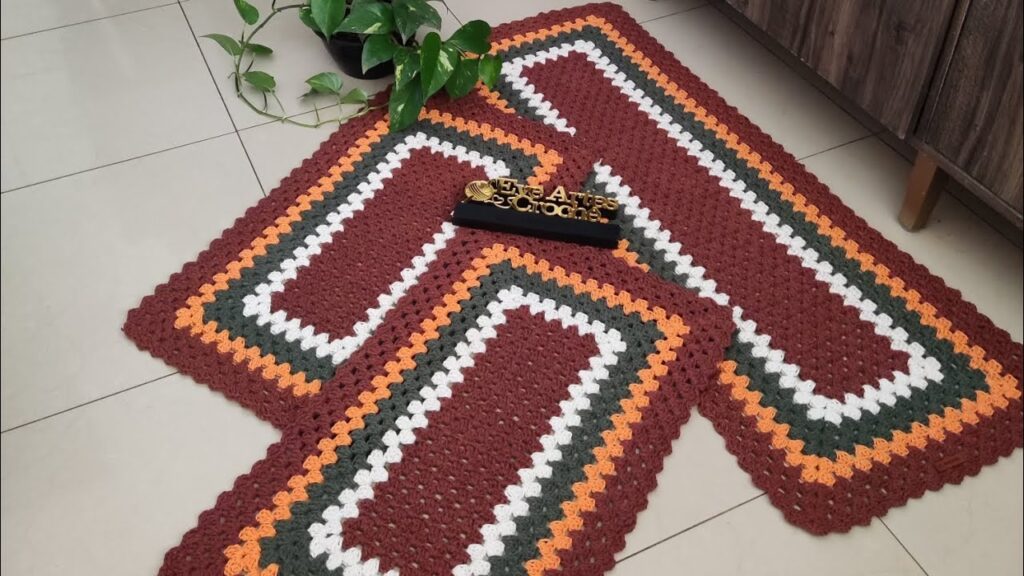
A handmade kitchen runner is not just a decorative element—it’s also practical, cozy, and adds a warm touch to your home. Whether you want a rustic farmhouse vibe or a modern minimalist look, crocheting your own rectangular kitchen runner is a satisfying project. And the best part? It’s easy enough for beginners!
🧵 Materials Needed:
- Yarn: Worsted weight cotton yarn (cotton is best for durability and washability)
- Crochet Hook: 5.0 mm (H) or as recommended on your yarn label
- Scissors
- Yarn needle: For weaving in ends
- Measuring tape
📏 Suggested Finished Size:
- Approx. 15 inches wide x 60 inches long
(Adjust the width and length as needed to fit your space)
🧶 Stitches Used (US Terms):
- ch – Chain
- sc – Single Crochet
- dc – Double Crochet
- sk – Skip
- sl st – Slip Stitch
You’ll be using a simple repeat pattern that creates a light, airy texture—great for a kitchen environment.
👣 Step-by-Step Instructions
✅ Step 1: Foundation Row
- Chain a multiple of 4 + 3 until you reach your desired width.
Example: ch 63 (for approx. 15 inches wide) - Row 1:
In the 4th chain from the hook, make 1 dc.
Sk 1 ch, 1 dc in next ch. Repeat from * to the end of the row.
Turn.
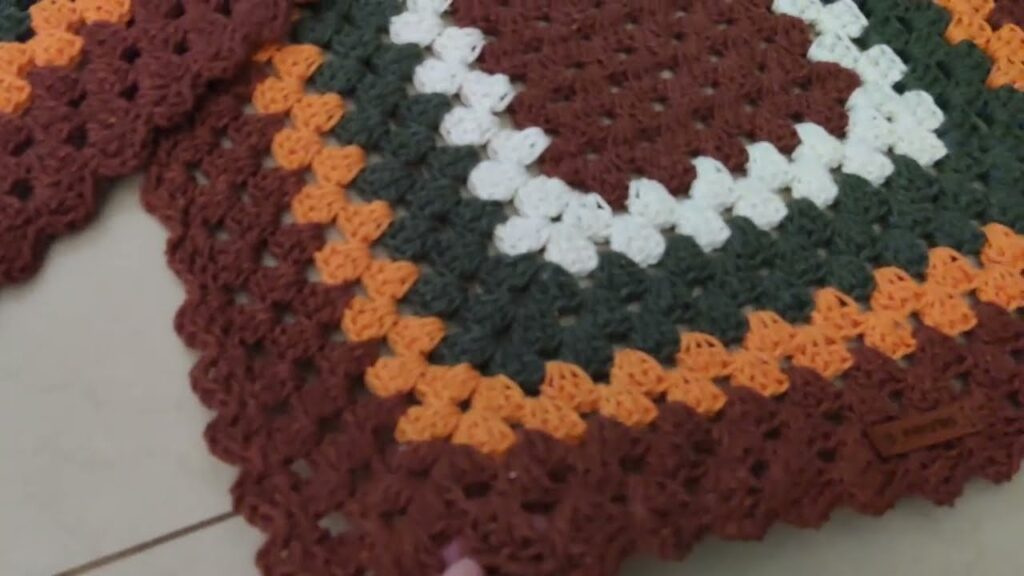
✅ Step 2: Mesh Stitch Pattern
This is where the mesh-like, open pattern develops—great for a modern or farmhouse kitchen.
- Row 2:
Ch 3 (counts as dc).
Sk 1 st, dc in next st. Repeat across.
Turn. - Repeat Row 2 for the entire length of your runner.
Continue until your piece is about 60 inches (or your desired length).
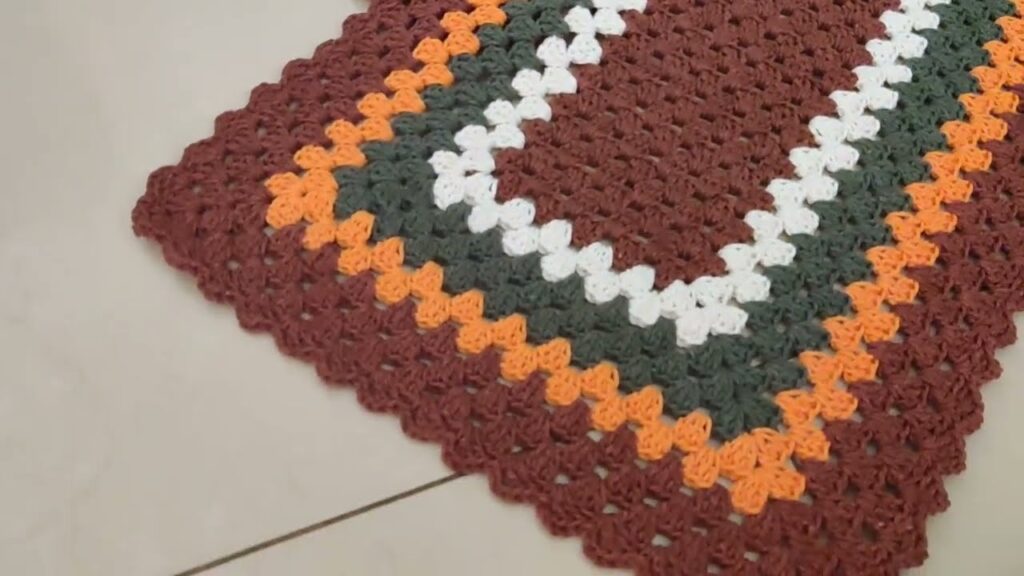
✅ Step 3: Add a Solid Border (Optional but recommended)
A solid border gives your runner a polished look and helps it lay flat.
- Border – Round 1:
- Join yarn to any corner.
- Sc evenly around all four edges, placing 3 sc in each corner.
- Join with a sl st.
- Border – Round 2 (Optional):
- Ch 1, sc in each stitch around again.
- Join and fasten off.
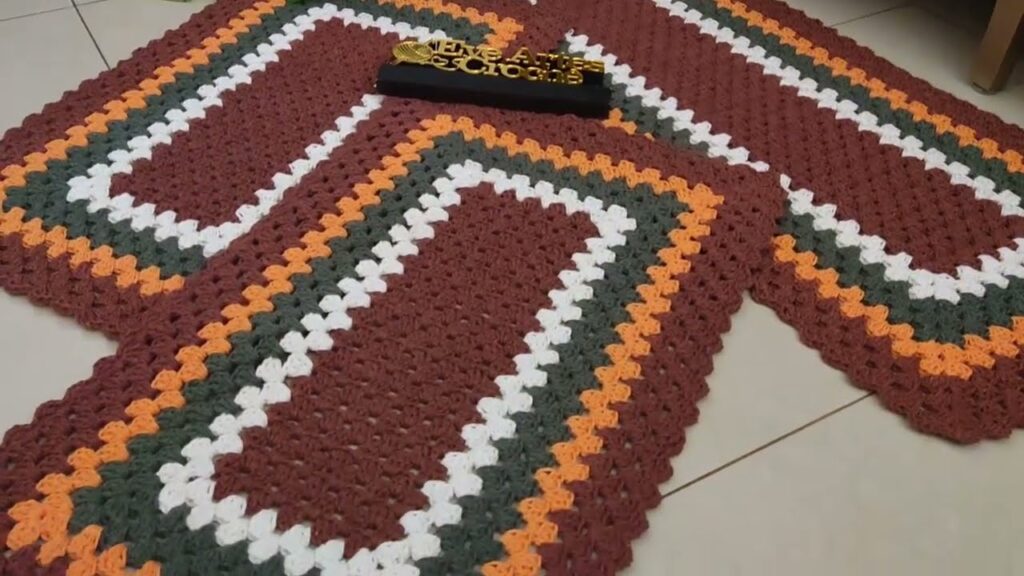
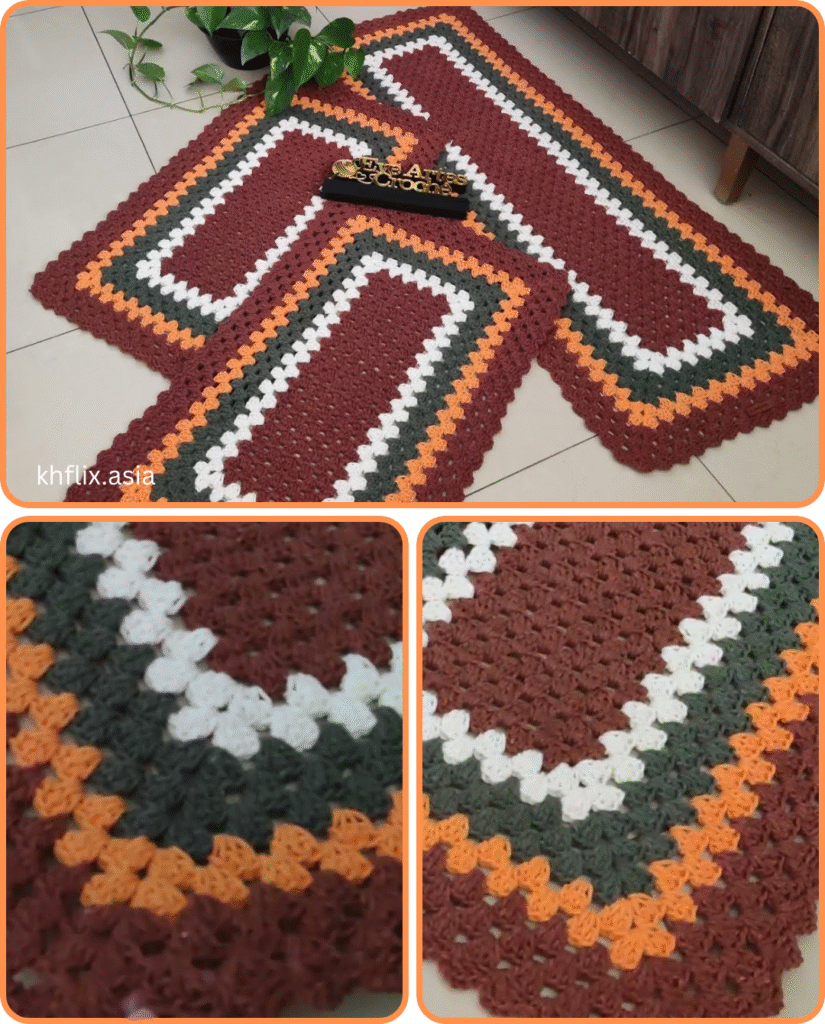
🌟 Customization Ideas:
- Stripes: Alternate yarn colors every 4–5 rows for a striped runner.
- Textured Stitches: Replace the mesh with alternating sc and dc for more texture.
- Rustic Look: Use jute or raffia yarn for a farmhouse aesthetic (note: these are rougher on hands).
- Non-slip backing: For safety, consider adding a non-slip pad or dots to the underside.
🧼 Care Tips:
- Use 100% cotton yarn so it can withstand frequent washing.
- Machine wash cold, lay flat to dry or tumble dry low.
- Avoid bleach to preserve color and fiber quality.
⏱ How Long Does It Take?
- Beginners: Around 6–10 hours total
- Intermediate crocheters: 4–6 hours
You can break it up over a few evenings—great for a relaxing, useful crochet project!
💡 Final Thoughts
A crocheted kitchen runner is a fantastic blend of form and function. With a simple stitch pattern, you can create a beautiful handmade accent that will make your kitchen feel cozy, clean, and uniquely yours. Whether you’re going for neutral tones or vibrant stripes, this rectangular runner can be tailored to match any kitchen decor.
So grab your yarn, set your favorite playlist, and get stitching—you’ll love seeing your progress grow row by row!
Video tutorial:


