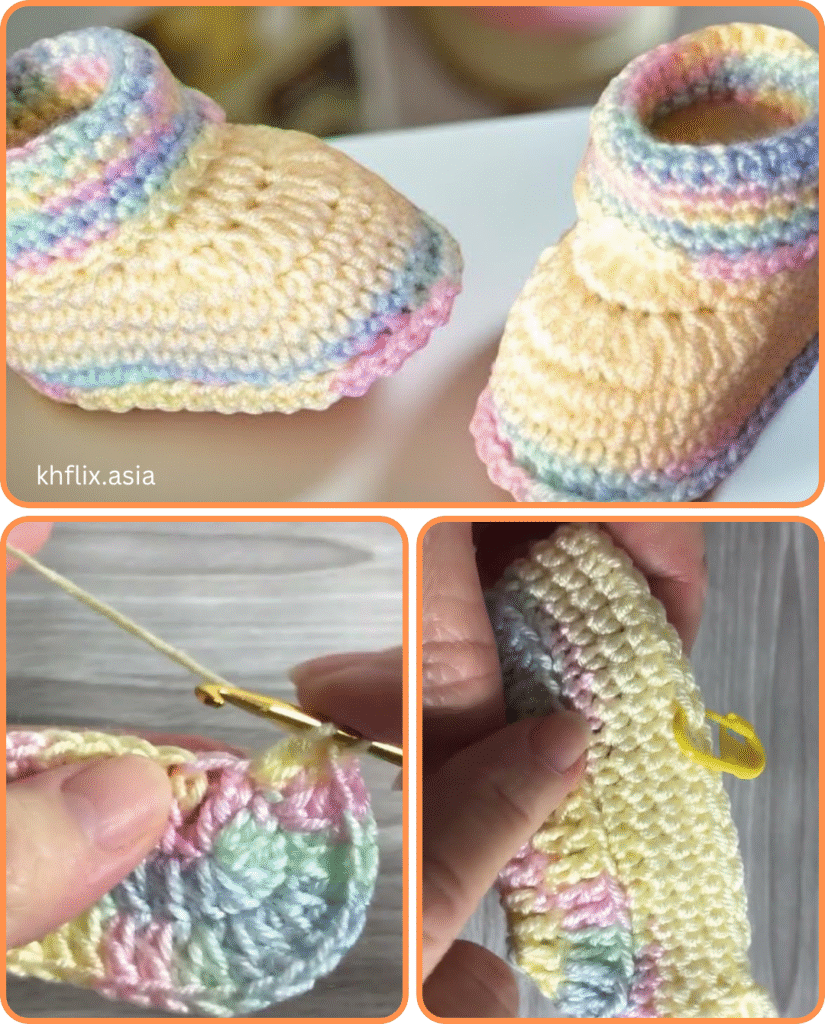
Crocheting baby shoes is one of the most heartwarming and practical projects for beginners. Not only are they adorable, but they also make thoughtful handmade gifts for baby showers or newborns. This tutorial will guide you through creating super easy crochet baby shoes, even if you’re just starting out with crochet!

🧵 Materials You’ll Need:
- Yarn: Soft baby yarn or worsted weight yarn (cotton or acrylic is ideal for comfort)
- Crochet Hook: 4.0 mm (G) or as recommended by your yarn label
- Scissors
- Yarn Needle: For weaving in ends
- Stitch Marker (optional): To help keep track of rounds
📏 Finished Size:
This pattern makes baby shoes that will fit 0–3 months old (approx. 3.5–4 inches in length). To make larger sizes, use a larger hook or thicker yarn.
🧶 Basic Stitches Used:
- ch: Chain
- sl st: Slip Stitch
- sc: Single Crochet
- hdc: Half Double Crochet
- dc: Double Crochet
- inc: Increase (2 stitches in the same stitch)

👣 Step-by-Step Instructions
✅ Step 1: The Sole
Round 1:
- Ch 10.
- In 2nd ch from hook, make 2 sc.
- Sc in next 6 ch.
- In last ch: 5 sc (this curves around to the other side).
- Sc in next 6 stitches on the other side of the chain.
- End with 3 sc in the first stitch (where you started the round).
- Join with a sl st. (22 stitches)
Round 2:
- Ch 1.
- 2 sc in first 2 stitches (increase).
- Sc in next 6 stitches.
- 2 sc in next 5 stitches.
- Sc in next 6 stitches.
- 2 sc in last 3 stitches.
- Join with sl st. (32 stitches)
Now you have a nice oval-shaped sole.

✅ Step 2: The Shoe Sides
Round 3:
- Ch 1. Working in back loops only, sc around all 32 stitches.
- Join with a sl st.
This gives the shoe its side walls and helps the sole stand out.
Round 4:
- Ch 1. Sc in each stitch around.
- Join with a sl st.

✅ Step 3: Shaping the Toe
Round 5:
- Sc in next 11 stitches.
- Now do the toe decreases:
- (Sc2tog) 5 times (i.e., decrease 5 times).
- Sc in next 11 stitches.
- Join with sl st. (27 stitches)
Round 6:
- Sc in next 10 stitches.
- (Sc2tog) 3 times.
- Sc in next 11 stitches.
- Join with sl st. (24 stitches)

✅ Step 4: Finishing the Top
Round 7:
- Ch 1. Sc around all 24 stitches.
- Join with a sl st.
Fasten off and weave in the ends using a yarn needle.
🎉 You’ve now made your first baby shoe!

👟 Optional: Add a Strap
To make a cute little Mary Jane-style strap:
- Reattach yarn to the side of the shoe.
- Ch 8 (or longer, depending on how long you want the strap).
- Sl st to the other side.
- Fasten off, and weave in the ends.
Add a small button or stitch the strap in place for a secure finish.
🧼 Washing Instructions
Use machine washable yarn if you want to make care easier for parents. Most baby-friendly yarns are made to be machine-safe on gentle cycles.
🧵 Tips for Beginners:
- Gauge isn’t critical, but keeping your tension even will help the shoe look neat.
- If your shoe curls or feels tight, try going up a hook size.
- Make both shoes at the same time to ensure they match (e.g., finish one sole, then the second sole, etc.)

🎁 Final Thoughts
Crocheting baby shoes is a fast and satisfying project. In under an hour, you can complete a pair of soft, cozy shoes that will keep tiny feet warm and stylish. This pattern is a great base—you can add ribbons, buttons, or even animal faces to make them extra special.
So grab your hook and yarn, and enjoy making something sweet for a little one today! 💕
Video tutorial:


