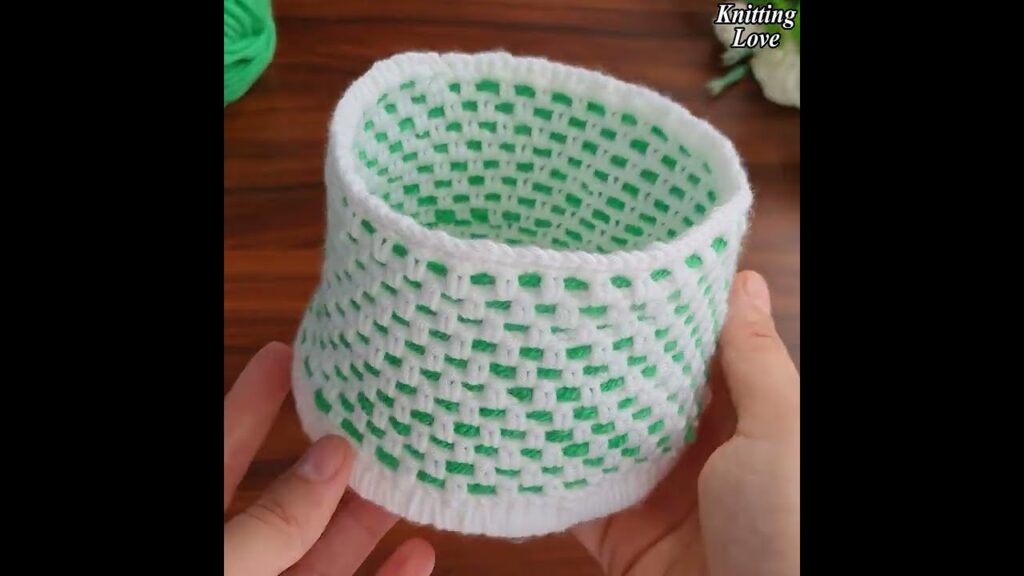
In a world craving both functionality and style, the crochet decorative basket stands out as a true crafting superstar. Far more than just a pretty accent, a well-made crocheted basket is an incredibly versatile and useful item that can bring order and beauty to virtually any room in your home. From corralling clutter to showcasing your favorite plants, these baskets offer a charming, handmade solution to everyday organization challenges.
This detailed article will explore why crocheted baskets are so useful and guide you through the process of creating your own, emphasizing both decorative appeal and practical utility.
Why Every Home Needs a Crochet Decorative Basket:
- Clutter Control with Style: The primary benefit! Baskets are perfect for taming everyday messes – remote controls, mail, keys, toys, craft supplies, toiletries, or charging cables. The “decorative” aspect means they look good while doing it.
- Customizable to Your Decor: Unlike mass-produced storage, you can choose the exact yarn color, texture, and stitch pattern to perfectly match your interior design aesthetic, from farmhouse chic to minimalist modern.
- Soft & Safe Storage: Ideal for items that might be scratched or damaged by rigid containers, such as baby essentials, yarn, delicate fabrics, or even fresh produce.
- Versatile Functionality: A single basket can serve multiple purposes depending on your needs. It can be a planter cover, a bread basket, a gift hamper, a towel holder, or a yarn bowl.
- Skill Building Project: Baskets are excellent for practicing working in the round, creating sturdy fabrics, understanding increases, and often feature interesting textures.
- Sustainable & Eco-Friendly: Use natural fibers like cotton or jute, or repurpose leftover yarn, contributing to a more sustainable lifestyle.
- Thoughtful Handmade Gift: Fill a custom-made basket with goodies, and you have a personal and practical gift for housewarmings, birthdays, or holidays.
Key Considerations for a Truly Useful Basket
To ensure your crochet basket is both beautiful and functional, a few thoughtful choices are essential:
- Purpose & Desired Structure:
- Stiff & Upright? You’ll need very sturdy yarn, a smaller hook, and dense stitches.
- Flexible & Collapsible? Softer yarn and a slightly larger hook will work.
- What will it hold? This dictates its size, shape (round, oval, square), and required durability.
- Yarn Choice (The Foundation of Functionality):
- Fiber: For sturdy, functional baskets, cotton (especially chunky or rope-style cotton), jute, macrame cord, t-shirt yarn, or plarn (yarn made from plastic bags) are excellent. These fibers offer stiffness and durability. Wool can work for softer baskets, and sturdy acrylics can too.
- Weight: Super Bulky (Category 6) or even Jumbo (Category 7) yarns are fantastic for quick, sturdy baskets. Holding multiple strands of worsted weight yarn together is also a popular technique to achieve bulk and stiffness.
- Color: Solid colors showcase stitch definition. Natural, earthy tones blend well, while bright colors can add a pop of personality.
- Hook Size: For baskets, you generally want a hook size that is smaller than what the yarn label suggests for a garment. This creates a dense fabric with minimal gaps, which is crucial for a basket to hold its shape. For super bulky yarn, an 8.0mm (US L/11) to 12.0mm (US O/P/Q) hook might be appropriate, depending on desired stiffness.
- Stitch Pattern:
- Base: A flat, tightly crocheted base (often single crochet in the round with increases) is fundamental for stability.
- Sides: Dense stitches like single crochet (sc), half double crochet (hdc), or stitches worked in the back loop only (BLO) or third loop can create ribbing and added structure. The “waistcoat stitch” (or center single crochet) creates a knit-like, very dense fabric perfect for baskets.
- Handles (Optional): If your basket will be moved frequently, add sturdy handles. These can be crocheted (using dense sc or hdc), made from rope, or integrated with wooden/metal rings.
- Lining (Optional): For baskets holding delicate items or food, a fabric lining can add protection and a more finished look.

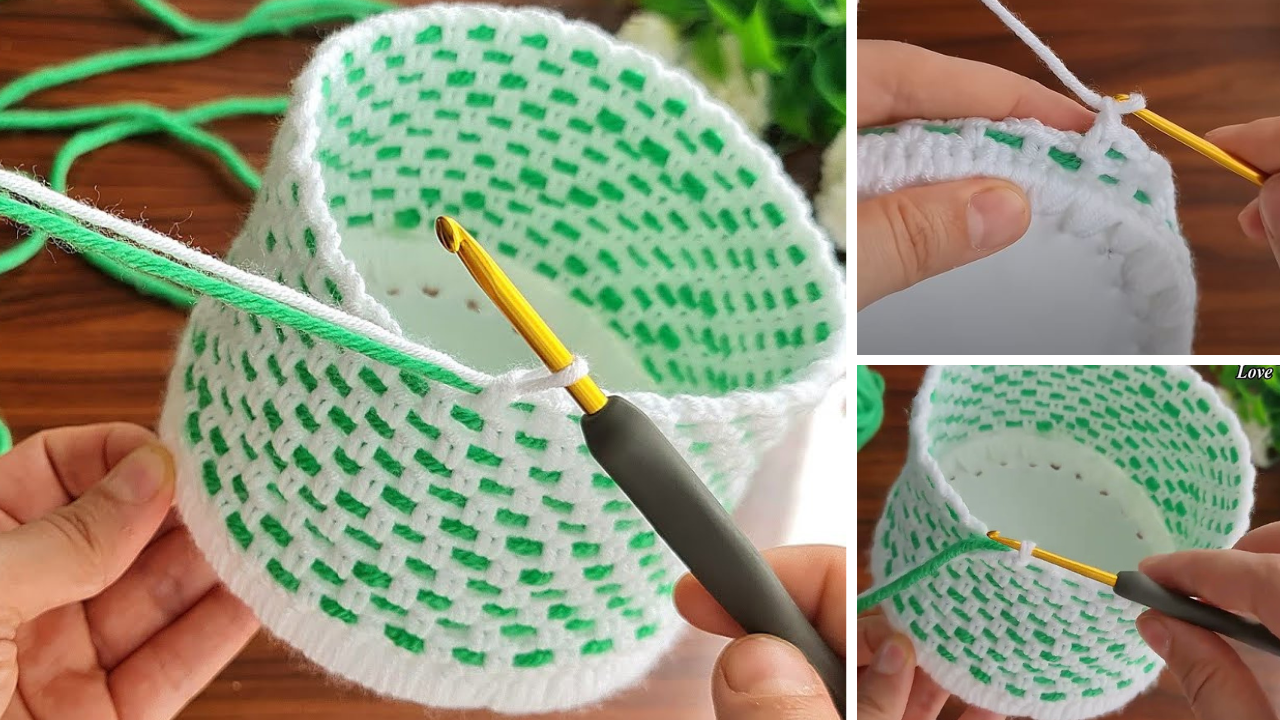
Very Useful Crochet Decorative Basket Tutorial (Sturdy Round Basket)
This tutorial will guide you through creating a sturdy, round basket using a tight single crochet stitch, which provides excellent structure.
Target Dimensions: Approx. 8 inches (20 cm) diameter x 6 inches (15 cm) tall.
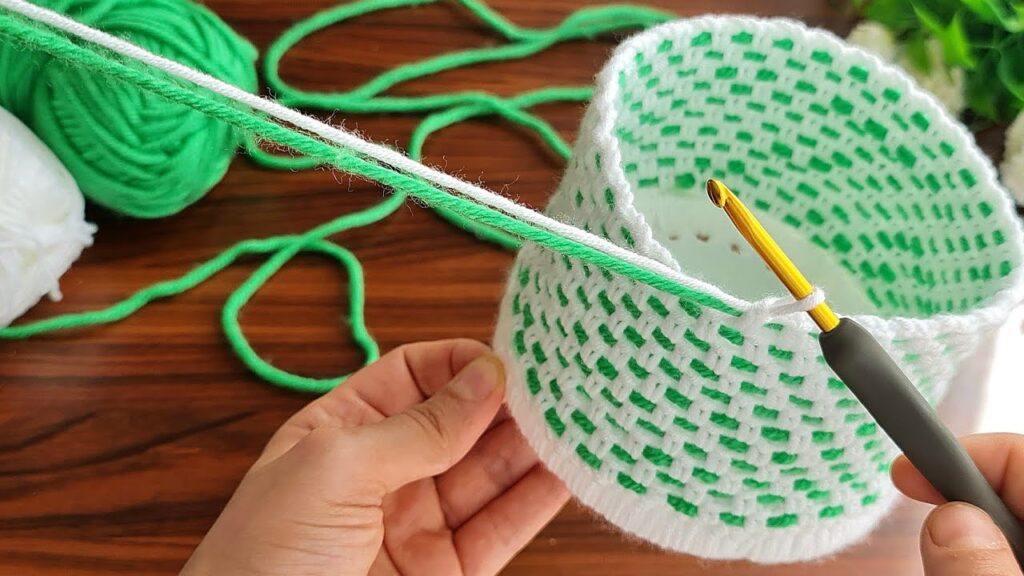
Yarn Suggestion: Super Bulky (Category 6) cotton rope yarn, T-shirt yarn, or hold two strands of Worsted weight (Category 4) cotton yarn together. Hook Suggestion: 8.0mm (US L/11) to 10.0mm (US N/P/Q) – choose based on your yarn and desired stiffness.
Part 1: The Flat, Sturdy Base
This forms the bottom of your basket. We’ll work in continuous rounds for a seamless look, using a stitch marker to track the beginning of each round.
- Starting: Make a Magic Ring (highly recommended for a tight center).
- Round 1: Ch 1 (does NOT count as a st). Work 8 sc into the Magic Ring. Pull the yarn tail tight to close the ring. Do NOT join. Place stitch marker in the last sc. [8 sc]
- Round 2: Sc inc (2 sc) in each st around. Move stitch marker. [16 sc]
- Round 3: *Sc in next st, sc inc in next st.* Repeat from * around. Move stitch marker. [24 sc]
- Round 4: *Sc in next 2 sts, sc inc in next st.* Repeat from * around. Move stitch marker. [32 sc]
- Round 5: *Sc in next 3 sts, sc inc in next st.* Repeat from * around. Move stitch marker. [40 sc]
- Round 6: *Sc in next 4 sts, sc inc in next st.* Repeat from * around. Move stitch marker. [48 sc]
- Round 7: *Sc in next 5 sts, sc inc in next st.* Repeat from * around. Move stitch marker. [56 sc]
- Round 8: *Sc in next 6 sts, sc inc in next st.* Repeat from * around. Move stitch marker. [64 sc]
- Round 9: *Sc in next 7 sts, sc inc in next st.* Repeat from * around. Move stitch marker. [72 sc]
- At this point, your flat circle should measure approximately 8 inches (20 cm) in diameter. Adjust more or fewer increase rounds if you want a larger/smaller basket.
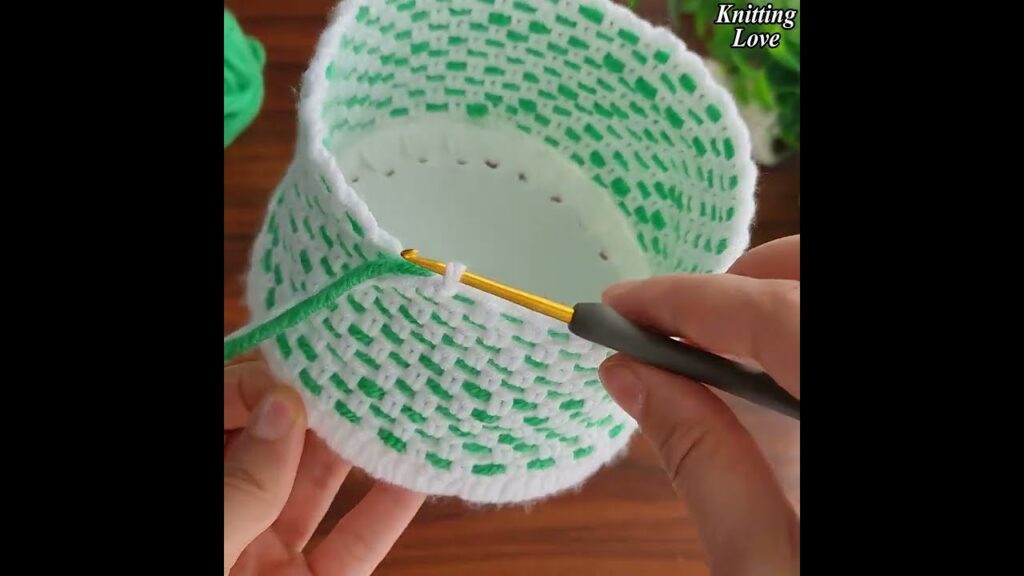
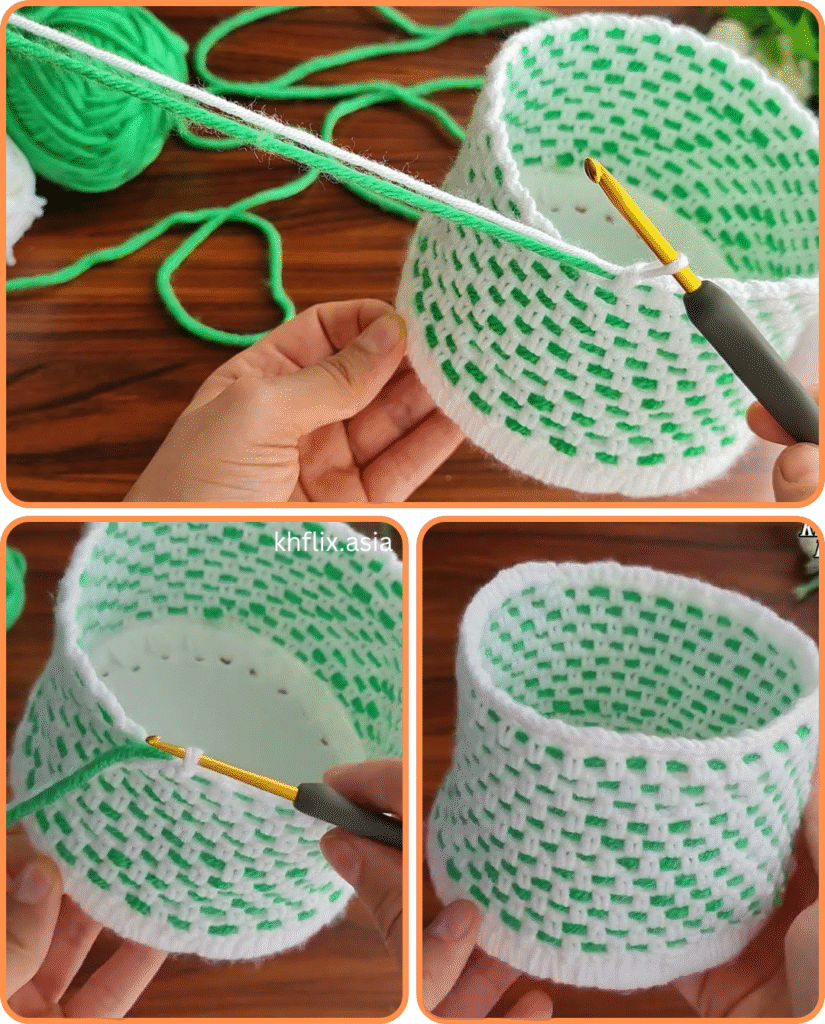
Part 2: Building the Basket Sides (Vertical Walls)
This creates the upright walls of your basket.
- Round 10 (Defining Wall): Ch 1 (does NOT count as a st). Sc in the back loop only (BLO) of each st around. Join with a sl st to the first sc. [72 sc]
- This BLO round creates a distinct ridge, making the basket stand up straight and preventing it from flaring out. After this round, you will typically work in joined rounds to keep the seam tidy.
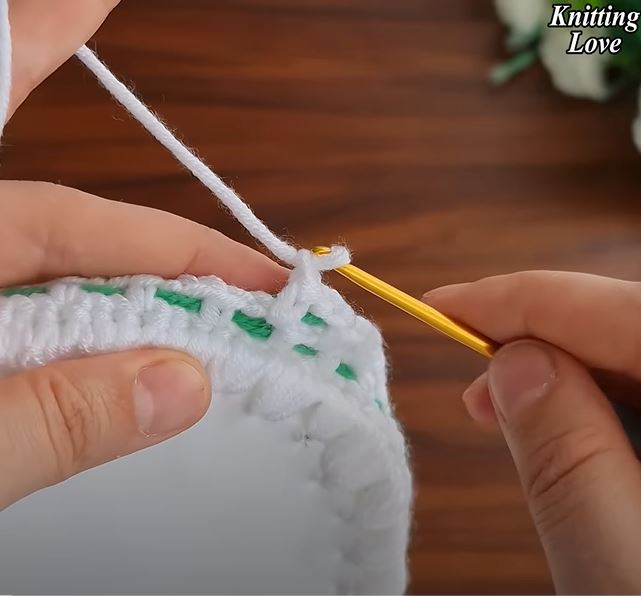
- Round 11: Ch 1. Sc in each sc around. Join with a sl st to the first sc. [72 sc]
- Rounds 12 – 20: Repeat Round 11. Continue working straight sc rounds until your basket reaches your desired height (approx. 6 inches / 15 cm from the BLO ridge).
- For a super sturdy basket, try the Waistcoat Stitch (or Center Single Crochet) for the side rows. To do this, instead of inserting your hook under both loops, insert it into the center of the “V” of the stitch below. It creates a very dense, knit-like fabric, but can be a bit harder to work.
- FO, leaving a short tail to weave in.
Part 3: Adding Handles (Optional but Recommended)
For easy portability, add two simple crocheted handles.
- Handle Placement: With the basket seam (if working joined rounds) at the back, flatten the basket. Count 18 stitches from one side-center, place a stitch marker. Count 18 stitches from the other side-center, place a stitch marker. This is where your handles will start.
- First Handle: Attach yarn with a sl st to the first marked stitch. Ch 15 (or desired handle length). Sl st into the second marked stitch.
- Reinforce Handle: Ch 1. Sc evenly across the chain of the handle (approx. 15 sc). Sl st back into the base where the handle began to secure it. FO.
- Second Handle: Repeat steps 2 and 3 for the second handle on the opposite side of the basket.
- Weave in Ends: Securely weave in all handle tails.
Part 4: Finishing Touches
- Weave in All Remaining Ends: Meticulously weave in any remaining loose yarn tails using your yarn needle. This is crucial for a clean, professional, and durable basket.
- Blocking (Optional but Recommended): For maximum flatness in the base and straightness in the sides, gentle blocking can help. Mist the basket lightly with water (or wet block if using natural fibers), gently shape it with your hands (stuffing it with towels can help), and allow it to air dry completely.
- Reinforce (Optional): For extra stiffness, you can spray the inside of the finished basket with fabric stiffener (following product instructions) or even sew in a plastic canvas base for the bottom.
Tips for Success & Maximum Usefulness:
- Consistent Tension: This is the most crucial factor for a sturdy basket. Aim for tight, even stitches, especially in the base.
- Counting Stitches: Always count your stitches, particularly in the base’s increase rounds, to ensure a flat, non-wavy circle.
- Yarn is Key: Don’t skimp on yarn quality or use a yarn that’s too soft if you want a basket that holds its shape well.
- Customization:
- Shape: Adjust the base to be oval or square instead of round.
- Texture: Experiment with front post/back post stitches for ribbing, or the waistcoat stitch for a super dense fabric.
- Color: Stripe the sides, use a contrasting color for the base or handles.
- Embellishments: Add a decorative tag, a bow, or a small crocheted appliqué.
- Gift Idea: Fill your finished basket with pampering items for a spa gift, gourmet treats for a food lover, or a selection of baby essentials for a new parent.
Your beautifully crafted crochet decorative basket is now ready to bring order, charm, and a touch of handmade warmth to your home. Enjoy its usefulness every day!
Video tutorial:


