A crocheted bag or purse is more than just an accessory; it’s a wearable piece of art, a testament to handmade charm, and a delightful way to express your personal style. Whether you’re carrying your daily essentials or accessorizing for a special occasion, a handmade bag adds a unique touch that store-bought items simply can’t match.
Crafting Your Style: A Charming Crochet Bag or Purse
Imagine a bag that’s perfectly suited to your taste, exactly the right size, and boasts a unique texture only possible with crochet. From a casual tote for market trips to a chic clutch for an evening out, crocheting your own bag or purse offers endless possibilities for customization and creative expression. This detailed article will guide you through the process, focusing on a charming and versatile design that’s achievable for crocheters of various skill levels.
Why Crochet Your Own Bag or Purse?
- Personalized Style: Create a bag in your favorite colors, textures, and designs, ensuring it perfectly complements your wardrobe and personality.
- Unique & Handmade: Stand out from the crowd with an accessory that nobody else has. It’s a conversation starter and a testament to your crafting skills.
- Sustainable Choice: Use natural fibers or upcycle leftover yarn, making a conscious choice for eco-friendly fashion.
- Skill Development: Bag projects are excellent for practicing a range of techniques, from working in the round and creating sturdy fabrics to adding handles, closures, and even linings.
- Thoughtful Gifts: A handmade bag makes an incredibly personal and cherished gift for friends and family, tailored to their individual tastes.
- Practical & Durable: With the right yarn and stitch, crocheted bags can be surprisingly robust and long-lasting, perfect for everyday use.
Key Considerations Before You Begin
Before you grab your hook, a few thoughtful decisions will shape the outcome and functionality of your charming bag.
- Purpose & Size:
- Everyday Tote? You’ll need something larger, sturdy, and potentially lined, with comfortable handles.
- Evening Clutch? Smaller, perhaps more delicate stitches, and a simple closure.
- Project Bag? Roomy enough for yarn and tools, with a secure top.
- Knowing the bag’s purpose will dictate its dimensions, required durability, and chosen features.
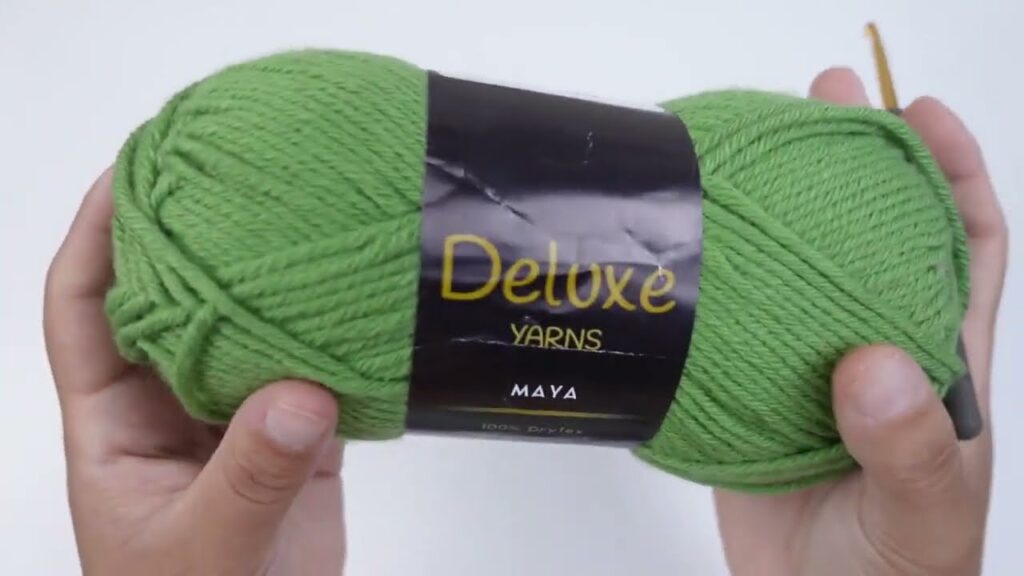
- Yarn Choice (Crucial for Structure!):
- Fiber: For bags that hold their shape well and are durable, cotton, cotton blends, linen, jute, macrame cord, or sturdy acrylics are excellent choices. These fibers have good stitch definition and minimal stretch. Avoid very stretchy or super soft/fuzzy yarns unless you plan to line the bag thoroughly.
- Weight: Worsted weight (Category 4) or bulky (Category 5) yarns work up quickly and create a substantial fabric. Finer yarns (DK, sport) can create more delicate bags, but might require a tighter stitch or a lining for stability.
- Color: Your personal preference! Solids highlight stitch texture, while variegated or striped yarns can add vibrant interest.
- Hook Size: Often, you’ll use a hook size smaller than what the yarn label recommends for a garment. This creates a denser fabric with fewer gaps, making your bag sturdier and less likely to sag or stretch out of shape. For worsted weight yarn, a 4.0mm (US G/6) to 5.0mm (US H/8) hook is a good starting point.
- Stitch Pattern:
- Body: Choose dense, sturdy stitches like single crochet (sc), half double crochet (hdc), or simple variations like the moss stitch (sc, ch 1). These provide structure and prevent contents from falling out.
- Texture: If you want visual interest without complexity, consider stitches like the seed stitch, lemon peel stitch, or back loop only (BLO) stitches for ribbing.
- Handles & Closures:
- Handles: Crocheted straps (sc, hdc, or even sturdy chain braids), pre-made leather/wood handles, or metal rings. Consider if they should be sewn on or worked directly into the bag.
- Closures: Buttons and loops, magnetic snaps, zippers (more advanced), or drawstrings.
- Lining (Recommended for Durability & Finish): While not strictly part of the crochet, adding a fabric lining significantly enhances a bag’s durability, prevents stretching, protects contents, and gives it a professional, finished look. It’s often sewn in after the crocheting is complete.
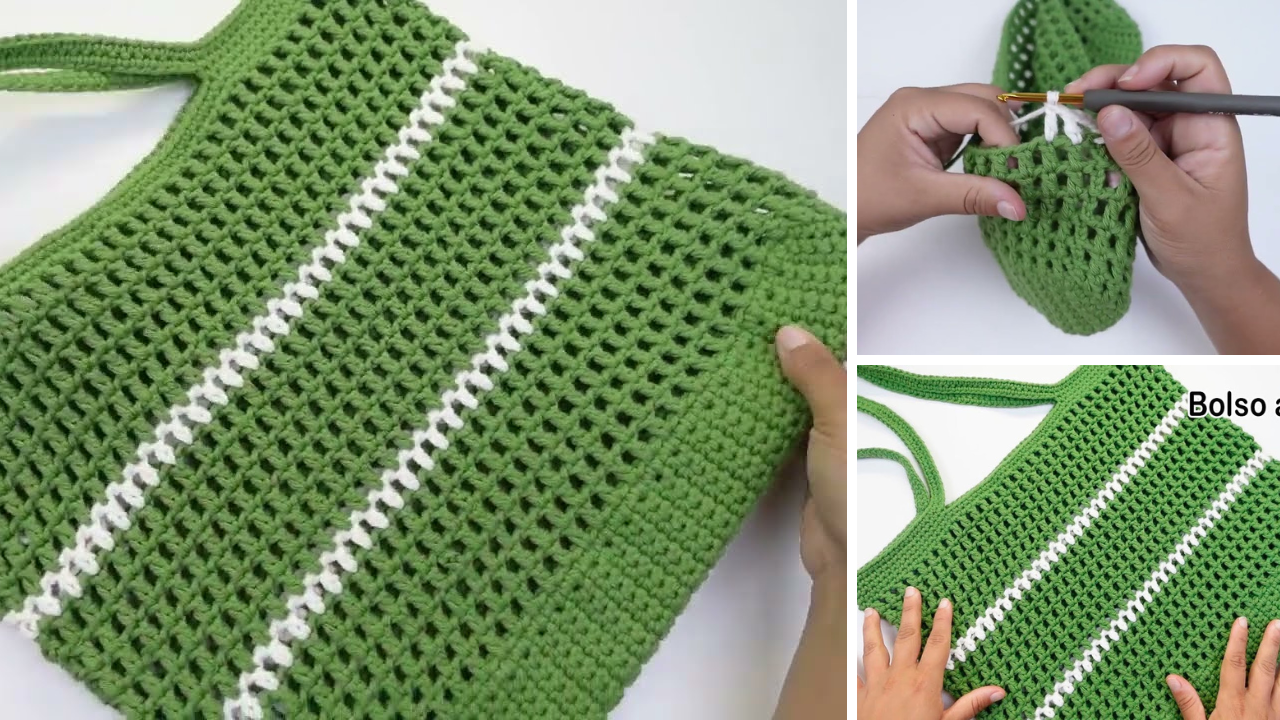
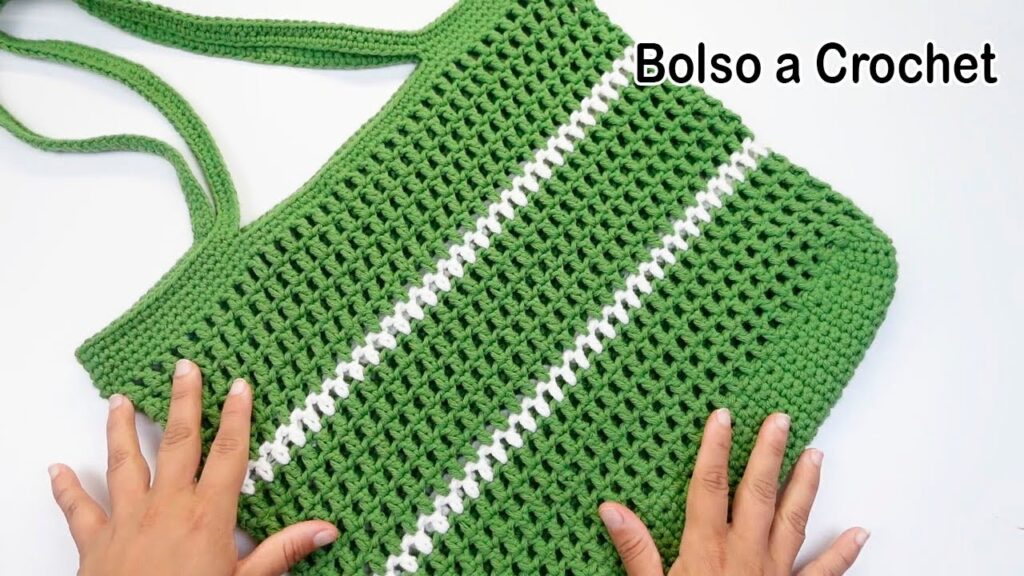
Charming Everyday Tote Bag Tutorial (Flat Bottom, Simple Sides)
This tutorial will guide you through creating a sturdy, charming bag with a flat oval bottom and simple, textured sides, perfect for an everyday tote or project bag.
Target Dimensions: Approx. 10 inches (25 cm) wide x 8 inches (20 cm) tall x 4 inches (10 cm) deep. (Easily adjustable!)
Yarn Suggestion: Worsted weight cotton or cotton blend.Hook Suggestion: 4.5mm (US 7) or 5.0mm (US H/8).
Part 1: The Flat Oval Base
This creates a sturdy foundation for your bag. We’ll work in continuous rounds, using a stitch marker to keep track.
- Starting Chain: Ch 21. (Adjust this chain to change the length of your bag’s base. For a wider base, make it shorter).
- Round 1: Hdc in 3rd ch from hook. Hdc in next 17 ch. Work (5 hdc) in last ch. Working along opposite side of chain: Hdc in next 18 ch. Work (4 hdc) in first ch. Do NOT join; place stitch marker in last hdc. [46 hdc]
- Round 2: Hdc inc in first st. Hdc in next 18 sts. Hdc inc in next 5 sts. Hdc in next 18 sts. Hdc inc in next 4 sts. Move stitch marker to last hdc. [56 hdc]
- Round 3: Hdc in first st. Hdc inc in next st. Hdc in next 18 sts. (Hdc in next st, hdc inc in next st) 5 times. Hdc in next 18 sts. (Hdc in next st, hdc inc in next st) 4 times. Move stitch marker to last hdc. [66 hdc]
- Round 4 (Optional, for larger base): Hdc in next 2 sts. Hdc inc in next st. Hdc in next 18 sts. (Hdc in next 2 sts, hdc inc in next st) 5 times. Hdc in next 18 sts. (Hdc in next 2 sts, hdc inc in next st) 4 times. Move stitch marker to last hdc. [76 hdc]
- Your base should now lie flat and be approximately 10 inches (25 cm) long.
Part 2: The Bag Body (Textured Sides)
We’ll create defined walls using a combination of single crochet (sc) for density and back loop only (BLO) for subtle ribbing.
- Round 5 (Defining Wall): Ch 1 (does NOT count as a st). Sc in the back loop only (BLO) of each st around. Join with a sl st to the first sc. [76 sc]
- This BLO round creates a neat ridge that clearly separates the base from the body of the bag.
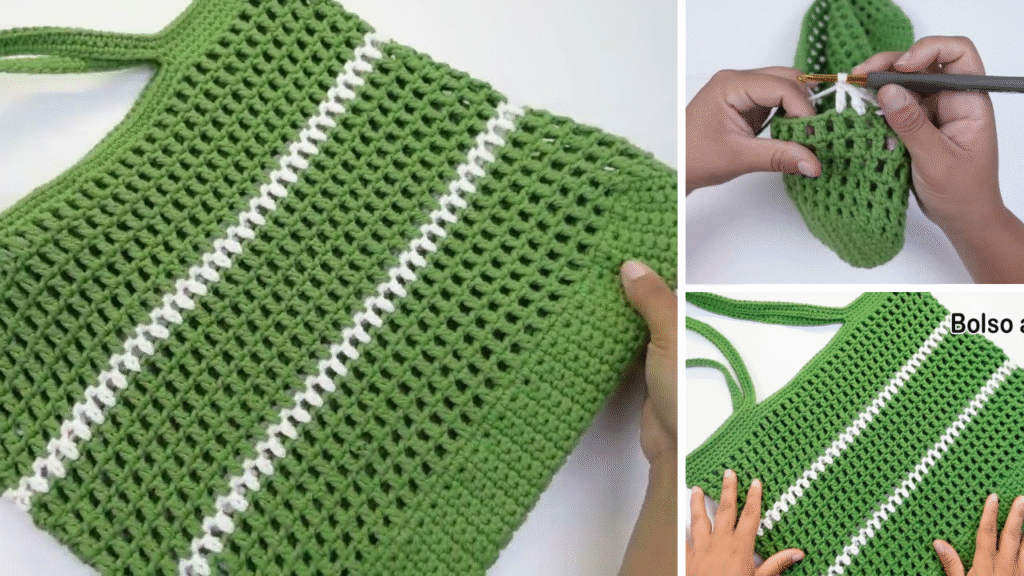
- Round 6 (Body Texture): Ch 1. Sc in first st. Dc in next st. *Sc in next st, Dc in next st.* Repeat from * around. Join with a sl st to the first sc. [76 sts – a mix of sc and dc]
- This creates the “lemon peel” stitch texture – simple yet visually interesting.
- Round 7: Ch 1. Dc in first st. Sc in next st. *Dc in next st, Sc in next st.* Repeat from * around. Join with a sl st to the first dc. [76 sts]
- Notice how in Round 7, you place a Dc into an Sc from the previous round, and an Sc into a Dc from the previous round. This creates the alternating texture.
- Rounds 8 – 20: Repeat Round 6 and Round 7 alternately until your bag reaches your desired height (approx. 7-8 inches / 18-20 cm from the base). End on a Round 6 repeat.
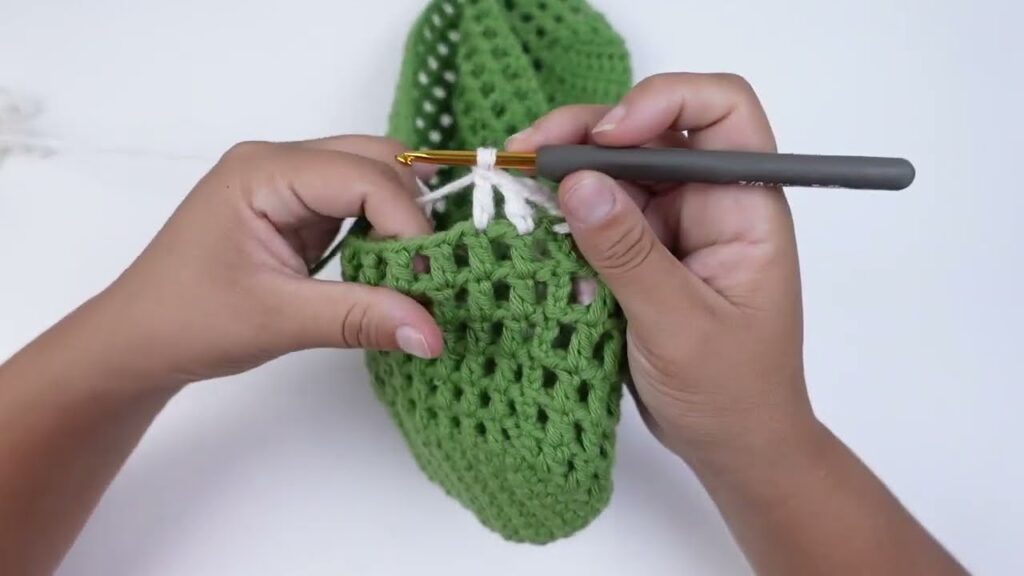
Part 3: Adding the Handles
We’ll crochet sturdy strap handles directly onto the bag.
- Round 21 (Handle Placement): Ch 1. Sc in first 10 sts. Ch 20 (for handle). Skip next 18 sts. Sc in next 20 sts. Ch 20 (for handle). Skip next 18 sts. Sc in remaining 10 sts. Join with a sl st to the first sc. [40 sc + 40 chs]
- Adjust the number of skipped stitches and chain stitches to make your handles longer/shorter or place them differently. Ensure they are evenly spaced.
- Round 22 (Securing Handles): Ch 1. Sc in first 10 sc. Sc in each of the 20 chs of the handle. Sc in next 20 sc. Sc in each of the 20 chs of the handle. Sc in remaining 10 sc. Join with a sl st to the first sc. [80 sc]
- Round 23: Ch 1. Sc in each sc around. Join with a sl st to the first sc. [80 sc]
- FO, leaving a short tail to weave in.
Part 4: Finishing Touches
- Weave in All Ends: Meticulously weave in every loose yarn tail using your yarn needle. This is crucial for a neat and durable finish.
- Blocking (Optional but Recommended): Gently mist your bag with water (or wet block if using cotton). Stuff it with towels or tissue paper to help it hold its shape, and allow it to air dry completely. This helps to even out stitches and set the overall form of the bag.
- Add a Fabric Lining (Optional but Highly Recommended):
- Measure the inside dimensions of your finished crocheted bag.
- Cut fabric pieces to create a simple fabric pouch that fits snugly inside.
- Hem the top edge of your fabric lining.
- Carefully hand-stitch or machine-stitch the fabric lining to the inside top edge of your crocheted bag. This adds professionalism, prevents stretching, and protects your belongings.
- Optional Closures: If you want a closure, sew a magnetic snap to the inside top edges of the bag, or a button and loop.
Tips for Success & Crafting a Truly Charming Bag:
- Consistent Tension: Maintaining even tension throughout your work is paramount for a sturdy, well-shaped bag that won’t sag.
- Counting is Key: Always count your stitches, especially in the base rounds and when creating handles, to ensure your bag is symmetrical.
- Trial & Error with Yarn/Hook: Don’t be afraid to swatch different yarn weights and hook sizes until you find the fabric density you love for your bag.
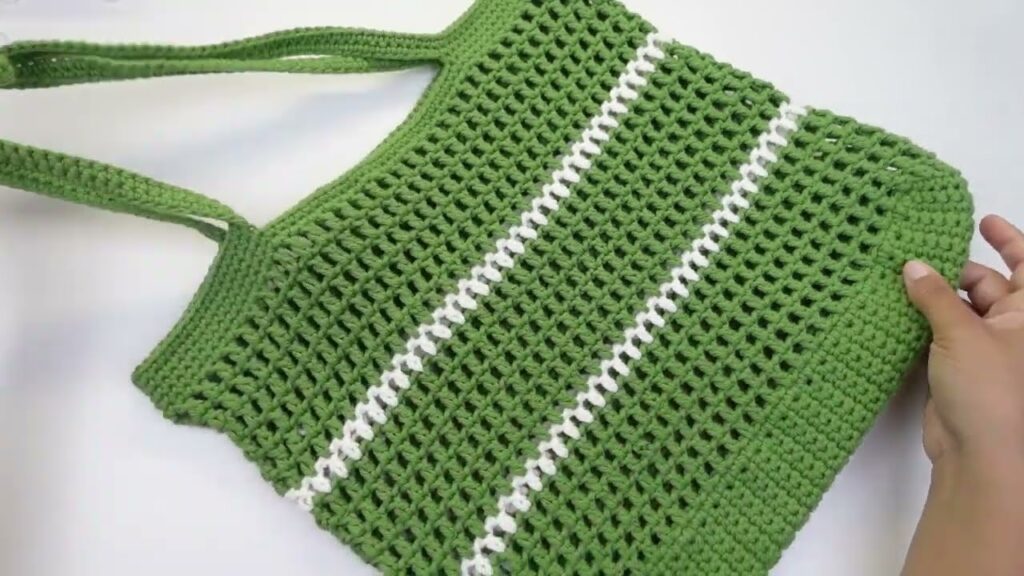
- Color Play: Experiment with stripes, color blocking, or even a single vibrant color to make your bag pop.
- Embellishments: Add small crocheted flowers, pom-poms, tassels, or even a personalized tag to make your bag uniquely yours.
- Care: Always refer to your yarn label for specific washing instructions. Most crocheted bags can be hand-washed and laid flat to dry.
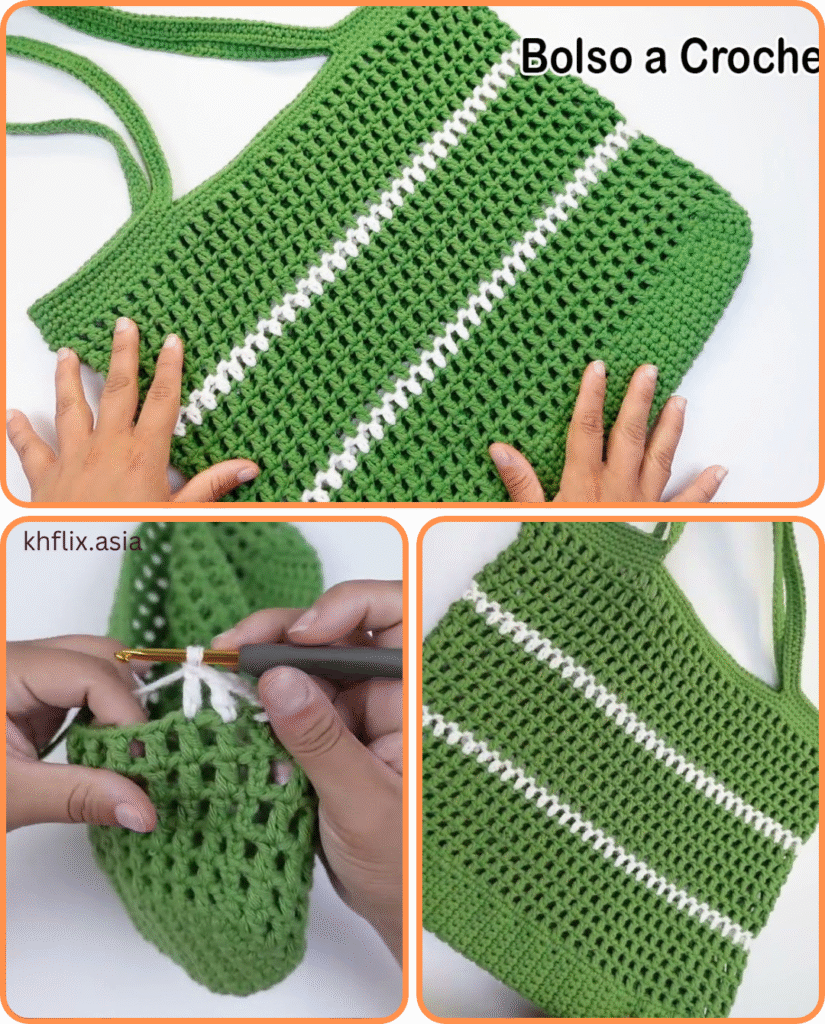
With your charming new crocheted bag in hand, you’ll not only have a practical accessory but also a beautiful reflection of your creativity and passion for handmade crafts. Enjoy carrying your unique style wherever you go!
Video tutorial:


