
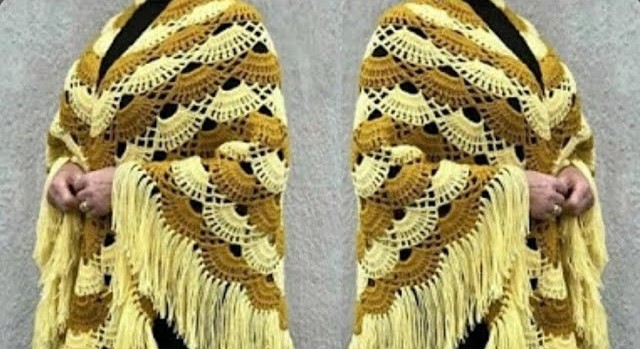
The Corner-to-Corner (C2C) crochet technique is renowned for its simplicity, speed, and stunning diagonal texture. While often used for blankets and graphgans, it translates beautifully into a triangular shawl, creating a flowing, soft garment with an intuitive growth pattern. An “Easy Crochet Corner to Corner Triangle Shawl” is perfect for beginners looking to expand beyond basic stitches, and for experienced crocheters seeking a relaxing, meditative project that yields beautiful results.
This comprehensive guide will break down the C2C triangle technique, providing all the details you need to create your own gorgeous and versatile shawl.
Why C2C for a Shawl? The Benefits
The C2C method offers several advantages when applied to shawl making:
- Simplicity: It relies on just two basic stitches (chain and double crochet) and a simple repeat.
- Intuitive Growth: You literally start at one corner and grow diagonally, increasing until you reach the desired width, then decreasing to form the other side of the triangle. There’s no complex shaping or stitch counting in the traditional sense.
- Beautiful Drape: The nature of the C2C stitch (often called “blocks” or “tiles”) creates a lovely, soft fabric with excellent drape, perfect for a wrap.
- Ideal for Variegated Yarns: The diagonal nature of C2C patterns showcases variegated or self-striping yarns incredibly well, allowing the colors to blend and shift in an appealing way without complex stitch patterns.
- Customizable Size: It’s incredibly easy to make your shawl as small or as large as you like, simply by continuing to increase or starting to decrease.
Materials You’ll Need
- Yarn: This is where you can truly personalize your shawl!
- Weight: Fingering (1), Sport (2), DK (3), or Worsted (4) weights are all suitable. Lighter weights will create a lacier, more delicate shawl, while heavier weights will yield a warmer, cozier wrap.
- Fiber:
- Acrylic: Affordable, wide color range, easy care, good for beginners.
- Wool/Wool Blends: Excellent warmth, beautiful drape, luxurious feel.
- Cotton/Cotton Blends: Breathable, great for warmer climates or if you have wool sensitivities.
- Mohair/Alpaca Blends: Super soft, creates a beautiful halo effect.
- Quantity: This varies greatly by yarn weight and desired shawl size. For a medium-sized adult shawl (approx. 60-70 inches wingspan), you might need:
- Fingering: 800-1200 yards (730-1100 meters)
- DK/Worsted: 1000-1500 yards (900-1400 meters)
- Always check your specific yarn’s yardage and buy an extra skein just in case.
- Crochet Hook: Choose a hook size recommended for your yarn weight. Going up one hook size from the label’s recommendation can create a softer, more draping fabric for shawls. For example, if your yarn calls for a 4.0mm, try a 4.5mm or 5.0mm.
- Scissors: For cutting yarn.
- Tapestry Needle: For weaving in ends.
- Stitch Markers (Optional): Useful for marking the center increase point if you decide to add one, or simply for marking your progress.
- Measuring Tape: To check your progress and final dimensions.

Key Concepts of C2C (Corner-to-Corner)
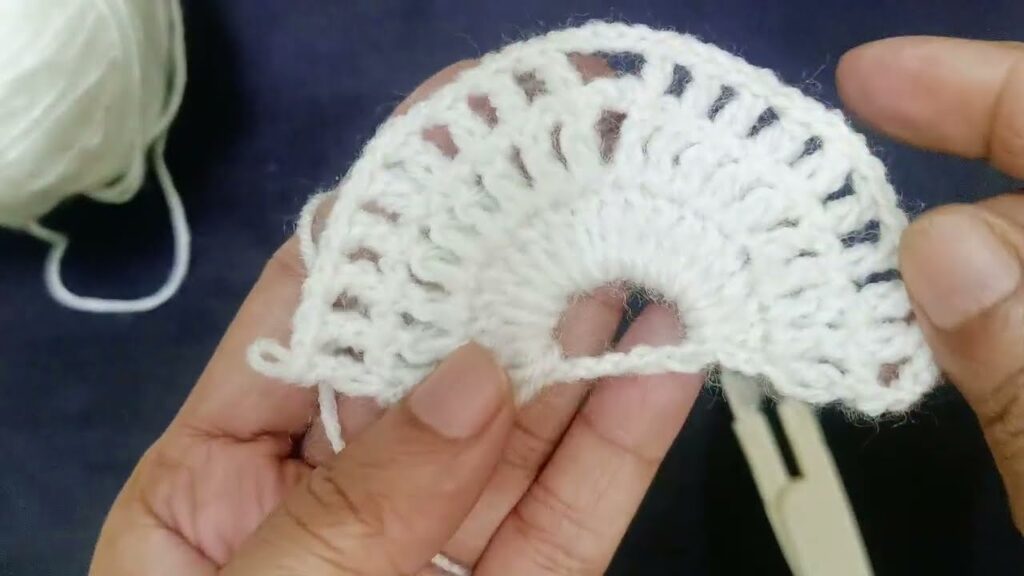
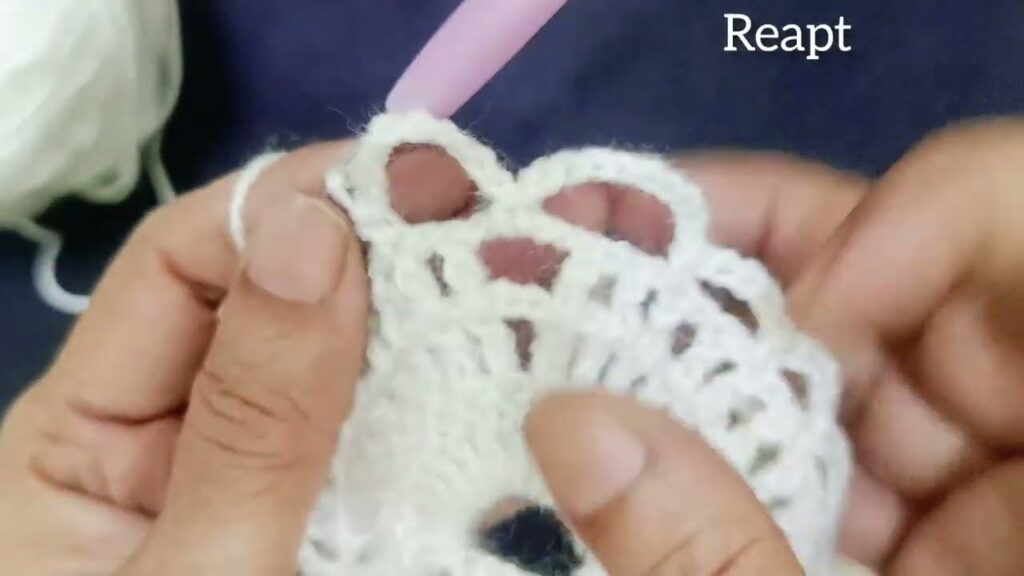
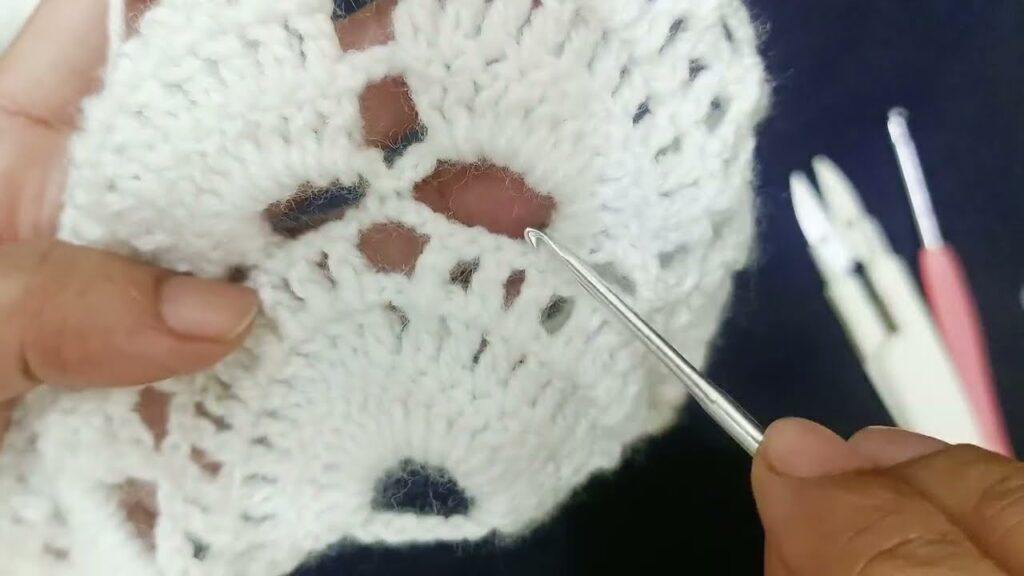
The C2C technique is built upon a simple unit or “block.”
- The C2C Block (or Tile): This is the fundamental building block of your shawl. It consists of:
(ch 3, 3 dc).- The
ch 3acts as the first double crochet of the block. - The
3 dccomplete the block. - When you join a new block, you will typically slip stitch into the chain-3 space of the previous block.
- The
Step-by-Step Instructions: Easy C2C Triangle Shawl
This pattern will create a basic isosceles triangle, increasing evenly on both sides until the widest point, then decreasing evenly.
Abbreviations (US Crochet Terms):
- ch: chain
- dc: double crochet
- sl st: slip stitch
- sp: space
- st(s): stitch(es)
Part 1: Increasing Phase (Growing the Shawl)
You will start at one corner and grow outwards, adding one block per row on both sides.
Row 1: Ch 6. Dc in the 4th ch from hook, dc in the next ch, dc in the last ch. (1 C2C Block made). This forms your first “block” and the very tip of your triangle. Turn your work.
(You can think of this as: Ch 3 (counts as 1 dc), 3 dc in the 3rd ch from hook, then sl st to the next ch-3 sp to join. This pattern starts differently because it’s the very first block.)
Row 2: Ch 6. Dc in the 4th ch from hook, dc in the next ch, dc in the last ch. (This is your first block of Row 2). Now, sl st into the ch-3 space of the block from Row 1. Ch 3, 3 dc into the same ch-3 space (this is your second block of Row 2). Turn. (You now have 2 C2C Blocks along the diagonal edge).
Row 3: Ch 6. Dc in the 4th ch from hook, dc in the next ch, dc in the last ch. (First block of Row 3). Sl st into the ch-3 space of the next block from Row 2. Ch 3, 3 dc into the same ch-3 space. Sl st into the ch-3 space of the last block from Row 2. Ch 3, 3 dc into the same ch-3 space. Turn. (You now have 3 C2C Blocks along the diagonal edge).
General Increase Row (Row 4 and onwards, until desired width): To continue increasing, you will always start a new row with ch 6, then dc in 4th ch from hook, dc in next ch, dc in last ch. This forms the first new block of the row. Then, you will sl st into the ch-3 space of the next block from the previous row. For every subsequent block across the row, you will ch 3, 3 dc into the same ch-3 space. Continue this until you’ve worked into the very last ch-3 space of the previous row.
How to determine when to stop increasing: You will continue increasing until the longest side of your triangle (the hypotenuse, or the straight line across the top of your diagonal blocks) reaches your desired full length for the finished shawl. Alternatively, you can measure the “wingspan” which is the width from corner to corner if you were to lay the triangle flat. For an adult shawl, this is typically 60-80 inches (150-200 cm). You stop increasing when one of the straight sides of your triangle (the number of blocks along one edge) reaches half of your desired final wingspan length.
- Example: If you want a 70-inch wingspan, you would continue increasing until the number of blocks along one straight edge measures about 35 inches.
Part 2: Decreasing Phase (Shaping the Other Side of the Triangle)
Once you’ve reached the maximum width you desire, you will begin decreasing. This is achieved by not making the initial ch 6 block at the start of the row. Instead, you’ll slip stitch your way to the first ch-3 space.
Row of Decrease: Instead of chaining 6 to start: Sl st into the first 3 dc stitches of the block just made in the previous row. Sl st into the ch-3 space of that same block. (You are now positioned in the first ch-3 space). From here, ch 3, 3 dc into that same ch-3 space (this is your first block of the decreasing row). Continue to sl st into the next ch-3 space, then ch 3, 3 dc into that same ch-3 space for each subsequent block, just as you did in the increasing phase. Important: When you reach the very last ch-3 space of the row, you will not make another block. You will simply sl st into the last ch-3 space and then turn your work immediately, without making another block or a starting chain 6.
General Decrease Row (for all remaining rows): Every row in the decreasing phase will start the same way: Sl st into the first 3 dc stitches of the block below. Sl st into the ch-3 space of that same block. From here, ch 3, 3 dc into that same ch-3 space (your first block of the row). Continue sl st into next ch-3 space, ch 3, 3 dc into same ch-3 space across the row. When you reach the last block before the very end of the row (i.e., you have only one more ch-3 space remaining that you would normally work into), you will not work into that last ch-3 space. Instead, you will sl st into the very last ch-3 space and then turn your work immediately.
Finishing the Triangle: You will continue the decreasing rows until you have only one C2C block remaining in your row. When you reach this point: Sl st into the first 3 dc stitches. Sl st into the ch-3 space. Ch 3, 3 dc into that same ch-3 space (this is your final block). Sl st into the next ch-3 space (which should be the very last ch-3 sp of the previous row). Fasten off, leaving a tail for weaving in.
Tips for Success
- Yarn Choice is Key: The drape and feel of your shawl will largely depend on your yarn. Softer, lighter yarns will create a beautiful flow. Variegated yarns are truly highlighted by the C2C diagonal pattern.
- Gauge (Less Critical but Still Useful): For a shawl, exact gauge isn’t as critical as for garments like sweaters. However, knowing your gauge (how many blocks per inch/cm) can help you estimate how large your shawl will be and how much yarn you’ll need.
- Counting Blocks: Instead of counting stitches, focus on counting blocks. Each row increases/decreases by one block. So Row 1 has 1 block, Row 2 has 2 blocks, and so on.
- Blocking is Your Friend: Especially for shawls, blocking (wet blocking or steam blocking) will do wonders. It opens up the stitch pattern, evens out any irregularities, and dramatically improves the drape and finished size of your shawl. Don’t skip this step!
- Weaving in Ends: The nature of C2C can create a few more ends if you’re joining new skeins. Weave them in securely with your tapestry needle for a clean finish.
Adding a Border (Optional but Recommended)
A simple border can add a polished edge to your C2C shawl and help it lay flatter.
1. Simple Single Crochet (sc) Border:
- Join yarn with a sl st to any corner or straight edge.
- Ch 1, then sc evenly around the entire perimeter of the shawl.
- Along the Straight Edges: Work 2 sc into the side of each C2C block (along the ch-3 side, or around the posts of the dc if that looks neater).
- Along the Diagonal Edges: Work 1 sc into the side of each dc (approximately 3 sc per block).
- At the Corners (the two side tips and the final top corner): Work (sc, ch 1, sc) or (sc, ch 2, sc) in the corner stitch/space to create a neat turn.
- Sl st to the first sc to join. Fasten off.
2. Simple Double Crochet (dc) Border:
- Similar to the sc border, but work dc stitches instead of sc.
- Join yarn with a sl st. Ch 3 (counts as 1 dc).
- Work dc evenly around the shawl, adjusting the number of dc per block/edge to keep it flat (e.g., 3 dc per block along the straight edges).
- Work (dc, ch 2, dc) in each corner.
- Sl st to top of starting ch-3 to join. Fasten off.
3. Picot Border (for a delicate touch):
- Work a simple sc border first (as above).
- Next Round: Ch 1, sc in first 2 sts, then (sc, ch 3, sl st in 3rd ch from hook – this is your picot, sc in same st as picot). Skip 2 sts. Repeat from * to * around. Adjust spacing as needed.
Care Instructions
Always refer to your yarn label for specific care instructions. General guidelines:
- Acrylic: Machine wash on a gentle cycle with cool water. Tumble dry low or lay flat to dry.
- Wool/Wool Blends: Hand wash in cool water with a mild wool wash. Gently squeeze out excess water (do not wring). Reshape and lay flat to dry. Do not machine wash or tumble dry unless the yarn is specified as “superwash.”
- Cotton/Cotton Blends: Machine wash gentle cycle, lay flat to dry or tumble dry low.
Conclusion
The Easy Crochet Corner to Corner Triangle Shawl is a project that truly lives up to its name. Its straightforward repeat makes it perfect for working on while watching TV or traveling, yet the resulting diamond texture is anything but simple. Whether you choose a vibrant variegated yarn or a sophisticated solid, your C2C shawl will be a testament to your crochet skills and a cozy, stylish addition to your wardrobe. Happy crocheting!
Video tutorial:


