Crochet bags have become a staple accessory in modern wardrobes. Whether you’re heading to the beach, strolling through a farmers’ market, or just want a stylish handmade touch to your outfit, a crochet bag is the perfect blend of beauty and functionality. The best part? You don’t have to be a seasoned pro to make one. In fact, you can create a beautifully designed crochet bag with just a few basic stitches and a dash of creativity.
Why Crochet Bags?
Crochet bags offer a unique combination of aesthetic appeal and durability. Unlike machine-made options, they reflect your personality and style through color choices, textures, and patterns. Plus, with sustainability in focus, handmade crochet bags made from natural or recycled yarn are eco-friendly and long-lasting.
Key Features of a Beautiful and Easy Crochet Bag
A great beginner-friendly yet stunning crochet bag typically includes:
- Simple construction (like rectangles or circles)
- Textured stitches that add visual interest
- Durable yarn choices (cotton or t-shirt yarn)
- Functional elements like handles, buttons, or zippers
- Color play for a fashionable look
Materials You’ll Need
- Yarn: Worsted weight cotton yarn or t-shirt yarn (durable and washable)
- Crochet hook: Typically 5mm (H) to 6.5mm (K), depending on the yarn
- Scissors
- Yarn needle for weaving in ends
- Bag handles or leather straps (optional)
- Button or magnetic clasp (optional)
Step-by-Step Guide to a Simple Yet Stylish Crochet Bag
Here’s a basic but beautiful pattern idea: The Textured Tote Bag
Skill Level: Beginner to Intermediate
Finished Size: Approx. 12” wide x 10” tall
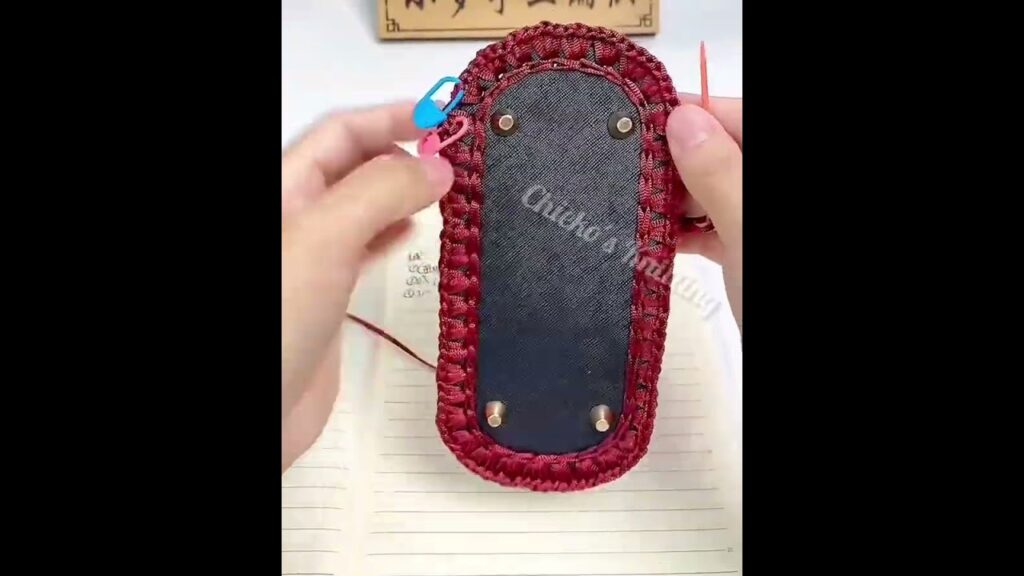
1. Create the Base
Foundation Chain:
Ch 41 (or desired width of your bag)
Row 1:
SC (single crochet) in 2nd ch from hook and in each ch across (40 SC).
Ch 1, turn.
Row 2-10:
SC in each stitch across. Ch 1, turn.
This creates a sturdy base for the bag.
2. Build the Body with a Simple Texture Stitch
Use the Half Double Crochet (HDC) in the back loop only (BLO) for subtle texture.
Row 11 – 40 (or your desired height):
HDC in BLO across. Ch 1, turn.
This stitch creates horizontal ridges, giving your bag a modern, woven look.

3. Fold and Seam the Sides
Fold the rectangle in half (widthwise) with the textured side facing in. Seam the sides using a whip stitch or slip stitch. Turn the bag right side out.
4. Add the Handles
You can:
- Crochet simple handles (Ch 60, SC across 2 rows for each strap)
- Use pre-made leather or wooden handles and sew them on
Position them evenly, about 2-3 inches from each side.
5. Finish with Optional Details
- Add a button loop and wooden button for closure
- Sew in a fabric lining for extra strength and a professional touch
- Attach tassels, pompoms, or keychain accessories for flair
Customization Ideas
- Color Blocking: Change yarn colors midway for a trendy effect
- Granny Squares: Assemble classic granny squares into a boho bag
- Mesh Stitch: Try openwork stitches for a lightweight, breathable summer tote
- Embellishments: Sew on beads, shells, or embroidery
Tips for Success
- Swatch first to check your tension and sizing
- Count stitches to keep sides even and symmetrical
- Use stitch markers if needed for accurate row tracking
- Choose sturdy yarns that don’t stretch too much
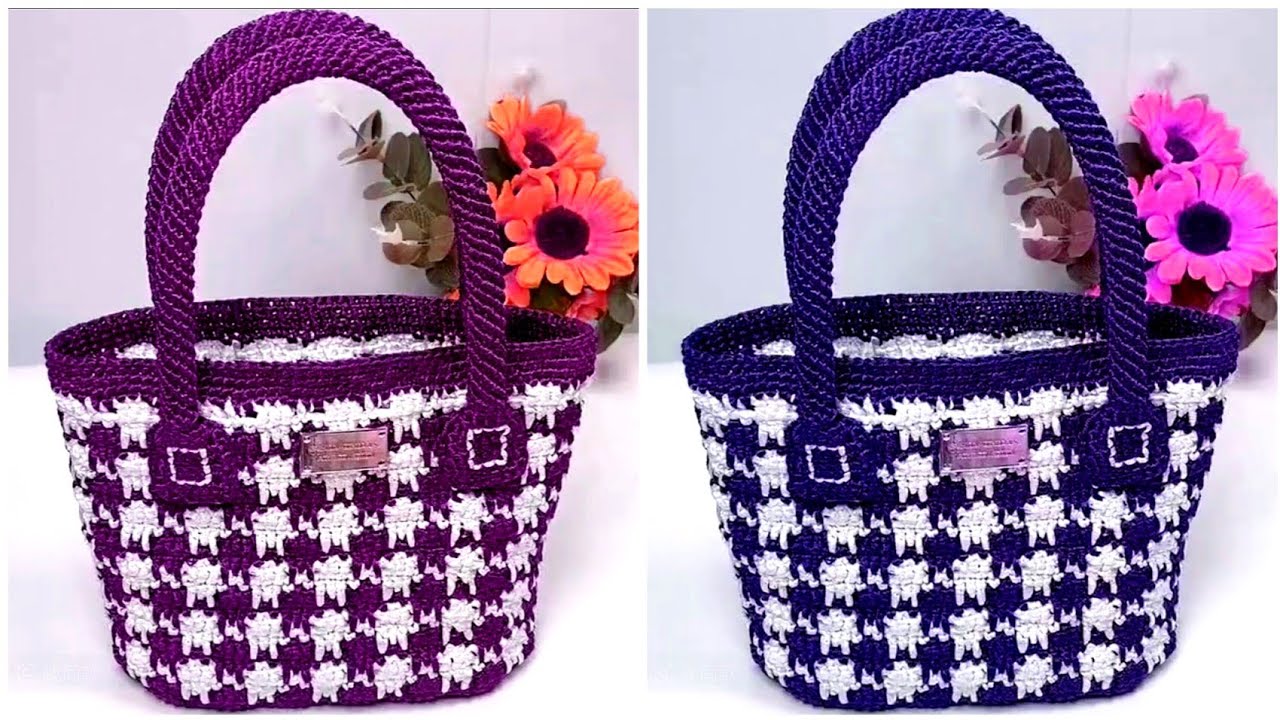
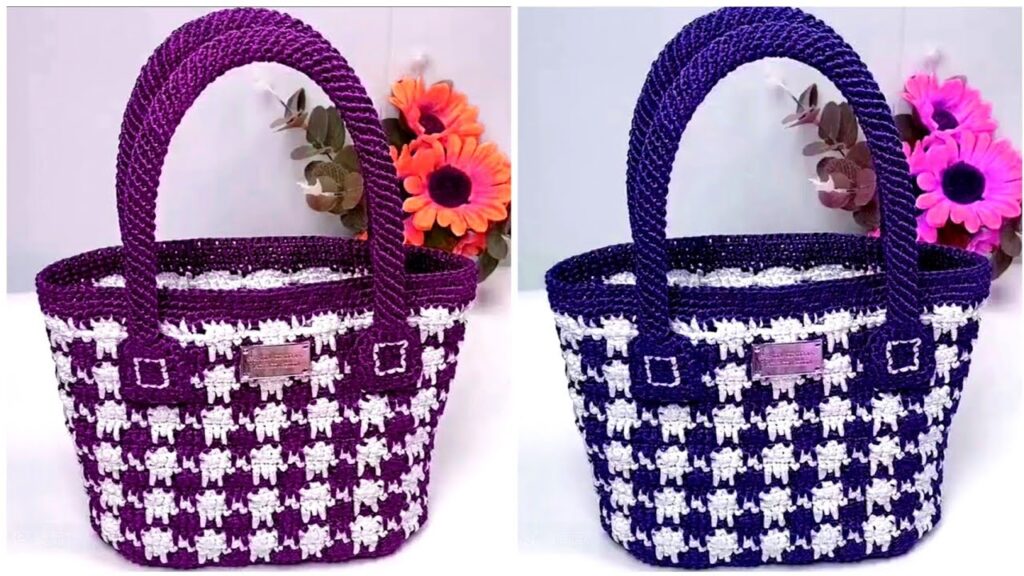
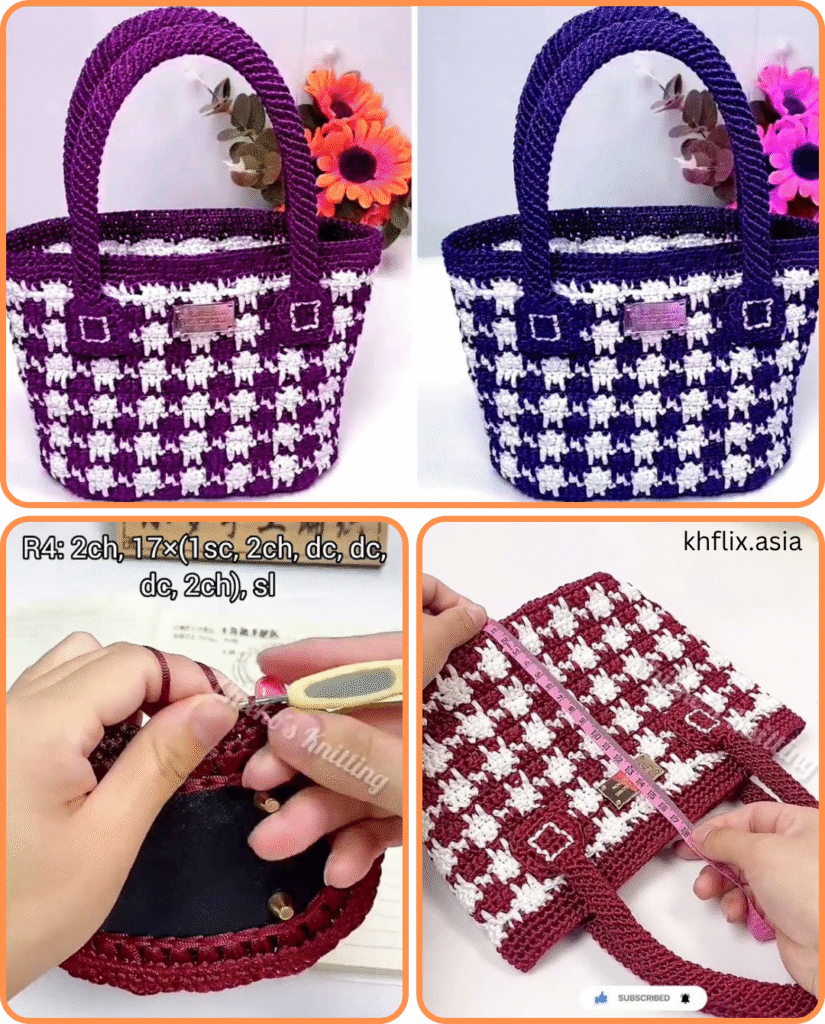
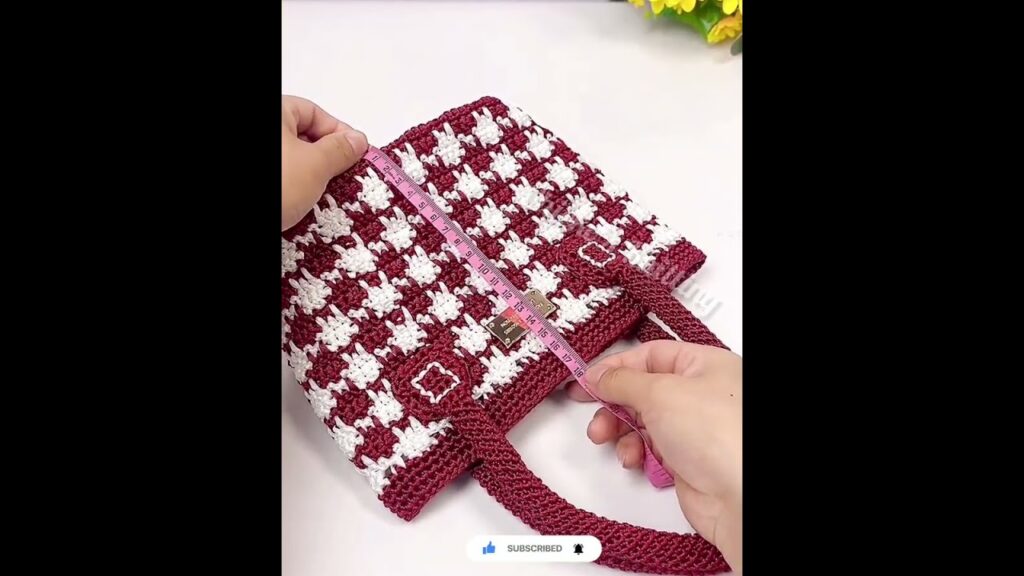
Video tutorial:
Final Thoughts
Creating a beautifully designed and easy-to-make crochet bag is a deeply satisfying project, even for beginners. It allows you to showcase your style, hone your crochet skills, and carry something truly unique. Whether you stick to a simple tote or experiment with new patterns and textures, your handmade bag is sure to become a go-to accessory.
So grab your hook and yarn — your next favorite bag is just a few stitches away.


