
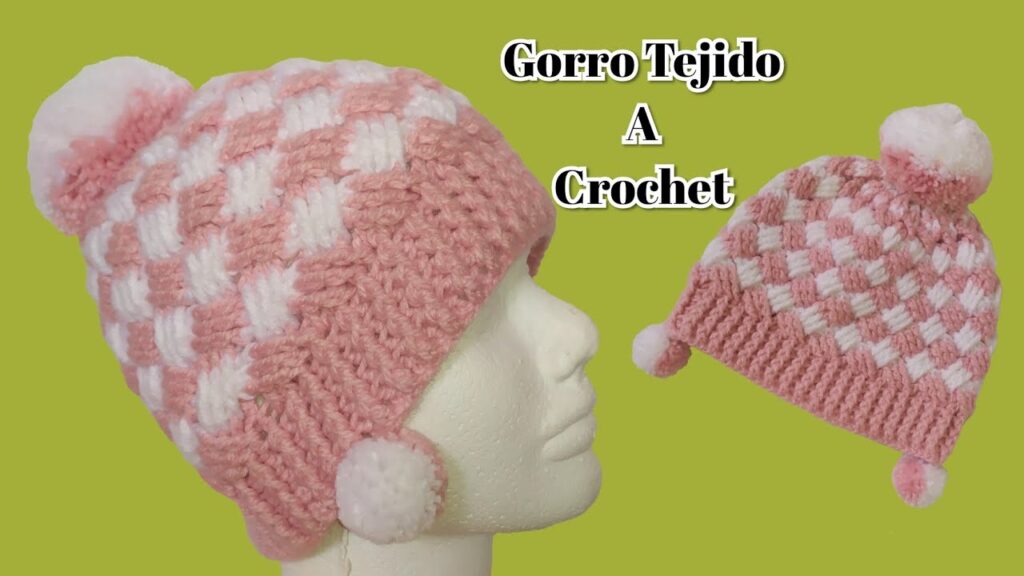
Crocheting is not only a relaxing hobby but also a way to create stunning pieces with intricate textures. One such stitch that stands out is the Celtic Embossed Interlaced Stitch—a raised, interwoven design that mimics traditional Celtic knotwork. In this guide, we’ll walk you step-by-step through creating a crochet hat using this advanced yet rewarding stitch.
🧶 Materials Needed
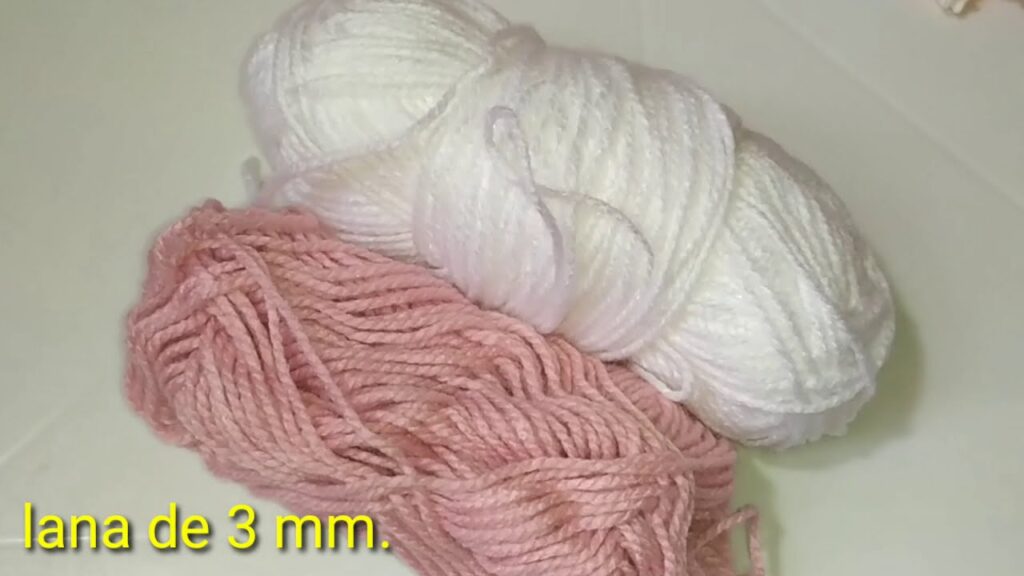
- Worsted Weight Yarn (Medium #4) – about 150-200 yards
- Crochet Hook – Size H/8 (5.0 mm) or size needed to obtain gauge
- Stitch Markers
- Tapestry Needle – for weaving in ends
- Scissors
- Measuring Tape
📏 Gauge (Before Starting)
Crochet a small swatch using the Celtic stitch pattern:
- 4″ x 4″ = 16 stitches x 12 rows (approximate, varies by tension)
Adjust your hook size as needed to match gauge.
👒 Hat Construction Overview
The hat will be worked from the bottom up, starting with a ribbed band (optional), followed by the main body using the Celtic Embossed Interlaced Stitch, and finished with crown shaping.
🪢 Key Stitches and Abbreviations
- ch – chain
- sc – single crochet
- dc – double crochet
- fpdc – front post double crochet
- bpdc – back post double crochet
- sl st – slip stitch
- st(s) – stitch(es)
🧵 Step-by-Step Instructions
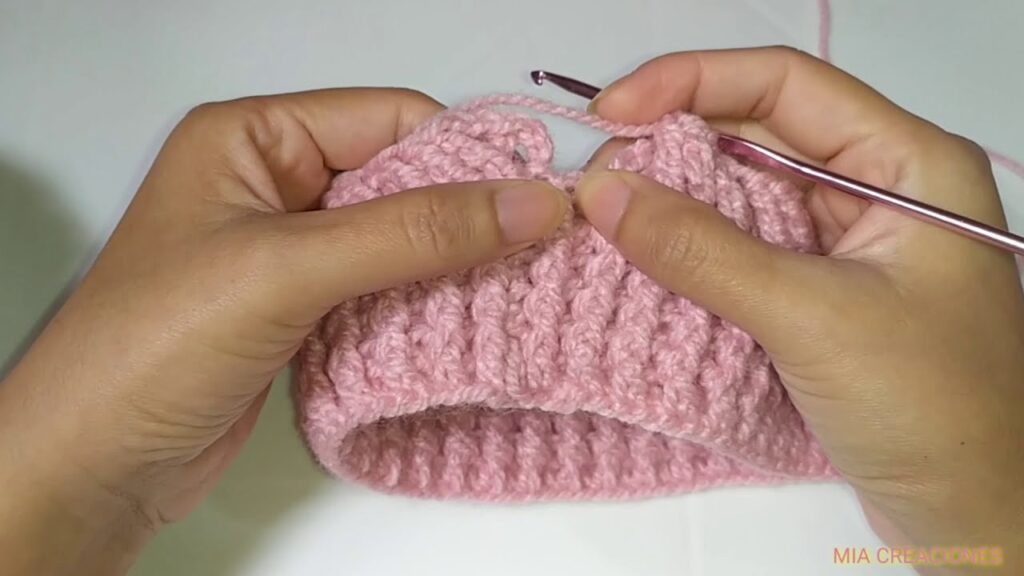
✅ Step 1: Optional Ribbed Band
- Ch 9.
- Row 1: Sc in 2nd ch from hook and in each ch across. (8 sc)
- Row 2: Ch 1, turn. Sc in the back loop only (BLO) of each st across. (8 sc)
- Repeat Row 2 until the band measures approximately 18–22 inches, depending on desired hat size (measure head circumference).
- Join ends with a slip stitch seam to form a loop.
Now begin working in the round for the hat body.
✅ Step 2: Celtic Embossed Interlaced Stitch Setup Round
The Celtic stitch is made up of post stitches (fpdc), worked in a specific crossing pattern. To simplify, we’ll create vertical post columns that cross over each other every few rounds.
- Round 1 (Base Round):
Ch 2 (counts as first dc). Dc evenly around the edge of the ribbing. Total stitch count should be a multiple of 8 (e.g., 64, 72, 80).
Join with a sl st to the top of the beginning ch-2. - Round 2 (Foundation for Cables):
Ch 2, fpdc around next 2 sts, bpdc around next 2 sts, repeat around.
This sets up the raised sections for the interlaced look.
✅ Step 3: Celtic Interlace Pattern (Main Body)
This is the repeating section where the magic happens.
Celtic Stitch Basic Concept: Post stitches (fpdc) are worked out of order (crossed over each other) every 2–4 rounds to create a braid effect.
Here’s a simplified 8-stitch pattern repeat:
- Round A: (fpdc around next 2, bpdc around next 2, fpdc around next 2, bpdc around next 2) — basic layout
- Round B: (fpdc around next st, skip next st, fpdc around next, then go back and fpdc around skipped st to cross)
Repeat with bpdc as they are. You’re crossing the first 2 fpdc stitches.
Repeat Rounds A and B to build the braided, interwoven pattern.
💡 Tip: Use stitch markers to mark the start of each cable repeat if needed.
✅ Step 4: Continue Until Desired Height
- Repeat the Celtic pattern for 5–6 inches or until the hat measures approx. 7–8 inches from the base (including band).
- Adjust length based on desired slouch or snug fit.
✅ Step 5: Shaping the Crown
Once your hat reaches the desired height, you’ll begin decreasing:
- Round 1: [fpdc around 1 st, fpdc2tog (decrease 2 sts together)], bpdc in next 2, repeat.
- Round 2: fpdc2tog across all fpdc columns, bpdc in each bpdc
- Round 3: dc2tog around
- Final Round: sc2tog around, then fasten off leaving a long tail.
Use the tail and tapestry needle to cinch the top closed, weaving through remaining stitches and pulling tight.
✅ Step 6: Finishing
- Weave in all ends.
- Block lightly to shape, especially if using wool or a wool blend.
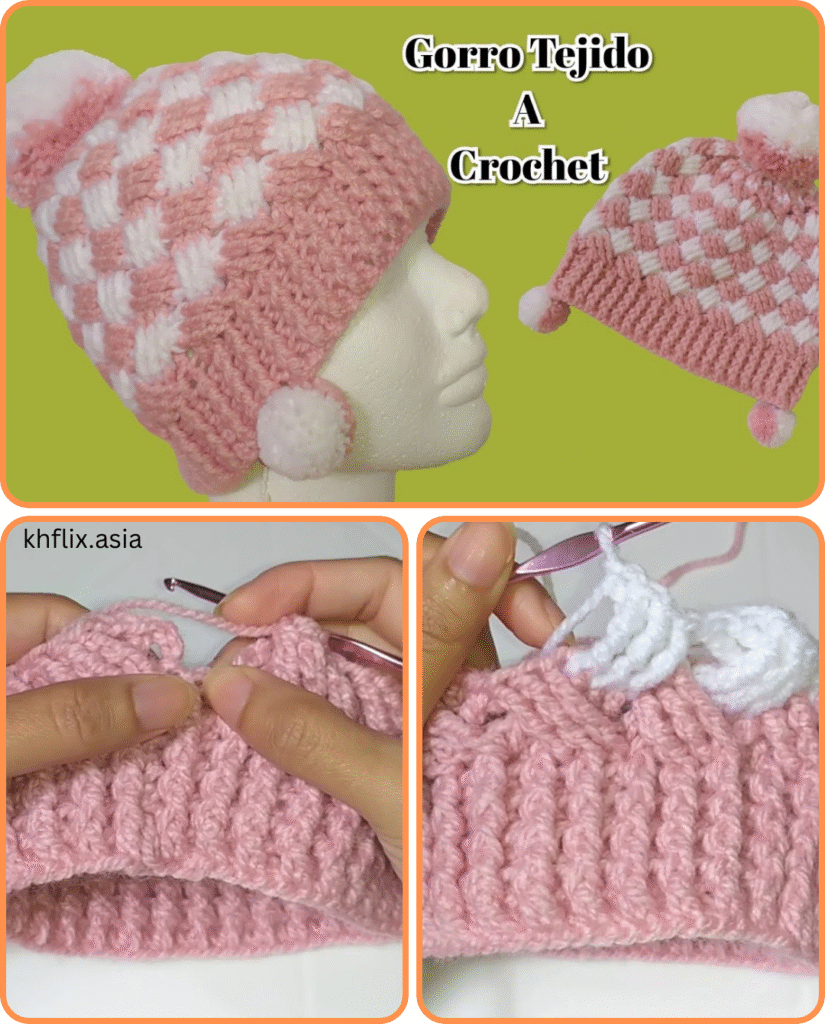
- Add a pom-pom if desired!
📸 Optional Visual Add-ons
If you’re a visual learner, many tutorials on YouTube demonstrate the Celtic Interlaced Stitch for flat and round projects. Search for “Celtic Weave Crochet Hat” or “Celtic Post Stitch Hat.”
Video tutorial:
🧡 Final Thoughts
The Celtic Embossed Interlaced Stitch adds a beautifully raised and intricate texture, perfect for cold-weather accessories. While this stitch requires patience and focus, the result is a luxurious and eye-catching hat that makes an excellent gift—or a standout piece for yourself.


