
Looking for a cute, functional, and beginner-friendly crochet project? A crochet headband with braids is just what you need! It’s a trendy twist on the classic headband — combining warmth, style, and a touch of boho flair.
Whether you’re keeping your ears warm in the cold or simply adding a handmade touch to your outfit, this braided headband makes for a quick gift or personal project.
🧵 Materials You’ll Need
- Worsted weight yarn (medium weight / category 4) — Cotton or acrylic (50–100g)
- Crochet hook — Size H (5.0 mm) or size appropriate for your yarn
- Scissors
- Yarn needle for weaving in ends
- Measuring tape
- Stitch markers (optional)
📐 Size Guide
A standard adult headband size is 19–21 inches in length and about 3–4 inches wide. The pattern is easily adjustable to fit children or larger sizes — just measure the head circumference and reduce 1–2 inches for stretch.
🧶 Stitches & Abbreviations
- ch – chain
- sl st – slip stitch
- sc – single crochet
- hdc – half double crochet
- fphdc – front post half double crochet
- bphdc – back post half double crochet
- st(s) – stitch(es)
✂️ Step-by-Step Instructions
We’ll create three narrow strips, then braid them together and crochet a border to turn them into a solid headband.
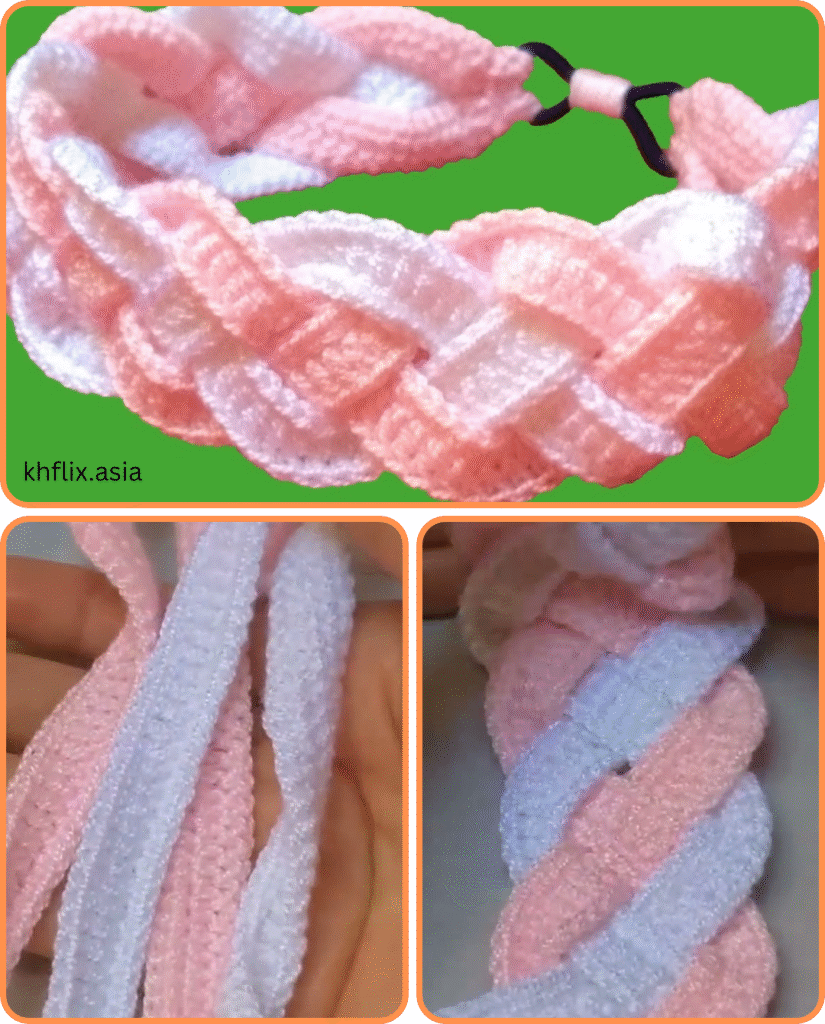
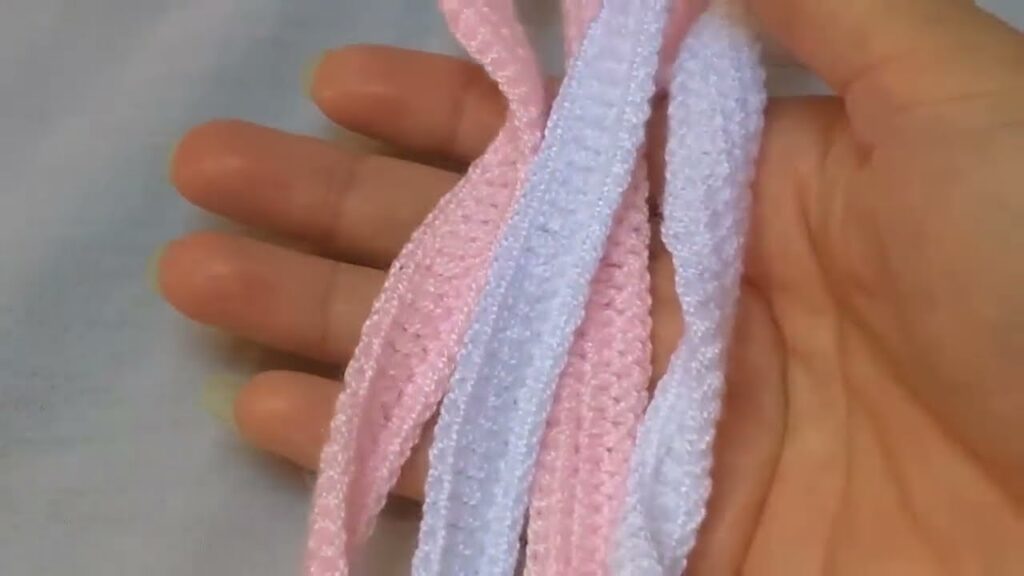
🔹 Step 1: Make Three Strips
You will crochet three long strips — each will be braided to create the headband texture.
Strip Pattern (Make 3):
- Ch 60–70 (adjust for head size; the strip should be ~2–3 inches shorter than the head circumference due to stretch).
- Row 1: Hdc in 2nd ch from hook and across. (You’ll have 59–69 hdc.)
- Row 2–4: Ch 1, turn. Hdc in each stitch across.
- Fasten off, weave in ends.
Each strip should be about 1 inch wide and stretchy.
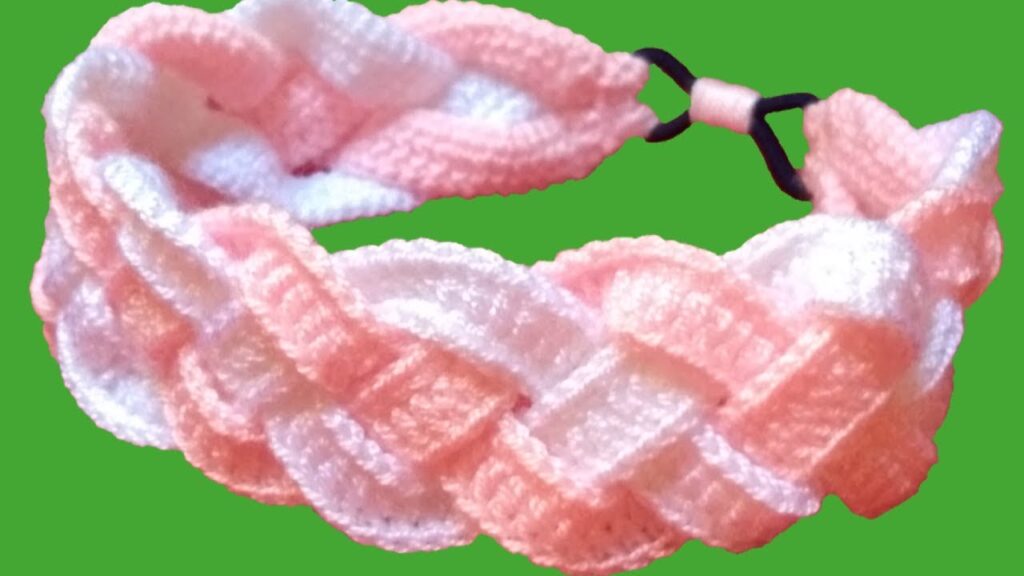
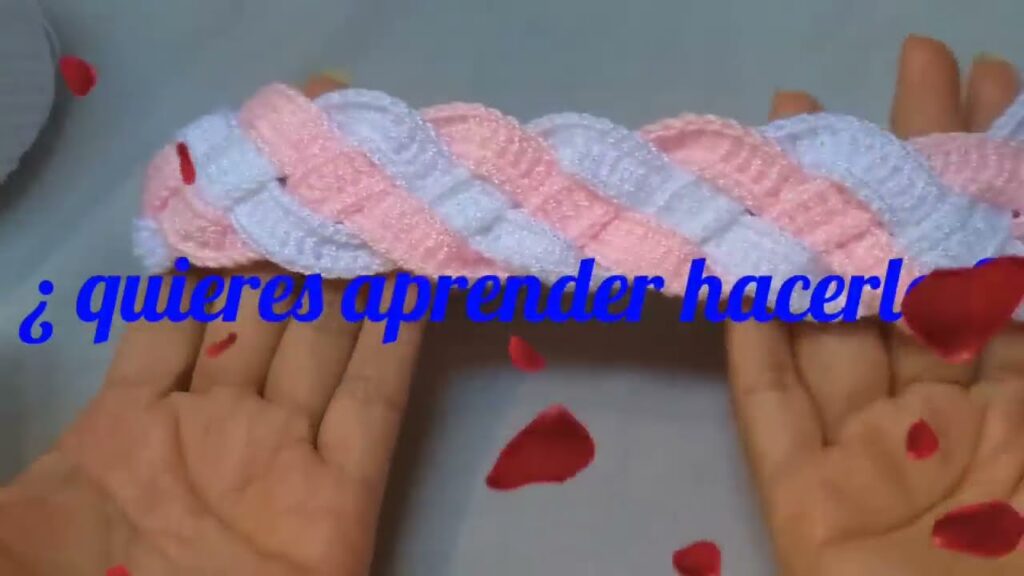
🔸 Step 2: Braid the Strips
- Line up the top ends of the three strips together.
- Use a yarn needle and a small piece of yarn to sew the top ends of the three strips together securely.
- Start braiding the strips like you would hair — left over center, right over center, repeat until you reach the end.
- Adjust tension as you go to keep it even.
- Sew the bottom ends together just like the top.
🔹 Step 3: Join the Ends
Fold the braided strip so the ends meet, right sides facing each other.
- Whip stitch or sl st the ends together securely to form a circle (headband shape).
- Turn the seam to the inside.

🔸 Step 4: Add a Border (Optional but recommended)
This finishes the edges and gives your headband structure.
- Attach yarn to the edge of the headband.
- Round 1: Sc evenly around the edge (about 60–70 sts). Join with sl st.
- Round 2: Optional ribbing: Alternate fphdc and bphdc around for texture.
- Repeat on both top and bottom edges of the headband.
🔹 Optional: Add a Faux Knot or Bow
Want extra flair? Use leftover yarn to create a center knot cover by wrapping yarn around the seam or crocheting a small rectangle (ch 6, hdc across 4–5 rows), wrapping it around the front, and sewing it at the back.
🧺 Care Instructions
- Machine washable yarn: Use gentle cycle, cold water.
- Handmade tip: Hand washing is always safest to preserve shape and stitches.
- Dry flat. Avoid wringing or tumble drying.
🎁 Styling & Gift Ideas
Crochet braided headbands make great gifts and can be sold at craft fairs or on Etsy. Here are some custom ideas:
- Use neutral colors for classic winter wear.
- Choose pastel shades for spring.
- Try chunky yarn for a cozy, oversized look.
- Add buttons, appliqués, or faux leather tags for branding.
Video tutorial:
🧶 Final Thoughts
A crochet headband with braids combines texture, utility, and timeless style. It’s a quick project with stunning results — perfect for beginners looking to improve their skills or seasoned crafters in need of a last-minute gift.
With just a few simple stitches and a little creativity, you’ll have a cozy and beautiful accessory that adds handmade charm to any outfit.


