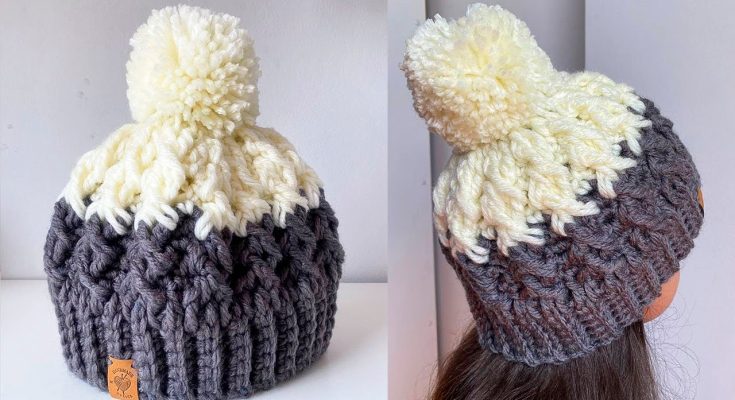
A handmade beanie is a timeless and practical accessory for colder weather, and one with a unique, textured design is even better. The “Alpine Peaks” 3D Crochet Beanie is a perfect project for any crocheter, featuring a stunning, raised stitch that mimics the look of a mountain range. This detailed tutorial will guide you through creating a cozy, stylish, and fun hat that is perfect for chilly days and expressing your unique style.
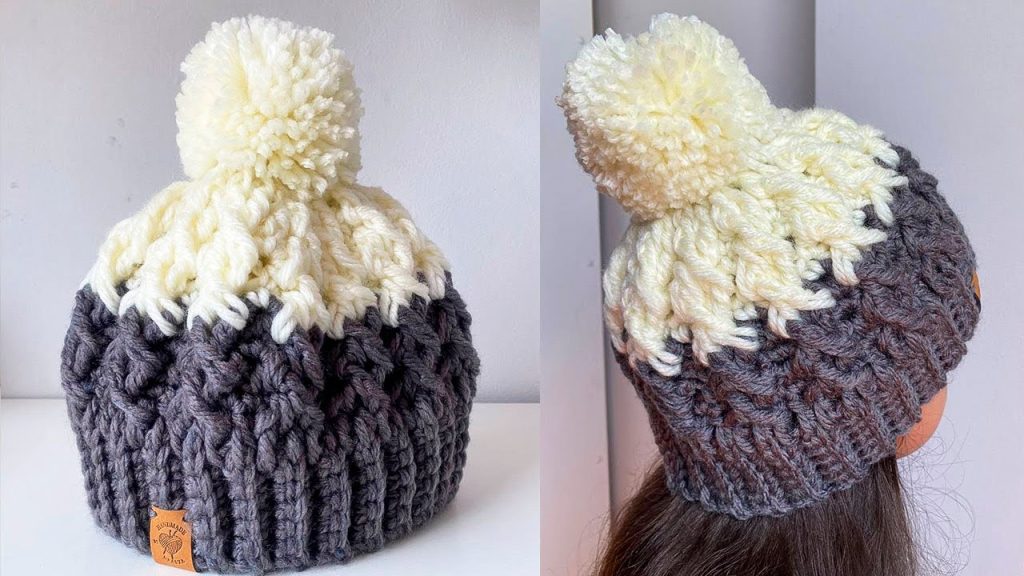
This project is an excellent choice for an intermediate crocheter or an adventurous beginner who wants to learn a new, impressive stitch. The repetitive pattern is easy to memorize once you get the hang of it, and the finished result is a unique, high-end hat with a high-end, handcrafted feel.
Why Crochet the Alpine Peaks Beanie?
- Unique 3D Texture: The raised stitch creates a captivating, tactile surface that sets this hat apart.
- Warm & Cozy: The dense nature of the stitch makes the hat warm and helps it hold its shape.
- Skill Building: Learn how to create a complex-looking design from simple stitches.
- Impressive Look: The finished hat looks much more complicated than it actually is, making it a great conversation starter.
- Customizable: Easily change the size, colors, and number of stitches to create a hat that is a perfect fit for you.
1. Planning Your Hat: Size & Materials
- Sizing: The pattern is designed for a versatile one-size-fits-most adult head (approx. 22-23 inches / 56-58 cm). You can easily adjust the size by changing your hook size or the number of stitches.
- Yarn Choice: Choose a yarn that is soft, durable, and has good stitch definition to make the 3D effect stand out.
- Fiber: A soft, medium-weight yarn like Worsted Weight (#4) in Acrylic or a Wool Blend is a great choice.
- Color: A single, solid color will best highlight the raised texture of the pattern.
- Quantity: You will need approximately 150-200 yards (137-183 meters) of yarn in total.
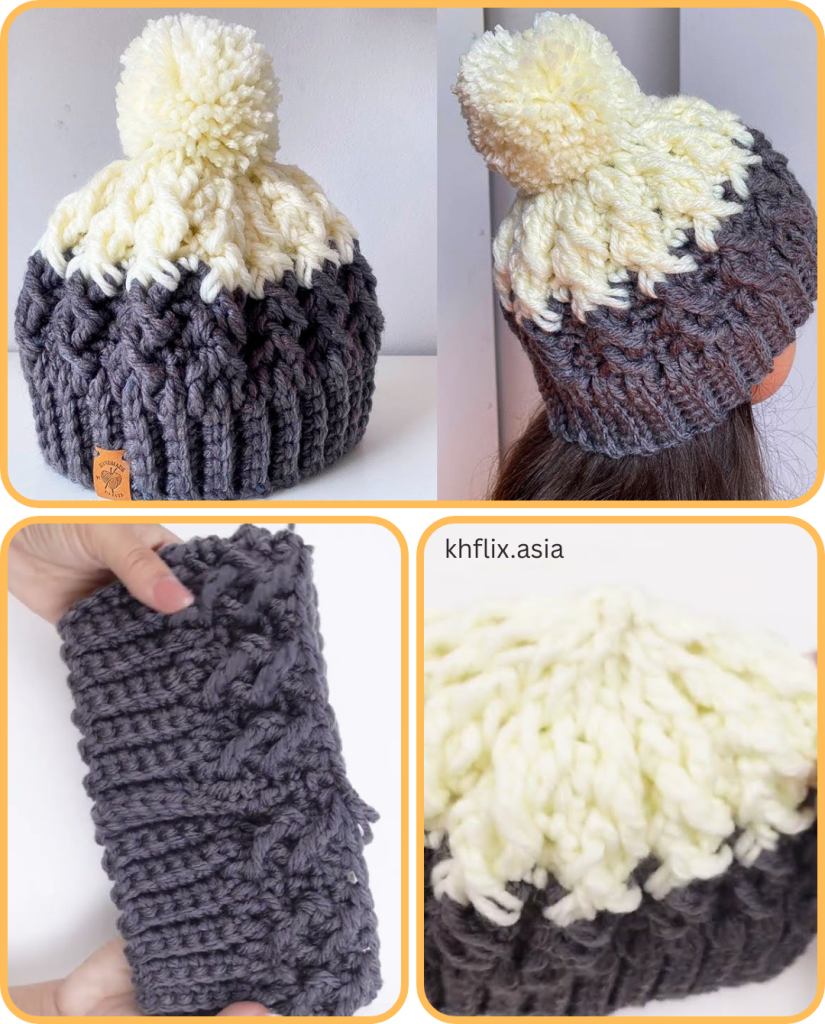
2. Materials You’ll Need
- Yarn: Your chosen quantity of Worsted Weight (#4) yarn.
- Crochet Hook: 4.0 mm (G-6 US) or a hook size that gives you a dense but flexible fabric with your yarn.
- Scissors: For cutting yarn.
- Yarn Needle (Tapestry Needle): For weaving in ends.
- Stitch Markers (Optional): To mark the beginning of rounds and pattern repeats.
3. Essential Crochet Stitches & Techniques
- Slip Knot
- Chain (ch)
- Slip Stitch (sl st): For joining and neatening.
- Single Crochet (sc)
- Half Double Crochet (hdc)
- Double Crochet (dc)
- Front Post Double Crochet (FPDC): This is the key stitch for the 3D effect. You will work a dc around the post of the stitch from the previous row instead of in the top of the stitch.
4. Let’s Crochet the Alpine Peaks Beanie!
We’ll start with the brim, then work up the body of the hat, and finish with the crown.
Part 1: The Brim (Worked in Rows)
This creates a comfortable and stretchy brim.
- Foundation Chain: Ch 11.
- Row 1: Sc in the 2nd ch from hook and in each ch across. Ch 1, turn.
- [10 sc]
- Rows 2-60: Sc in the back loop only (BLO) of each stitch across. Ch 1, turn.
- The brim should now be a nice, stretchy rectangle. Once it is long enough to fit snugly around your head, fold it in half and join with a slip stitch seam to form a circle.
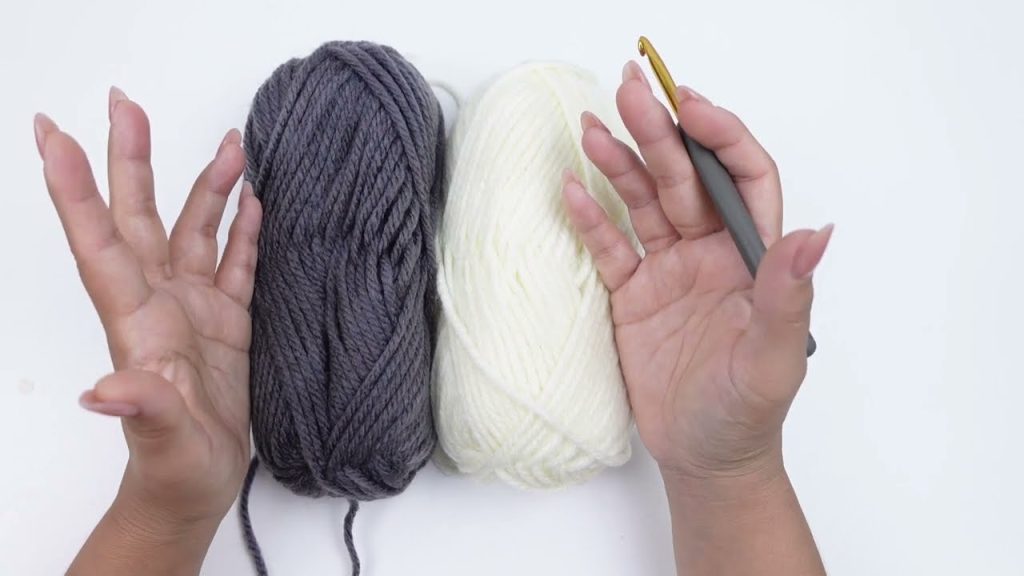
Part 2: The Body (Worked in Rounds)
This is where you’ll create the height and the beautiful texture of the hat.
- Round 1: Ch 1 (does not count as a stitch). Work 1 sc in each row-end of the brim. Join with a sl st to the first sc.
- Round 2: Ch 2 (counts as 1 hdc). Hdc in each stitch around. Join with a sl st.
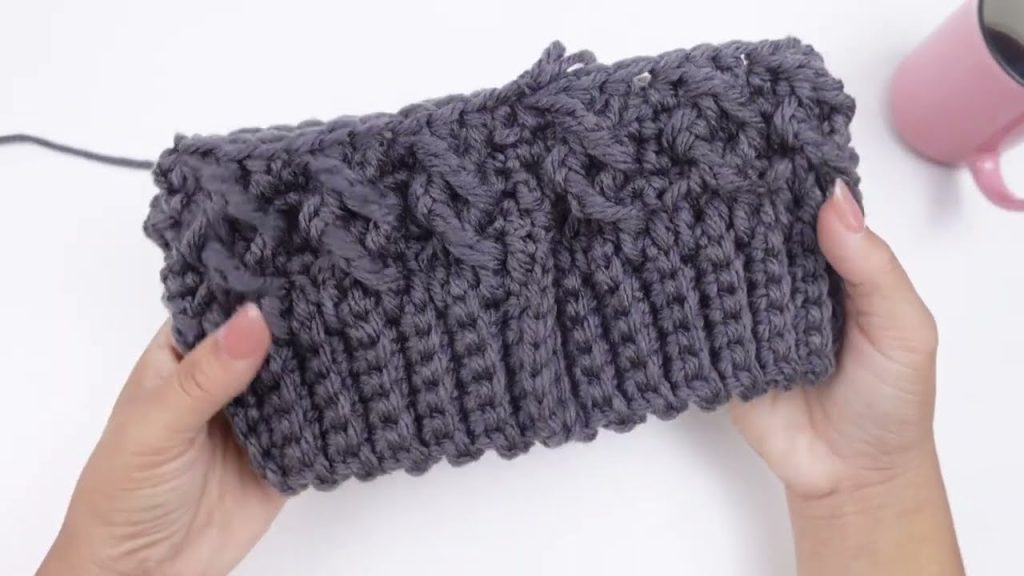
- Round 3 (Pattern Start): Ch 2. Hdc in the next 2 stitches. Work 1 FPDC around the post of the next stitch from the previous round. Hdc in the next 3 stitches. Repeat from * to * around. Join with a sl st.
- Round 4: Ch 2. Hdc in the next stitch. Work 1 FPDC around the post of the next stitch from the previous round. Hdc in the next 3 stitches. Repeat from * to * around. Join with a sl st.
- Round 5: Ch 2. Hdc in the next 2 stitches. Work 1 FPDC around the post of the next stitch from the previous round. Hdc in the next 3 stitches. Repeat from * to * around. Join with a sl st.
- Repeat Rows 3-5: Continue repeating these three rows until the hat reaches your desired height (for this pattern, about 6-7 inches / 15-18 cm tall).
- The FPDC stitches will create a beautiful, staggered 3D pattern.
Part 3: The Crown
This final step closes the top of the hat.
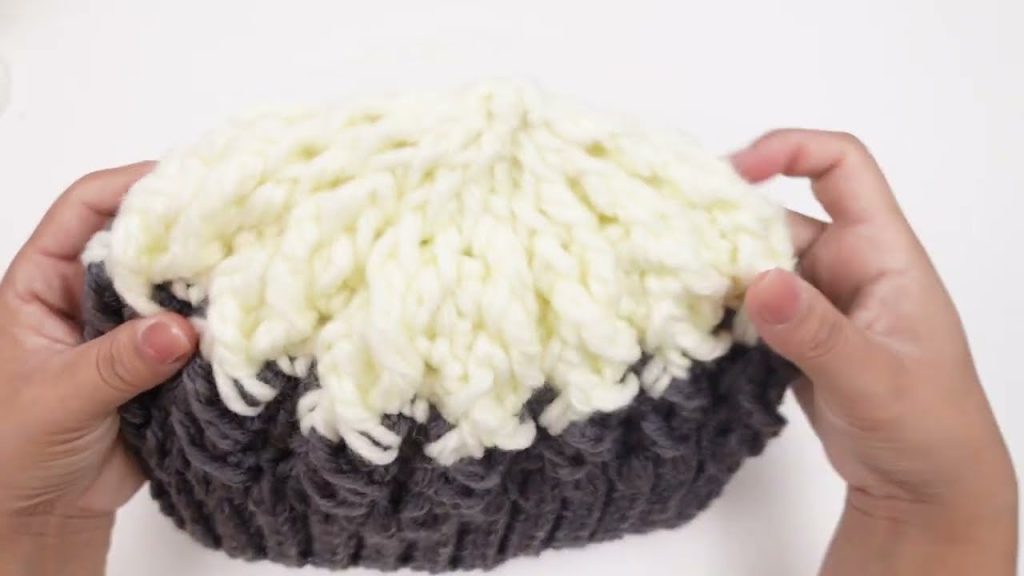
- Round 1: Ch 2. Hdc in the next stitch, hdc2tog (half double crochet decrease). Repeat from * to * around. Join with a sl st.
- Round 2: Ch 2. Hdc2tog. Repeat from * to * around. Join with a sl st.
- Finishing: Cut the yarn, leaving a long tail. Weave the tail through the remaining stitches and pull to close the hole. Fasten off and weave in all ends.
Enjoy your beautiful, handmade “Alpine Peaks” 3D Crochet Beanie. It’s a labor of love that is a perfect addition to your cold-weather wardrobe!
Video tutorial:
