
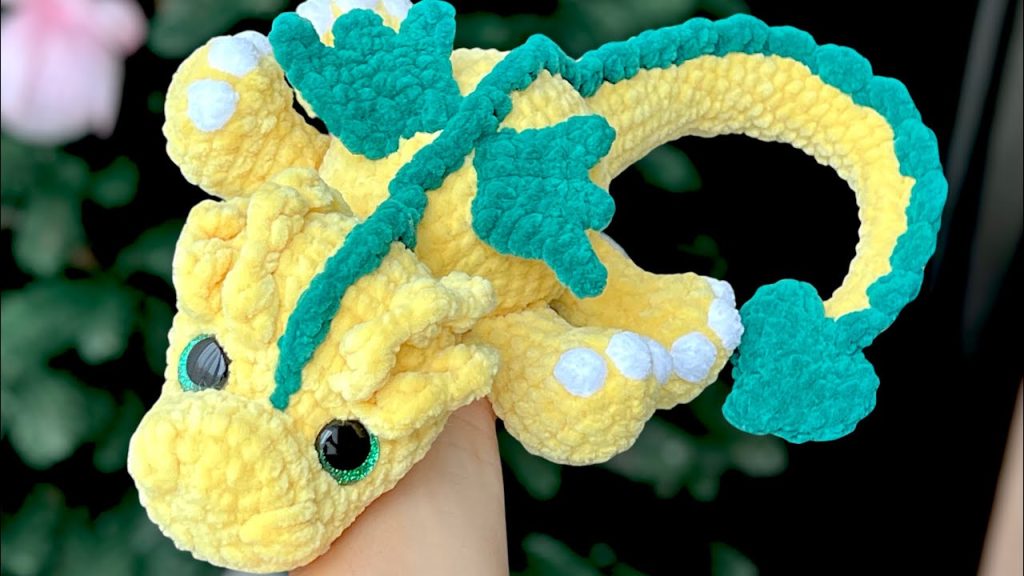
In the world of amigurumi, few creations spark the imagination quite like a fairy dragon—a mythical blend of fantasy, whimsy, and elegance. These tiny dragons, often adorned with delicate wings, soft colors, and expressive features, make perfect collectibles, heartfelt gifts, and enchanting room décor. With their mystical charm and creative versatility, they have become a favorite among crocheters who love fantasy-themed projects.
In this in-depth tutorial, we’ll guide you step-by-step to crochet your very own amigurumi fairy dragon—from materials and basic techniques to shaping, assembling, and adding those magical final touches. Whether you’re a seasoned amigurumi maker or a curious beginner, this tutorial will help bring your dragon to life, one stitch at a time.

🧵 What is an Amigurumi Fairy Dragon?
An amigurumi fairy dragon is a small, stuffed crochet dragon—typically featuring:
- Whimsical wings (inspired by fairies or butterflies)
- Curled tails or horns
- Gentle, pastel hues or iridescent threadwork
- Sparkling accents like beads, embroidery, or metallic yarns
Unlike fearsome fantasy dragons, fairy dragons are adorable, gentle, and magical—a cross between a playful pixie and a mythical creature.
🧶 Materials & Tools
Before you begin, gather these supplies to ensure a smooth crafting experience.
YARN:
- Sport weight or DK cotton yarn for better stitch definition
Suggested colors: soft lavender, mint, blush, baby blue, ivory, or pale green
Optional: use sparkly or gradient yarns for the wings or belly
HOOK:
- 2.25 mm – 3.0 mm crochet hook
Choose a hook that creates tight, even stitches so stuffing doesn’t show through
STUFFING:
- Polyester fiberfill (or cotton stuffing)
SAFETY EYES:
- 6mm–10mm size, depending on dragon’s head size
(Alternatively, embroider eyes with black thread for younger children)
ADDITIONAL MATERIALS:
- Tapestry needle
- Stitch markers
- Scissors
- Pipe cleaners (optional – for poseable wings or tail)
- Fabric glue or hot glue (for wing support)
- Embellishments: beads, sequins, embroidery thread, tulle for wings

✨ Basic Stitches & Techniques Used
If you’re new to amigurumi, here are the stitches and techniques you’ll need:
- Magic ring (MR)
- Single crochet (sc)
- Increase (inc): 2 sc in one stitch
- Decrease (dec): sc 2 together
- Slip stitch (sl st)
- Crocheting in rounds (spiral method)
- Crocheting in front/back loops only (FLO/BLO)
- Sewing parts together with tapestry needle
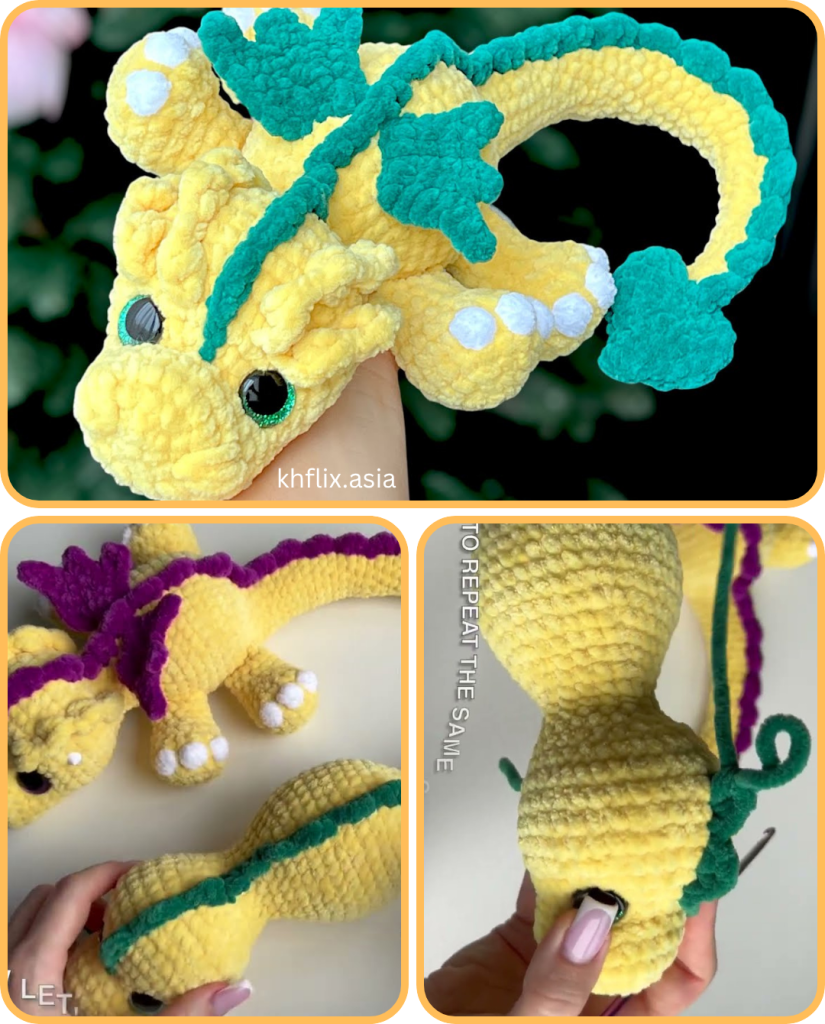
🐉 Construction Overview
The fairy dragon is made up of these parts:
- Head
- Body
- Tail (with curl)
- Wings (optional tulle or mesh inlays)
- Legs (arms & feet)
- Horns or ears
- Spines or back ridges (optional)
- Eyes & facial embroidery
Each part is crocheted separately and sewn together during the final assembly.
🪡 Step-by-Step Pattern: Amigurumi Fairy Dragon
🔸 HEAD
Round 1: MR, 6 sc (6)
Round 2: inc around (12)
Round 3: sc, inc around (18)
Round 4: 2 sc, inc around (24)
Round 5–9: sc around (24)
Round 10: 2 sc, dec around (18)
Insert safety eyes between Rounds 6–7, about 5 stitches apart.
Round 11: sc, dec around (12)
Round 12: dec around (6)
Fasten off and close the hole. Stuff firmly.
🔸 BODY
Round 1: MR, 6 sc (6)
Round 2: inc around (12)
Round 3: sc, inc around (18)
Round 4: 2 sc, inc around (24)
Round 5–11: sc around (24)
Round 12: 2 sc, dec around (18)
Round 13: sc, dec around (12)
Round 14–15: sc around (12)
Fasten off and leave a long tail for sewing. Stuff firmly.
🔸 TAIL (Curled)
Round 1: MR, 6 sc
Round 2: inc around (12)
Rounds 3–12: sc around (12)
Gradually reduce stitch count toward end:
- Round 13: sc, dec (8)
- Round 14–16: sc around
Lightly stuff the base only and shape into a curl. Use wire or pipe cleaner for poseable effect. Sew to back of body.
🔸 LEGS (Make 4: 2 arms, 2 feet)
Round 1: MR, 6 sc
Round 2: sc, inc around (9)
Round 3–6: sc around (9)
Fasten off and stuff lightly. Sew front legs near base of head, back legs near tail base.
🔸 HORNS / EARS (Optional)
Round 1: MR, 4 sc
Round 2–4: sc around
Fasten off. Pinch slightly and sew on top of head.
🔸 WINGS (Make 2)
Here’s a simple wing pattern; you can modify for shape and flair.
Row 1: Ch 7, sc in 2nd ch from hook and across (6)
Row 2: Turn, ch 1, sc2tog, sc 2, sc2tog (4)
Row 3: Turn, ch 1, sc2tog, sc2tog (2)
Row 4: Turn, sc2tog (1), fasten off.
Make two. Add decorative edging with sparkly yarn or tulle backing. You can stiffen wings using:
- Tulle sewn behind with fabric glue
- Metallic embroidery floss for edging
- Pipe cleaners or craft wire for poseable wings
Sew wings to back/shoulders.
🔸 SPINES / BACK RIDGES (Optional)
Ch 10.
On the chain: sc, ch 2, sl st in same, sc in next 2, repeat.
This creates a frilly ridge you can sew along the back or head.
✨ Assembly Guide
- Sew head to body. Align the edges and sew with whip stitch.
- Attach legs and tail. Pin in place first for balance, then sew securely.
- Add wings. Position on shoulder blades or upper back.
- Sew horns/ears. Adjust for personality—forward or back-facing.
- Embroider features. Add nostrils, smile, or even little freckles with thread.
- Decorate! Use beads, sequins, or glitter yarn for magic effects.
🌈 Customization Ideas
Make your fairy dragon truly unique:
- 🌟 Color Themes: Pastels for fairies, jewel tones for forest dragons, or ombré yarns for celestial dragons
- 🧚 Wings: Try butterfly-style wings with mesh or sparkly yarns
- 🧵 Belly Patches: Crochet an oval patch in a contrasting color for the belly
- 💫 Glowing Eyes: Use glow-in-the-dark safety eyes or embroidery thread
- 🐲 Mini Accessories: Add a tiny flower crown, a leaf cape, or a wand
🎁 Great for Gifts!
These fairy dragons are:
- Perfect for fantasy lovers
- Whimsical nursery décor
- Unique birthday or holiday gifts
- Great sellers at craft fairs
🧚 Final Thoughts
Crocheting an amigurumi fairy dragon is more than just a craft project—it’s an opportunity to bring magic to life. With each stitch, you’re shaping a fantasy character full of charm, whimsy, and personality. Whether you make one or a whole dragon family, this delightful creature is sure to spark smiles and wonder.
So pick up your hook, gather your yarn, and let your imagination soar—because somewhere in your hands, a tiny dragon is waiting to take flight.
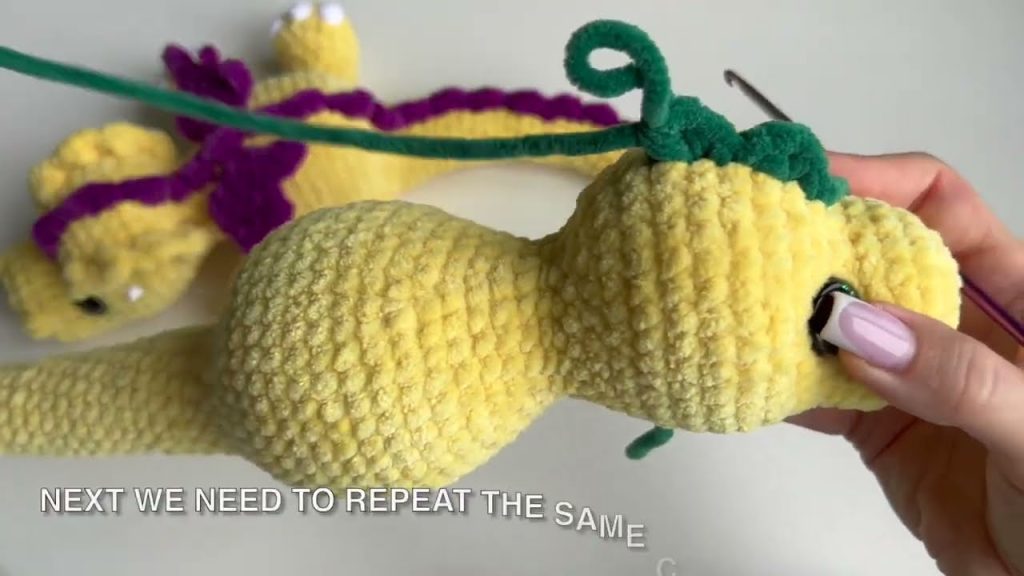
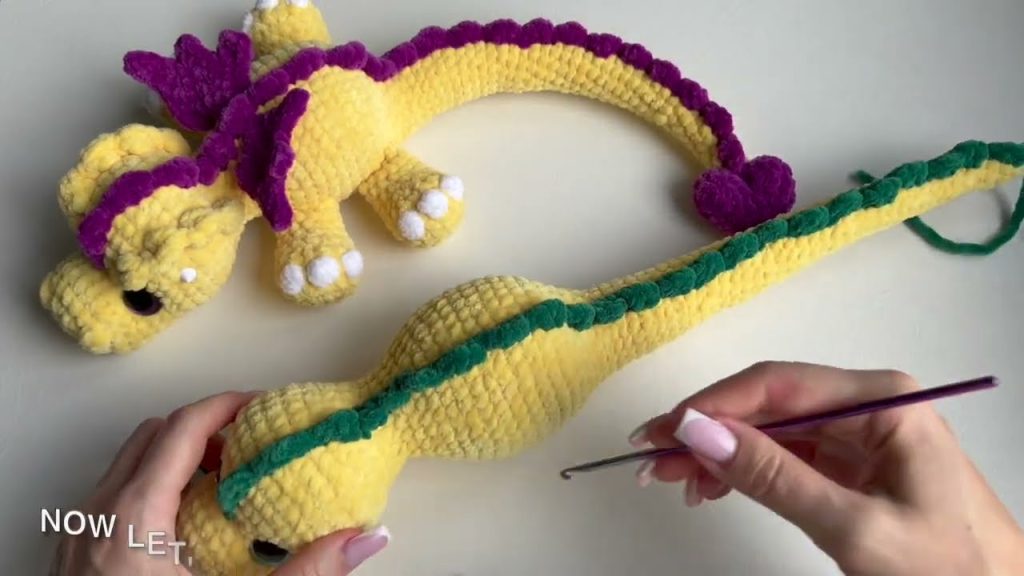
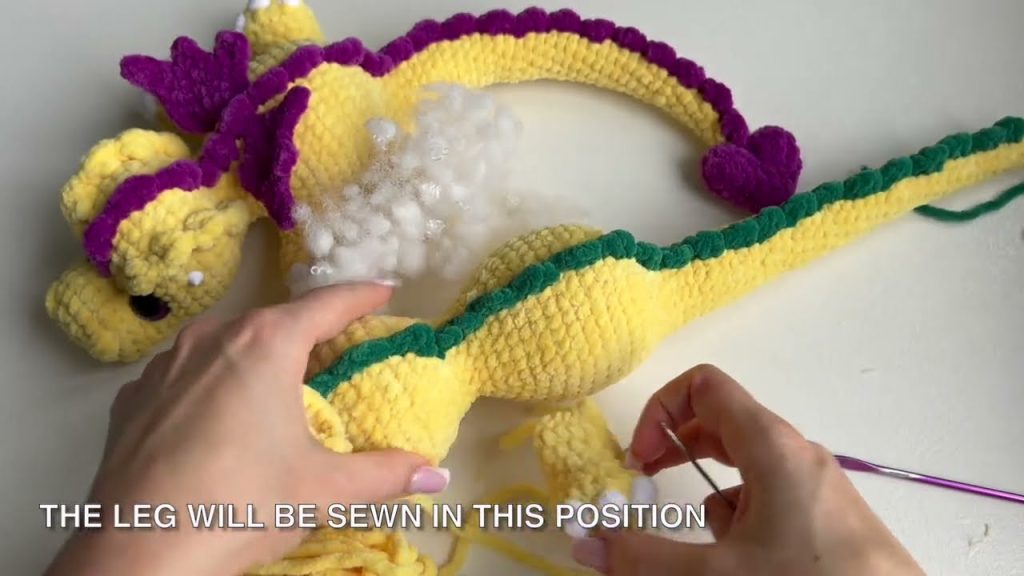
Video tutorial:


