
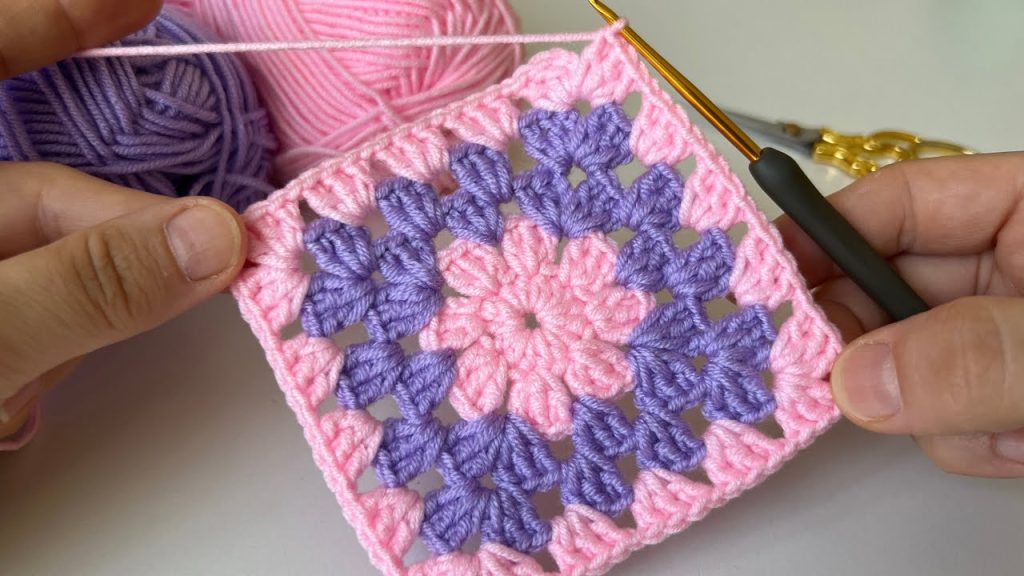
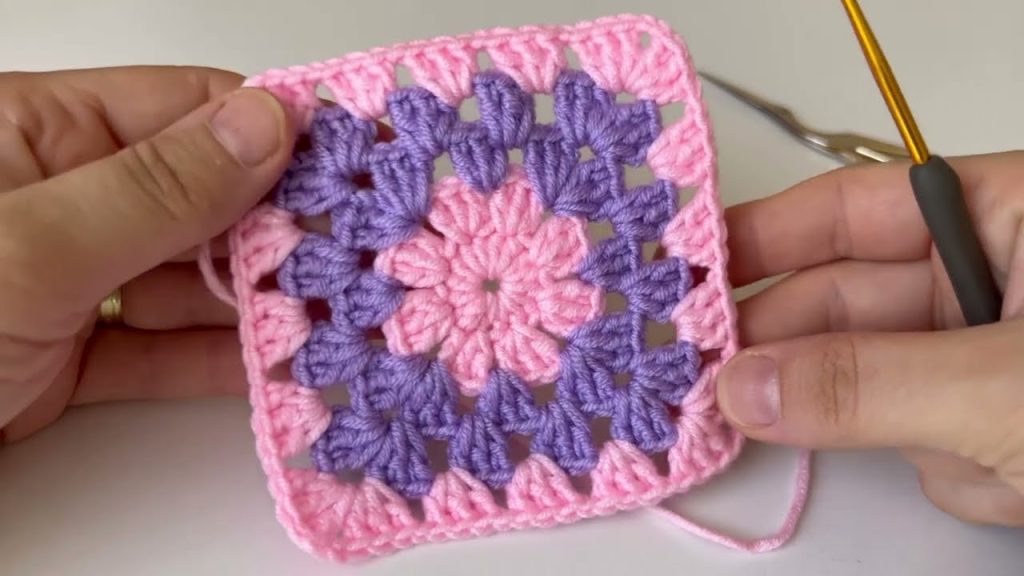
Crochet lovers know that the granny square is one of the most iconic and versatile motifs in the world of yarn crafts. But when you blend the structure of a granny square with the beauty of a blooming flower, you get a stunning flower granny square motif—a design that’s as charming as it is functional.
Whether you’re adding these squares to a blanket, pillow, bag, or wearable item, this guide will walk you through everything you need to know to make your own flower granny square from start to finish.
🧵 What is a Flower Granny Square Motif?
A flower granny square is a decorative crochet square featuring a three-dimensional or flat flower in the center, often surrounded by a classic granny square border. It combines:
- A floral motif in the center (e.g., daisy, rose, puff flower)
- The traditional granny square layout of clusters and chains
- The potential for endless color combinations and customizations
These squares are a favorite in vintage, boho, cottagecore, and eclectic crochet aesthetics.
🪄 Skill Level: Beginner to Intermediate
- If you know basic stitches like chain (ch), slip stitch (sl st), double crochet (dc), and treble crochet (tr), you’re ready!
- Some flower motifs may use puff or bobble stitches (explained below).
🧶 Materials Needed
To create one 3D flower granny square motif, gather the following:
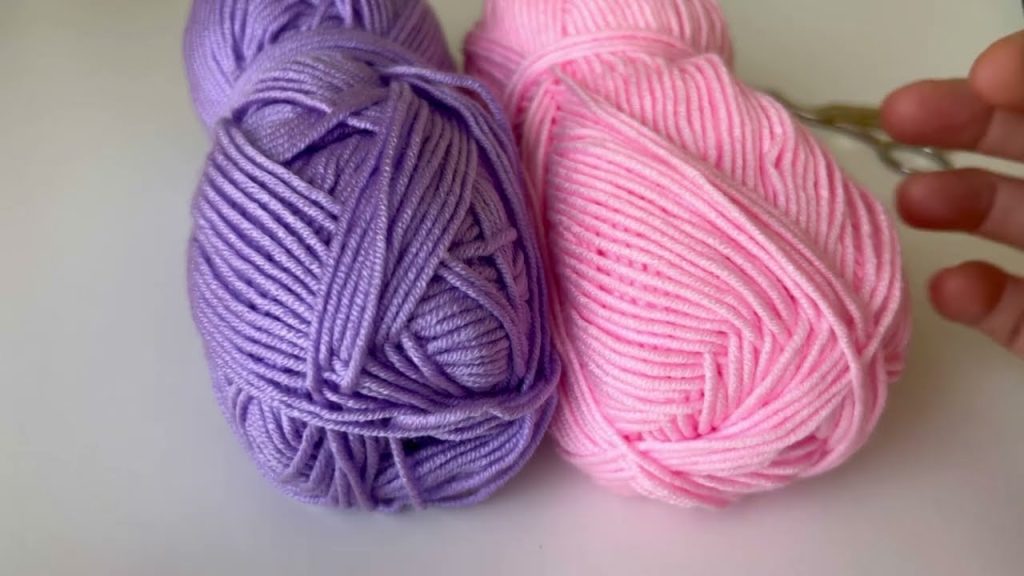
✅ Yarn
- Cotton or acrylic yarn, DK or worsted weight
- 2 or more colors (e.g., one for the flower, one for the background)
✅ Hook
- Use the recommended hook size for your yarn
- Example: For worsted weight, use a 5mm (H) crochet hook
✅ Scissors and Yarn Needle
- For trimming and weaving in ends
✅ Stitch Markers (Optional)
- Useful if you want to mark beginning of rounds or petals
🔤 Abbreviations (U.S. Terms)
| Abbreviation | Meaning |
|---|---|
| ch | chain |
| sl st | slip stitch |
| sc | single crochet |
| dc | double crochet |
| tr | treble crochet |
| st(s) | stitch(es) |
| sp | space |
| rnd | round |
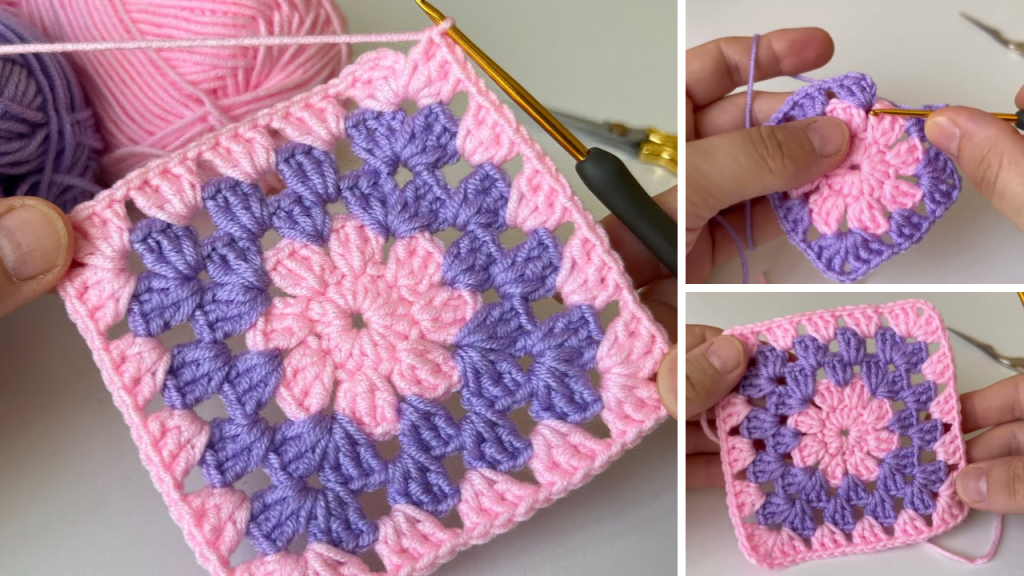
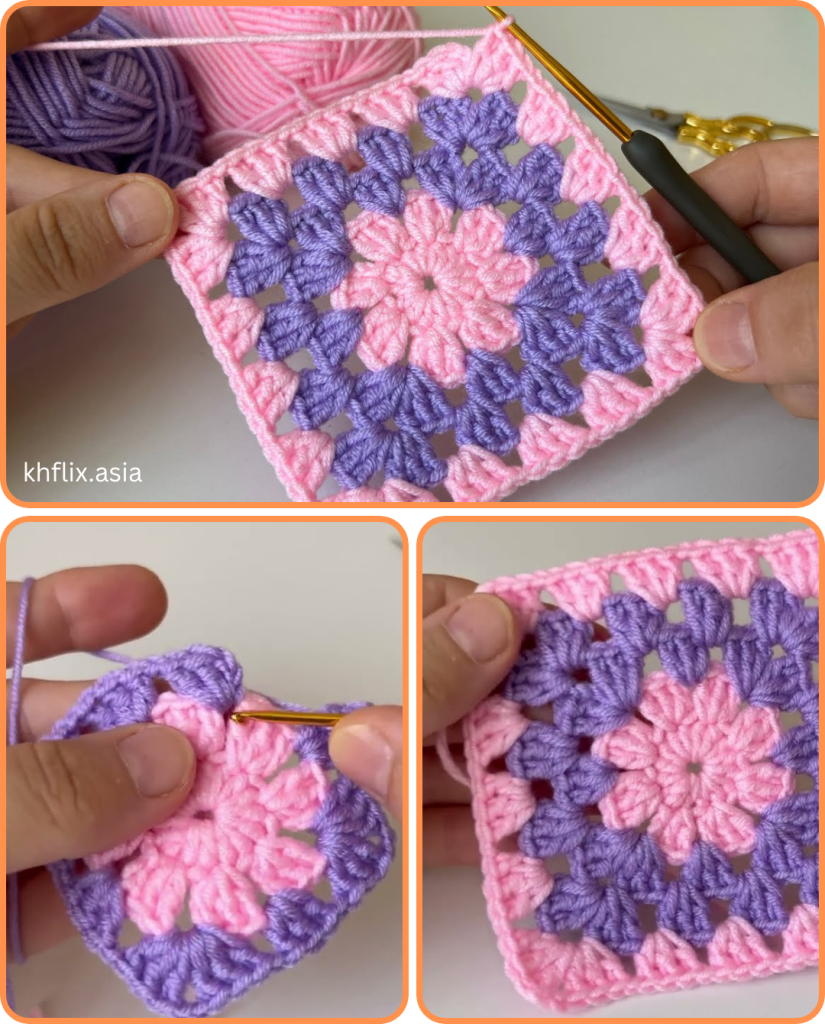
🌼 Step-by-Step: Classic 3D Flower Granny Square
We’ll walk you through one of the most popular styles: a 3D flower with petals surrounded by a square background.
🌸 RND 1: Center Ring
With flower color (e.g., yellow):
- Start with a magic ring (or ch 4 and join to form a ring).
- Ch 3 (counts as dc), then make 11 more dc into ring. (12 dc total)
- Join with sl st to top of ch-3.
[Tip] Pull magic ring tightly to close the center hole.
🌺 RND 2: Petal Foundation
- Ch 1, sc in same st, ch 3
- Repeat from * to * around in each dc (12 sc, 12 ch-3 loops).
- Join with sl st to first sc.
These ch-3 loops will serve as the base for the petals.
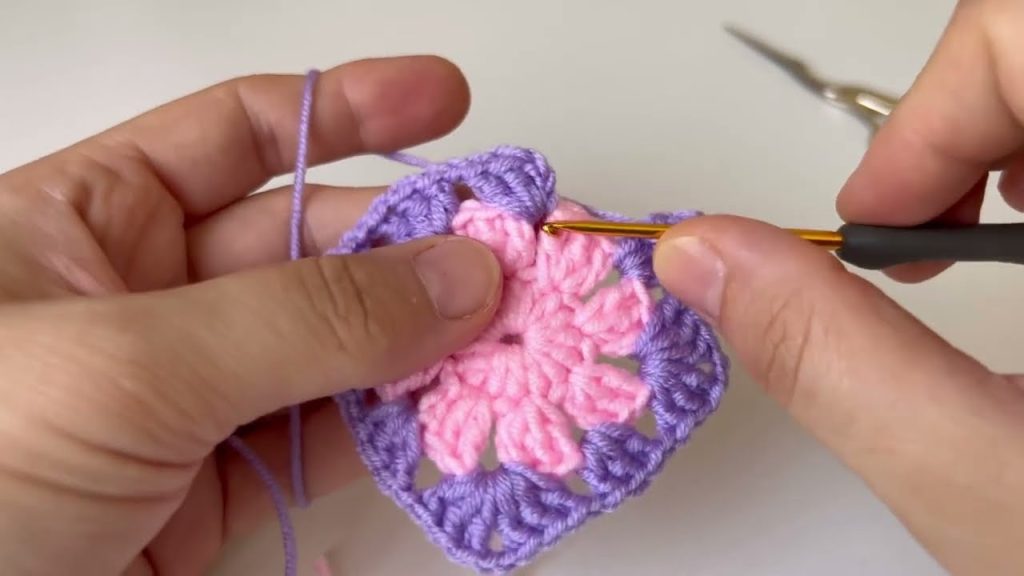
🌻 RND 3: Form the Petals
Switch to petal color (e.g., pink):
- Sl st into first ch-3 loop.
- In each loop: (sc, hdc, 3 dc, hdc, sc)
- Repeat in every loop (12 petals total).
- Sl st to first sc to join.
Your flower is now formed and should have a slight 3D texture.
[Optional] Fasten off petal color and weave in ends.
🟩 RND 4: Square It Out (Turn Into a Square)
Switch to background color (e.g., white or green):
- Work behind the petals into the unused front loops of RND 1 (dc round).
- Sl st to one dc stitch behind a petal.
- Ch 3 (counts as dc), dc in same st, ch 2, 2 dc in next st — this creates the first corner.
- Dc in next 2 sts, hdc in next 2, sc in next 2.
- Work 2 dc, ch 2, 2 dc in next st for the second corner.
- Repeat until you have 4 corners total and are back at the start.
- Sl st to top of ch-3 to join.
You now have a square frame around the flower!
🧱 RND 5: Build the Granny Square Base
- Sl st into next dc and into corner space.
- Ch 3 (counts as dc), dc, ch 2, 2 dc in same corner.
- (Ch 1, 3 dc in next space between clusters) repeat to next corner.
- In each corner space: 2 dc, ch 2, 2 dc
- Continue around and sl st to top of ch-3.
Optional: You can repeat this round as many times as you want to make a larger square.
🌈 Color Ideas and Variations
🎨 Color Combinations:
- Daisy: Yellow center, white petals, green background
- Rose: Pink/red petals, cream background
- Sunflower: Brown center, yellow petals, green frame
- Rainbow: Multicolored petals with a black or white border
🧵 Stitch Variations:
- Use puff stitches for thick petals
- Try picot edging on petals for a lacy look
- Make flat flower motifs if you prefer a less bulky square
📐 Sizing Your Squares
Depending on yarn weight and hook size:
- DK weight square = ~4″ (10 cm)
- Worsted weight = ~5–6″ (13–15 cm)
Make sure all your squares match in size if joining for a project.
🧷 How to Join Flower Granny Squares
📌 Seamless Join As You Go (JAYG)
- Join each new square to the previous one during your final round.
📌 Whipstitch or Mattress Stitch
- Use a yarn needle to sew them together at the back.
📌 Crochet Join
- SC or SL ST through both edges of squares for a decorative join.
🛏️ What Can You Make With Flower Granny Squares?
The possibilities are endless. Here are some fun ideas:
- Blankets and Afghans
- Cushion covers
- Tote bags and purses
- Scarves and shawls
- Garments (vests, cardigans, skirts)
- Wall hangings
- Table runners or placemats
🧼 Care Tips for Flower Granny Projects
- Wash gently if you used delicate yarn (hand wash or gentle cycle).
- Dry flat to maintain square shape.
- Block squares before assembling for a uniform look.
🪡 Final Thoughts: Crochet a Garden, One Square at a Time
Crocheting flower granny squares is an incredibly rewarding and creative experience. You get to play with color, texture, and geometry all in one small but mighty motif. They’re a perfect blend of classic and contemporary, and they bring a handmade, heartfelt touch to anything you make.
Whether you’re making one as a coaster or dozens for a quilt-sized afghan, remember this:
“Each square you crochet is a petal in the garden of your creativity.”
So pick up your hook, choose your colors, and start blooming with beautiful flower granny squares!
Video tutorial:


