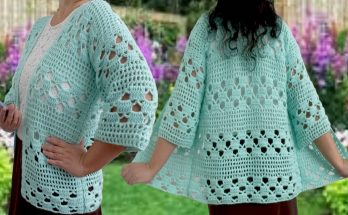
Crochet has made a remarkable comeback in recent years, transforming from a nostalgic hobby into a trendy, sustainable, and therapeutic craft. Among the most popular crochet projects is the crochet bag — a charming accessory that combines function and fashion. If you’re looking to dive into your next creative adventure, this guide will walk you through making a beautifully designed yet easy-to-make crochet bag that even beginners can master.
Why Crochet a Bag?
Crochet bags are more than just a stylish choice. Here’s why you might want to add one to your DIY repertoire:
- Eco-friendly: Reusable, handmade bags reduce the need for plastic alternatives.
- Customizable: Choose your colors, shapes, and sizes.
- Therapeutic: The rhythmic motion of crocheting is proven to reduce stress and anxiety.
- Budget-friendly: Crochet bags require minimal materials and tools.
Materials You’ll Need
Before you begin, gather the following supplies:
- Yarn: Use medium-weight cotton yarn for durability and softness.
- Crochet hook: Typically size 4.0 mm (G-6) to 5.5 mm (I-9) for medium yarn.
- Scissors
- Tapestry needle: For weaving in ends.
- Stitch marker (optional but helpful for tracking rounds or stitches).
- Lining fabric and sewing needle (optional, for added structure and finish).
Tip: Cotton yarn is preferred for bags because it holds shape well and is easy to clean.
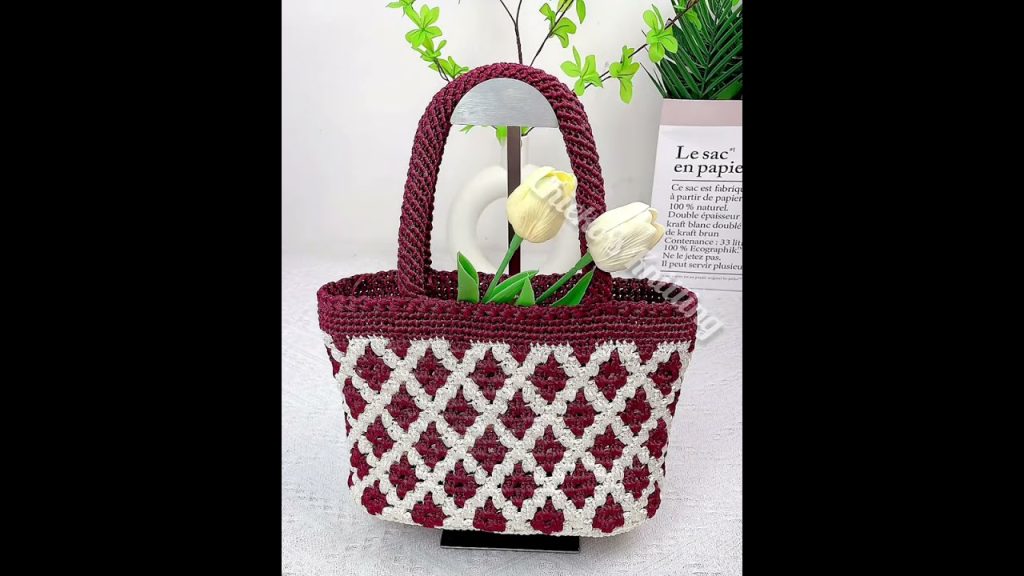
Pattern: The “Everyday Tote” Crochet Bag
This pattern is beginner-friendly but looks sophisticated, making it perfect for daily use.
Skill Level: Beginner to Intermediate
Finished Size: Approx. 12” wide x 10” tall (not including straps)
Stitches Used:
- Chain (ch)
- Slip stitch (sl st)
- Single crochet (sc)
- Half double crochet (hdc)
- Double crochet (dc)
Step-by-Step Instructions
1. Base of the Bag
- Chain 31. (This will be the length of the base)
- Row 1: In the 2nd chain from the hook, sc across (30 stitches).
- Row 2-10: Turn, ch 1, sc across.
- This creates a sturdy rectangular base.
2. Building the Body
You will now work in rounds around the base.
- Round 1: Sc evenly around all four sides of the rectangle. Place 2 sc in each corner. Join with sl st.
- Round 2: Ch 1, hdc in each stitch around. Join with sl st.
- Rounds 3–20: Repeat Round 2.
- Optional: Alternate colors every 3-4 rows for a striped design.
3. Add Texture (Optional)
To give your bag more visual appeal:
- Try alternating hdc and dc stitches in rounds.
- Incorporate a “grit stitch” (alternating sc and dc across the round).
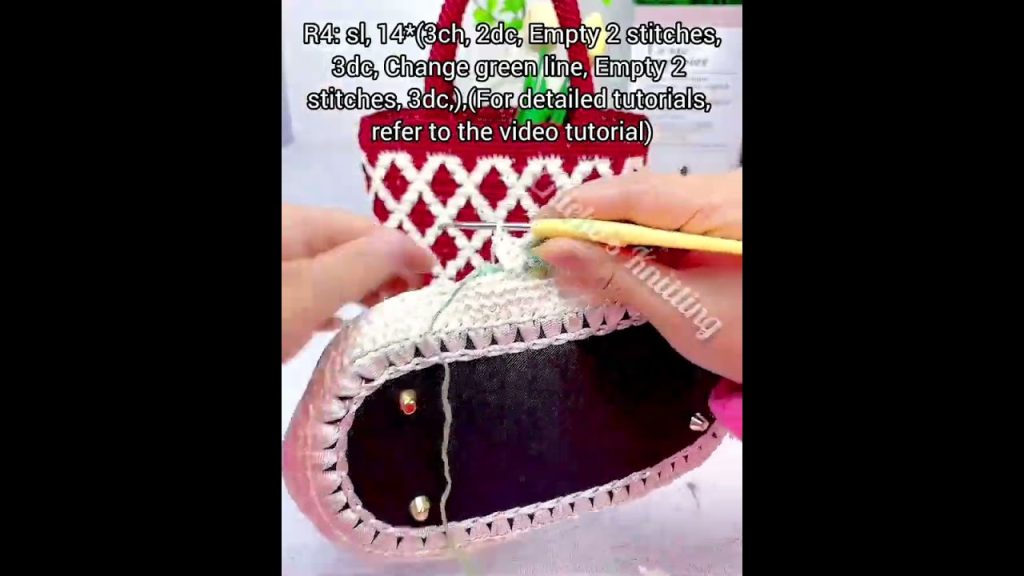
4. Finishing the Top
- Final Round: Work one round of sc for a clean edge. Fasten off and weave in all ends.
5. Straps
You can either crochet or use pre-made leather/fabric straps.
Crocheted Strap Instructions:
- Chain 90–100 (depending on desired length).
- Row 1: Sc in 2nd ch from hook and across.
- Row 2-4: Turn, ch 1, sc across.
- Attach each end to the inside of the bag using a tapestry needle and extra yarn. Reinforce by stitching securely in place.
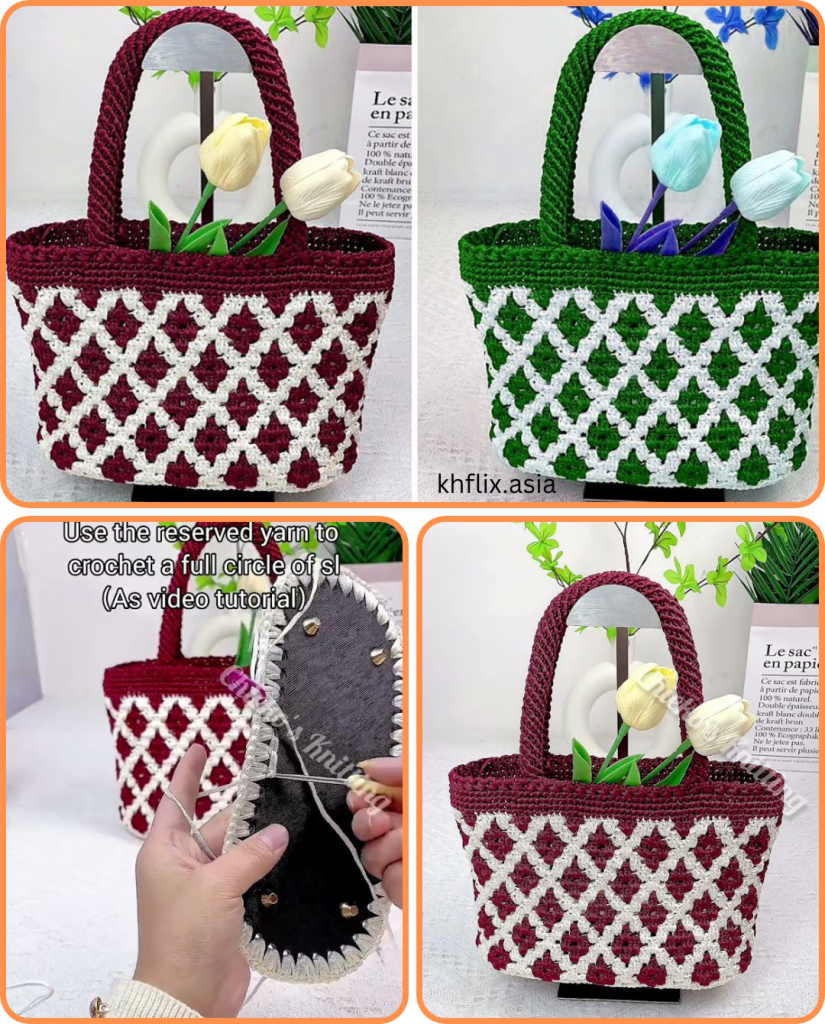
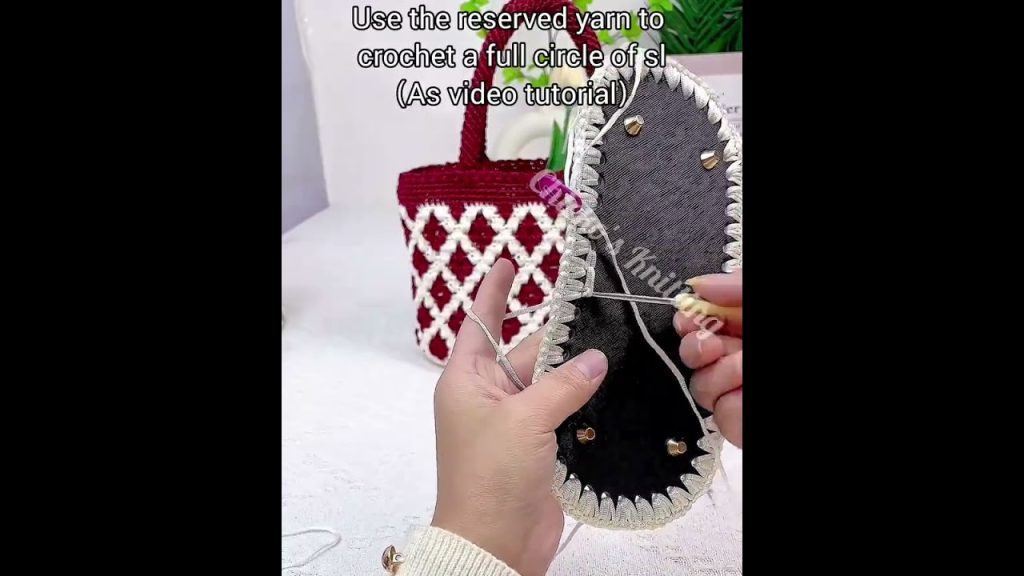
Optional: Add a Lining
Lining your crochet bag can give it more durability, especially if you plan to carry small items.
- Cut fabric to match the size of your finished bag.
- Fold and sew edges for a neat hem.
- Hand-sew or machine-stitch the fabric inside the bag.
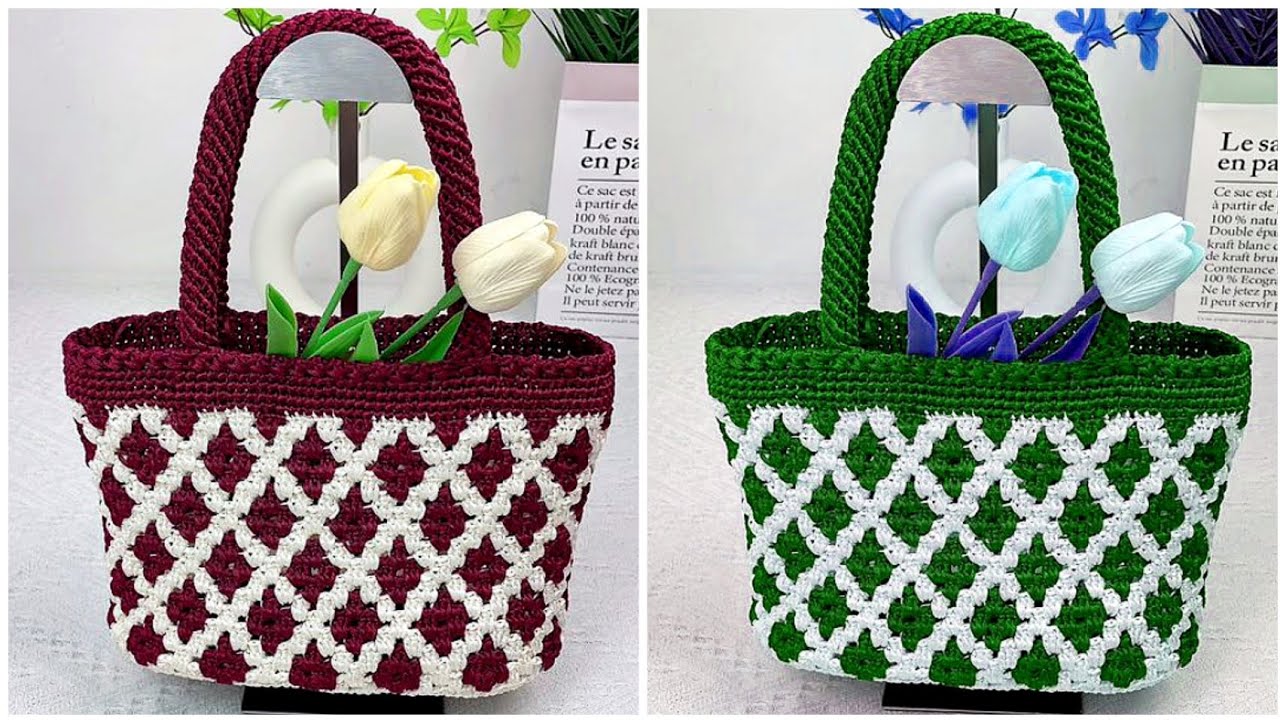
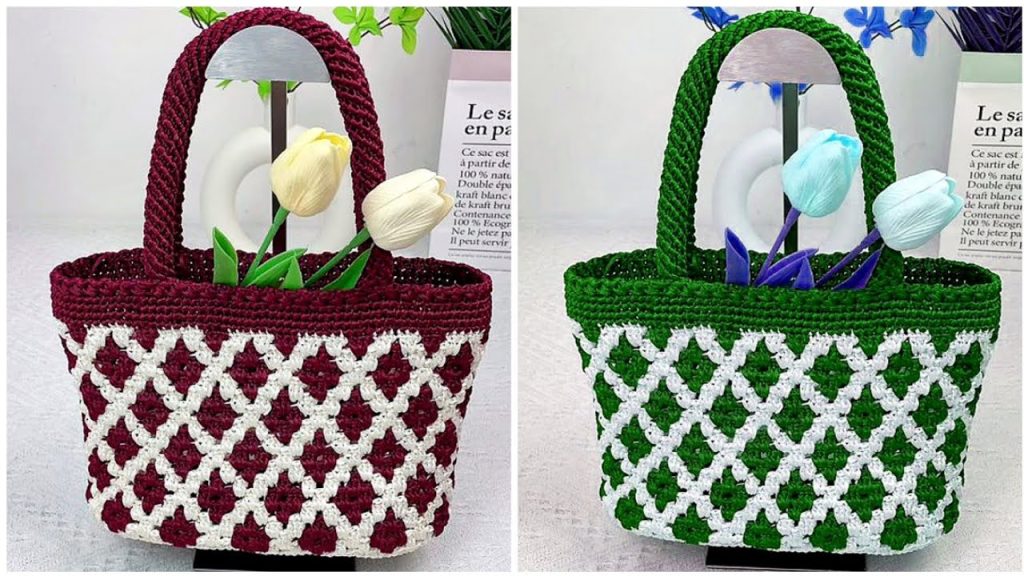
Design Variations
Once you’ve mastered the basic pattern, try these ideas:
- Granny square panels for a vintage touch.
- Color blocking with bold yarn shades.
- Button or drawstring closures for added functionality.
- Tassels or fringe for boho flair.
Final Thoughts
Creating your own crochet bag is not only practical but also incredibly rewarding. The process is simple enough for beginners and satisfying for seasoned crocheters. With endless options for colors, textures, and sizes, each bag you make can be uniquely your own.
So grab your hook, pick your favorite yarn, and start stitching your way to a beautiful, handmade accessory that will turn heads and hold your essentials in style.
Happy Crocheting! 🧶
Video tutorial: