
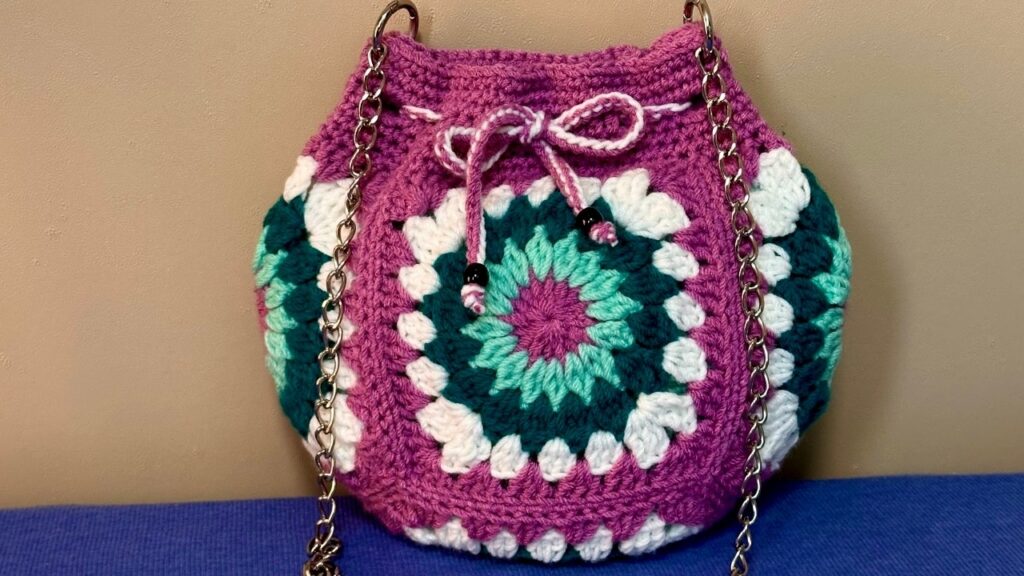
Crochet bags made with granny squares are one of the most timeless and beginner-friendly projects in the world of crochet. Not only do they offer an excellent way to practice basic stitches and color changes, but they’re also endlessly customizable — from size and color to texture and shape. Whether you’re looking to make a retro-style tote, a crossbody purse, or a trendy mini bag, granny squares are the perfect foundation.
In this article, we’ll guide you through everything you need to know to create your own crochet bag using granny squares, step by step.
🧶 What is a Granny Square?
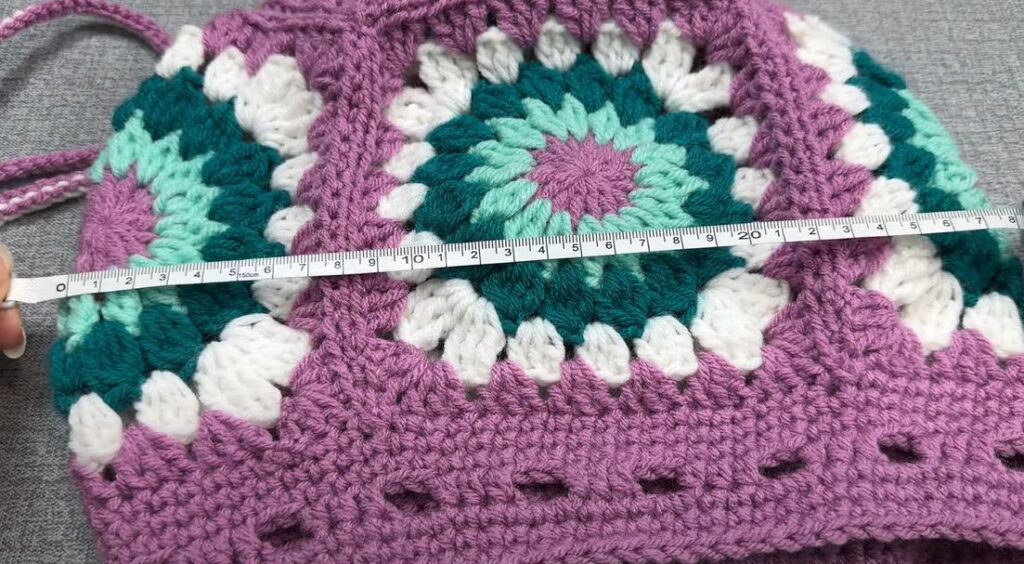
A granny square is a classic crochet motif, traditionally worked in the round from the center outward. Most commonly made with double crochet stitches, granny squares can be simple or elaborate depending on the pattern.
Granny squares are perfect for:
- Beginners learning to crochet in the round
- Mixing colors creatively
- Making modular projects like blankets, garments, or bags
👜 Why Make a Bag with Granny Squares?
- Easy assembly: You can create squares separately and sew them together.
- Portable: Great project to take with you on the go.
- Customizable: Change colors, yarn types, or square arrangements.
- Trendy: Granny square bags are back in fashion and seen on runways and handmade markets alike.
✨ Supplies You’ll Need
Here’s what you need to make a medium-sized crochet bag using granny squares:
- Yarn: Worsted weight cotton yarn (strong and structured) in 2–5 colors.
- Hook: 4.0 mm or 4.5 mm (check your yarn label for recommendations).
- Scissors
- Tapestry needle
- Stitch markers (optional)
- Bag handle or D-rings + strap (optional)
- Fabric liner (optional, for added durability)
📏 Basic Bag Layout Using Granny Squares
A typical layout might include:
| Panel | Number of Squares |
|---|---|
| Front | 4 (2×2) |
| Back | 4 (2×2) |
| Sides | 2 (1×2 or 1×1) |
| Bottom | 2 (1×2) |
| Strap | 1 long rectangle or purchased strap |
🧵 How to Crochet a Classic Granny Square
Here’s a simple 4-round granny square pattern:
Foundation Ring:
- Chain 4, slip stitch into first chain to form a ring.
Round 1:
- Ch 3 (counts as first dc), 2 dc into ring, ch 2.
- (3 dc into ring, ch 2) repeat 3 times.
- Slip stitch into top of starting ch 3 to join. (You now have 4 clusters with 4 corners)
Round 2:
- Slip stitch to the next ch-2 space.
- Ch 3 (counts as first dc), 2 dc, ch 2, 3 dc in same space (first corner).
- (3 dc, ch 2, 3 dc) in next ch-2 space around.
- Join with slip stitch.
Round 3–4:
- In each corner (ch-2 space), work (3 dc, ch 2, 3 dc).
- In each side space, work 3 dc.
- Join with slip stitch at end of each round.
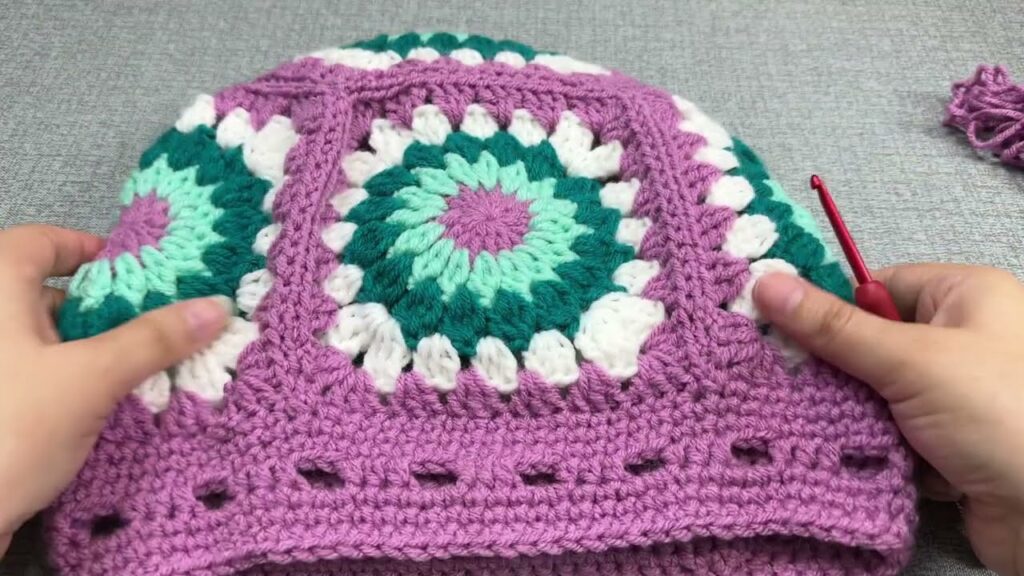
📝 Tip: Use a different color for each round for a retro look!
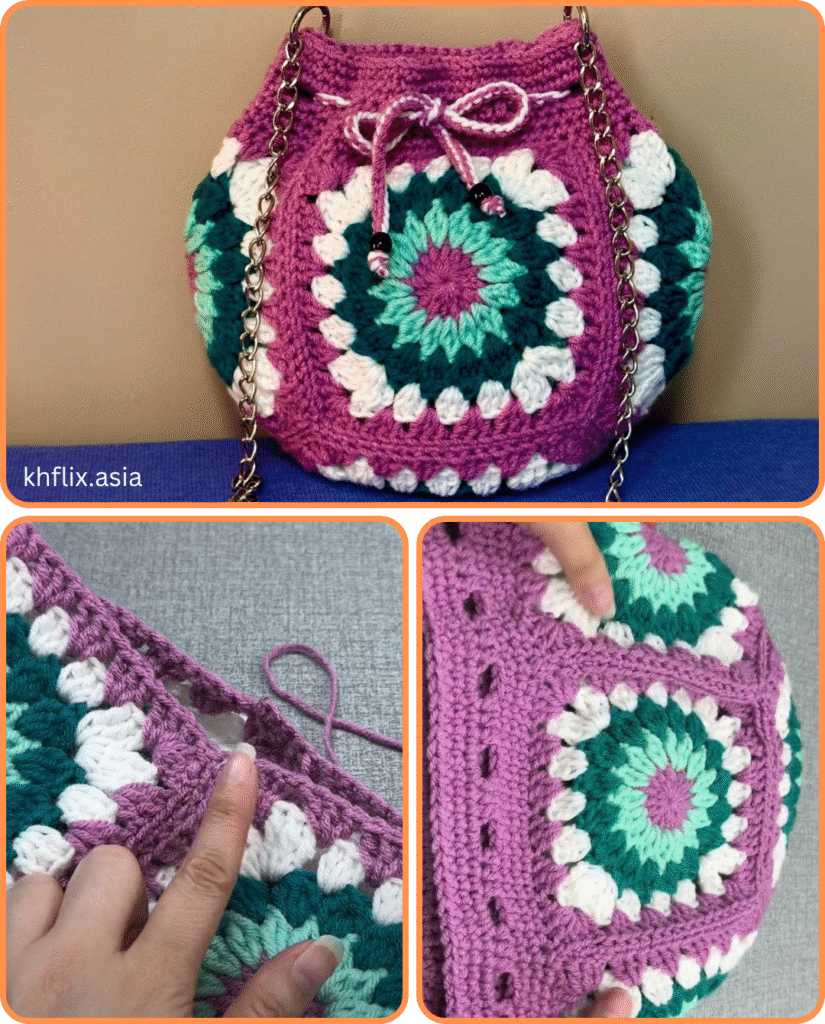
🧵 Assembling the Bag
- Make all squares: Crochet 12 granny squares (or more, depending on size).
- Block the squares: Wet and shape them evenly to ensure uniform size.
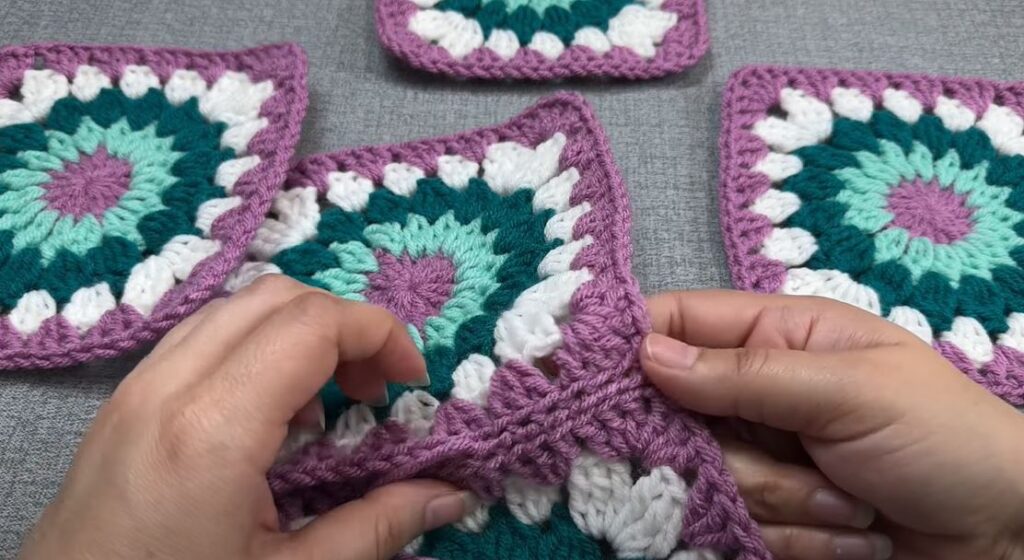
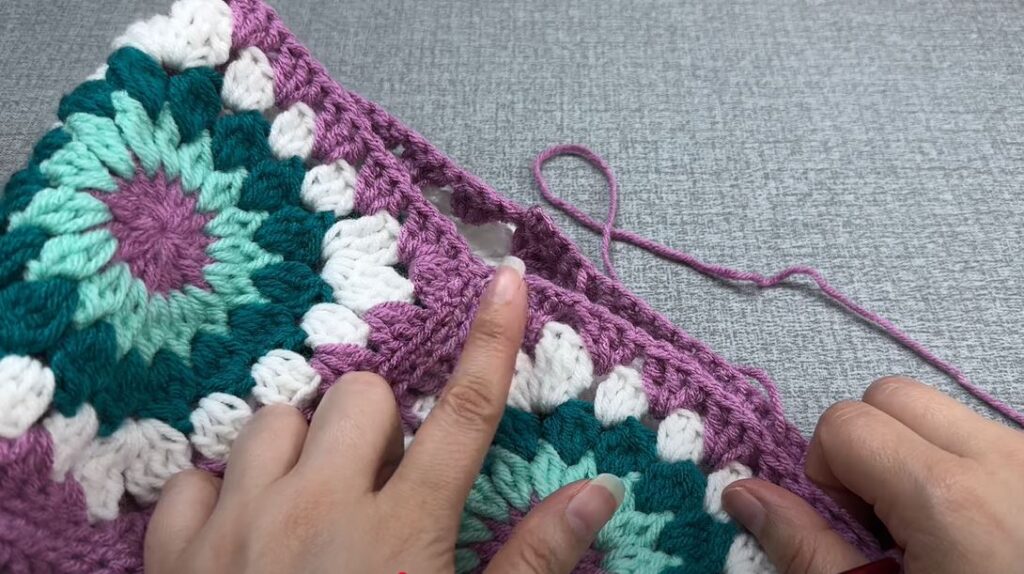
- Join the squares:
- Use slip stitch, whip stitch, or single crochet to join edges.
- Arrange them into a box shape (front, back, sides, bottom).
- Add a strap:
- Crochet a long rectangle and attach to top sides.
- Or, use leather/fabric handles.
- (Optional) Sew a fabric liner:
- Cut fabric to match bag shape.
- Hand-sew or machine-sew it inside for extra durability and to prevent stretching.
- Weave in ends: Use a tapestry needle to hide all loose yarn ends.
🎨 Customization Ideas
- Flower granny squares for a boho touch
- Use recycled yarn or raffia for a beachy, eco-friendly style
- Add a zipper or magnetic button for closure
- Decorate with pom-poms, tassels, or buttons
👛 Pattern Variation: Mini Crossbody Bag
Only have time for a quick project?
Use 2 granny squares:
- Join 3 sides to create a pouch.
- Add a small flap with a button loop.
- Crochet a long chain strap.
Perfect for festivals, quick errands, or as a handmade gift.
🧶 Beginner Tips
- Start with just 1–2 colors if you’re unsure about color combinations.
- Use cotton or blended yarns for durability and structure.
- Count your stitches on each round to keep edges even.
- Practice joining techniques on swatches first.
✅ Benefits of Making a Crochet Granny Square Bag
- Quick, modular, and fun to make
- Great stash-busting project
- Ideal for learning key skills: joining, shaping, lining
- You’ll end up with a useful, stylish accessory that reflects your personality!

📚 Free Pattern Resources
Here are some beginner-friendly granny square bag patterns you can find online:
- “Granny Square Bag” by Yarnspirations (Free PDF)
- “Boho Market Bag” by Make & Do Crew
- YouTube: “Crochet Granny Square Bag Tutorial” by Bella Coco Crochet
🧵 Conclusion
Crocheting a bag with granny squares is a fulfilling and enjoyable project that perfectly blends creativity and functionality. Whether you’re making one for yourself, as a gift, or even to sell, this timeless technique allows you to create a bag that’s both beautiful and unique.
So grab your yarn and hook — your next favorite accessory is just a few squares away!


