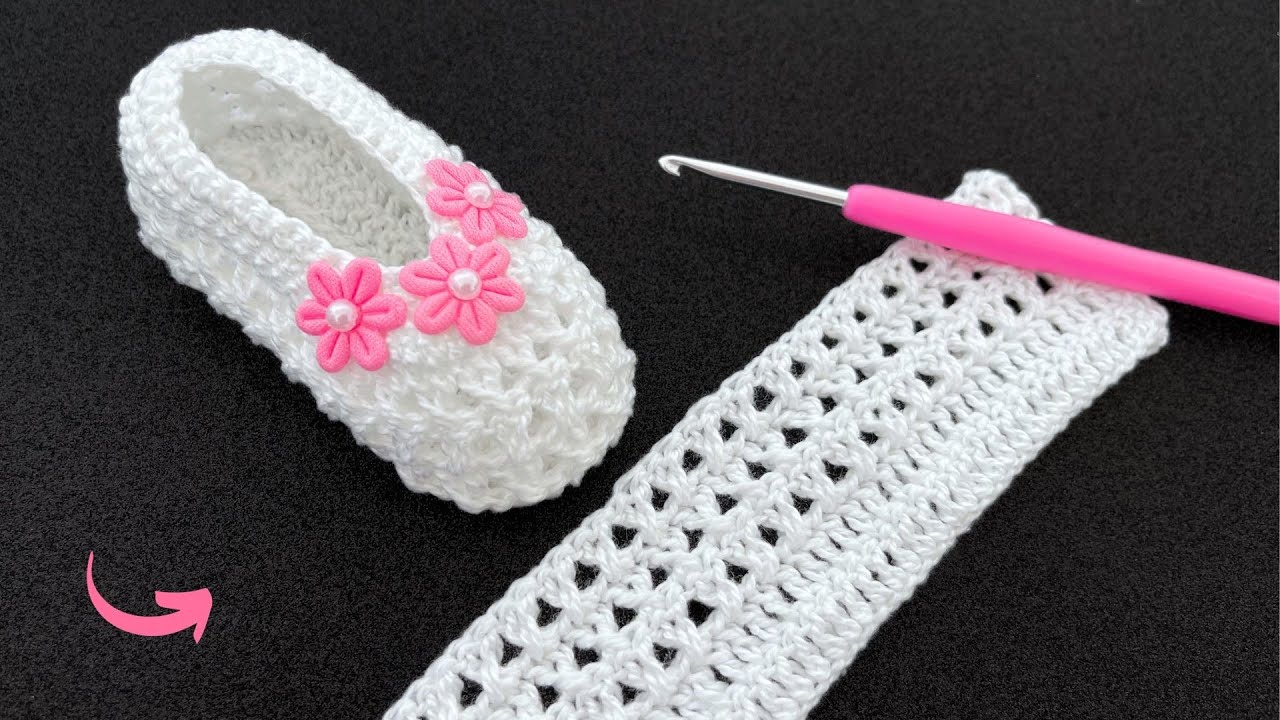
Crochet shoes are a delightful blend of style, comfort, and handmade charm. Whether you’re crafting for a baby, child, or adult, sweet and easy crochet shoes are a rewarding project that you can finish in just a few hours. With simple stitches and a few materials, you can create everything from cozy slippers to fashionable flats.
In this guide, you’ll learn how to make a basic pair of crochet shoes, understand sizing, explore customization options, and gain tips for making them durable and wearable indoors or outdoors.

👣 Why Crochet Shoes?
- ✅ Quick & beginner-friendly: Most projects take 2–3 hours
- 💖 Perfect gifts: Handmade shoes are personal and thoughtful
- 👟 Functional & stylish: Use them as house shoes, baby booties, or casual slip-ons
- 🎨 Customizable: Choose yarn colors, add soles, straps, or buttons for a unique look
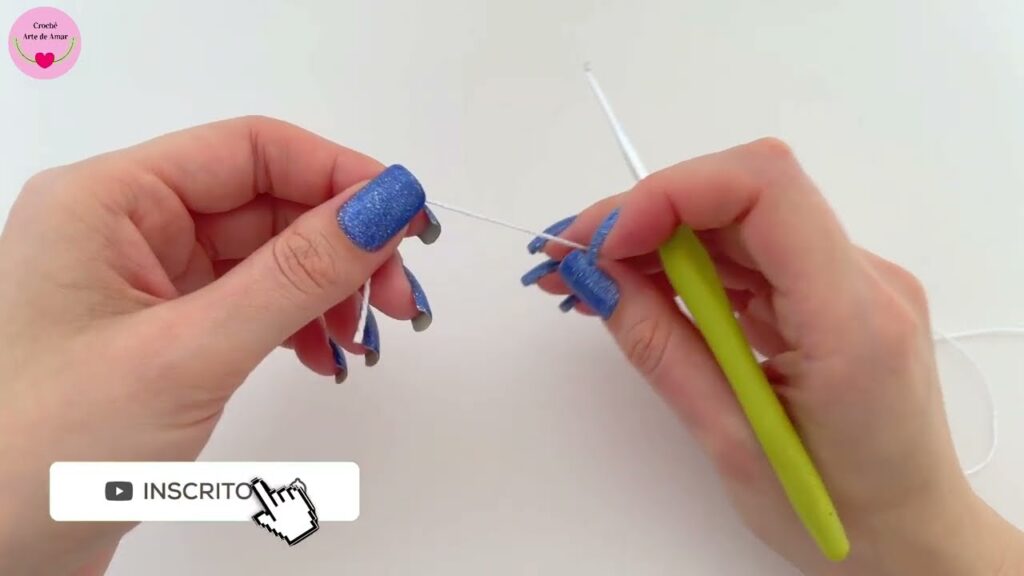
🧵 Materials Needed
Yarn
- Worsted weight cotton or acrylic yarn
- Cotton is best for structure and breathability
- Acrylic is soft and stretchy – great for comfort
Tools
- Crochet hook: 4 mm to 5.5 mm (depending on yarn weight)
- Stitch markers (optional)
- Tapestry needle
- Scissors
- Optional:
- Felt or leather soles
- Buttons, ribbons, or laces
- Hot glue or fabric paint (for non-slip grip)

📏 Sizing Tips
To ensure your shoes fit perfectly, measure the length of the foot and adjust your starting chain or foundation row accordingly.
General Sizing Guide:
| Size | Foot Length | US Women’s | Baby Age |
|---|---|---|---|
| Small | 9″ (23 cm) | 6–7 | – |
| Medium | 9.5″ (24 cm) | 7.5–8.5 | – |
| Large | 10″ (25.5 cm) | 9–10 | – |
| Baby | 3–4.5″ (7.5–11cm) | – | 0–12 months |
Use tighter tension for babies and firmer soles for adults.
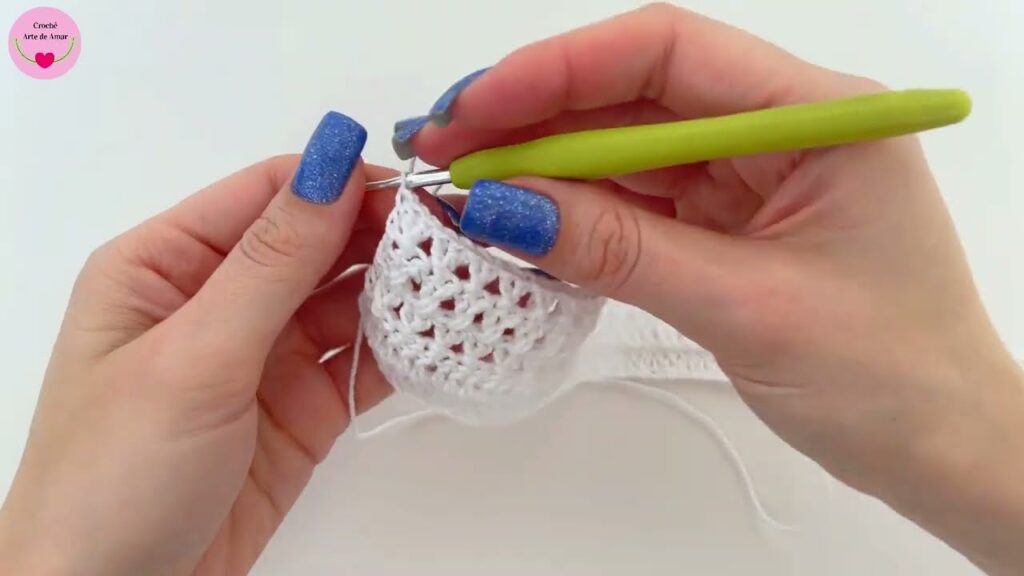
🧶 Basic Pattern: Sweet & Simple Crochet Shoes (Adult or Teen)
🪡 Step 1: The Sole
Round 1:
- Ch 11 (adjust length for size)
- Sc in 2nd ch from hook and in next 8 sts, 3 sc in last ch
- Now work on opposite side of chain: sc in 8, 2 sc in last st
- Join with sl st (22 sts)
Round 2:
- Ch 1, sc in next 9 sts, 2 sc in next 3 sts, sc in next 9, 2 sc in last 2 sts
- Join (28 sts)
Round 3 (Optional for larger size):
- Repeat increase pattern (sc around with increases at toe and heel) for 1 more round
- Fasten off or continue to upper
🥿 Step 2: Upper Body of the Shoe
Round 1:
- Join yarn in back loop only (BLO)
- Sc in each stitch around to form the shoe’s edge
- Join with sl st
Rounds 2–6:
- Sc in each stitch around
- For a snug fit, use hdc in a few rounds
- Use stitch markers to track beginning if working in continuous rounds
👟 Step 3: Shape the Toe
Round 7:
- Sc until toe area (mark 10–12 stitches at front center)
- Work sc2tog across toe stitches
- Sc to end and join
Round 8:
- Repeat toe decreases if needed for a rounded look
- Sl st final round for a clean edge and fasten off
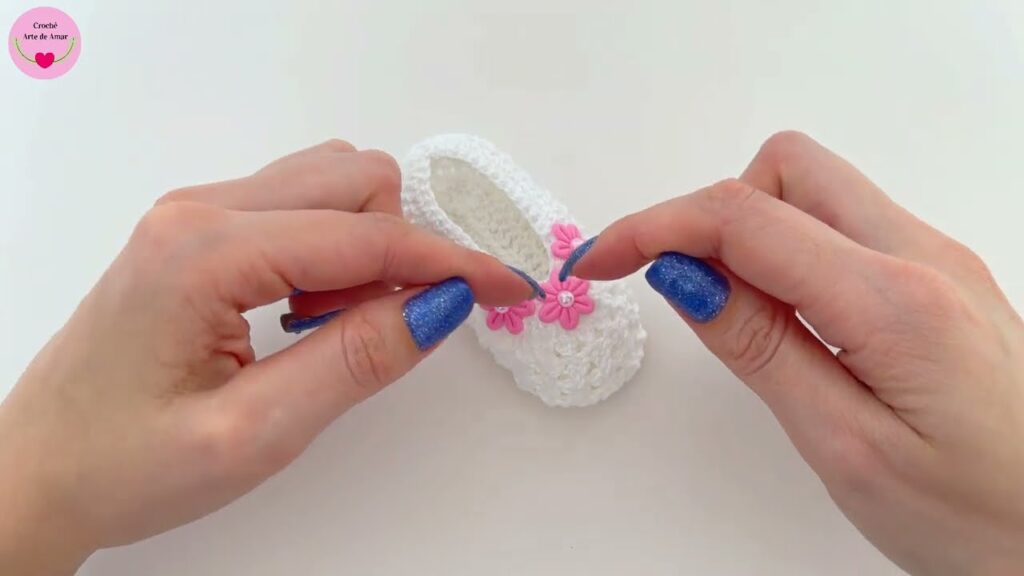
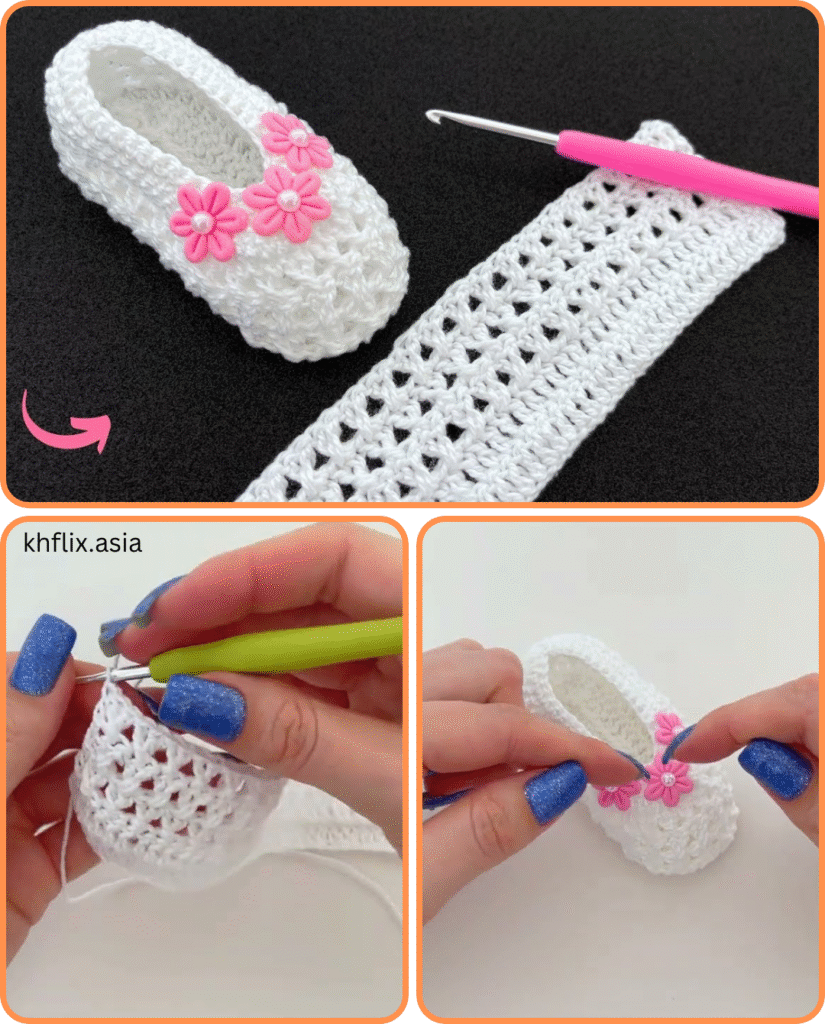
👡 Step 4: Optional Add-Ons
- Mary Jane Strap: Ch 25, attach opposite side, sew a button
- Loafer Band: Crochet a short rectangle, sew across top of shoe
- Bow or Flower Appliqué: Add for decoration
🧸 Sweet Baby Version (0–6 months)
Use DK or sport weight yarn and a 3.5 mm hook.
Sole:
- Ch 9, follow same steps as adult sole with fewer stitches
Upper:
- 3–4 rounds of sc, followed by toe shaping with sc2tog
- Add a tiny strap or lace tie for secure fit
🪡 Optional: Add Soles or Grip
To make your crochet shoes sturdier and safer:
Felt or Leather Soles:
- Cut to size
- Hand sew or glue to the bottom
Non-Slip Grip:
- Use puff fabric paint to dot soles
- Add hot glue dots or sew rubber patches
🎨 Design Ideas & Variations
- Color blocking: Use contrasting yarns for the sole and upper
- Lace trim: Add a lace border around the cuff
- Espadrille style: Crochet raffia soles and use cotton yarn for the upper
- Slippers: Make ankle height and add ribbed cuff for warmth
⏱ Time Estimate
- Baby shoes: 1–2 hours
- Adult slippers: 2–3 hours
- Decorated shoes: Add 30–60 minutes

🧼 Care Instructions
- Hand wash or gentle cycle
- Lay flat to dry
- Avoid bleach or high heat (especially with glued soles)
💡 Tips for Success
- Test your gauge: Slight size differences matter in shoes
- Crochet tighter for structured shoes; looser for soft slippers
- Make both shoes back-to-back for symmetry
- Mark toe area carefully to keep left/right shoes even
Video tutorial:
🧶 Conclusion
Sweet and easy crochet shoes are one of the most enjoyable and useful handmade projects. They’re quick to complete, endlessly customizable, and make beautiful gifts. Whether you’re crafting for cozy nights, baby keepsakes, or stylish at-home footwear, your handmade shoes will surely bring warmth to both feet and hearts.


