
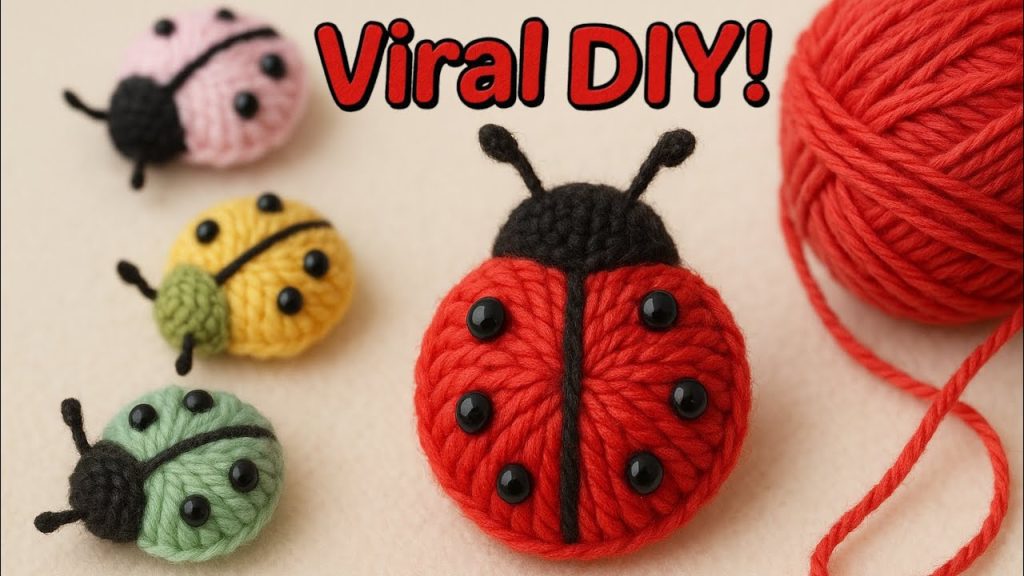
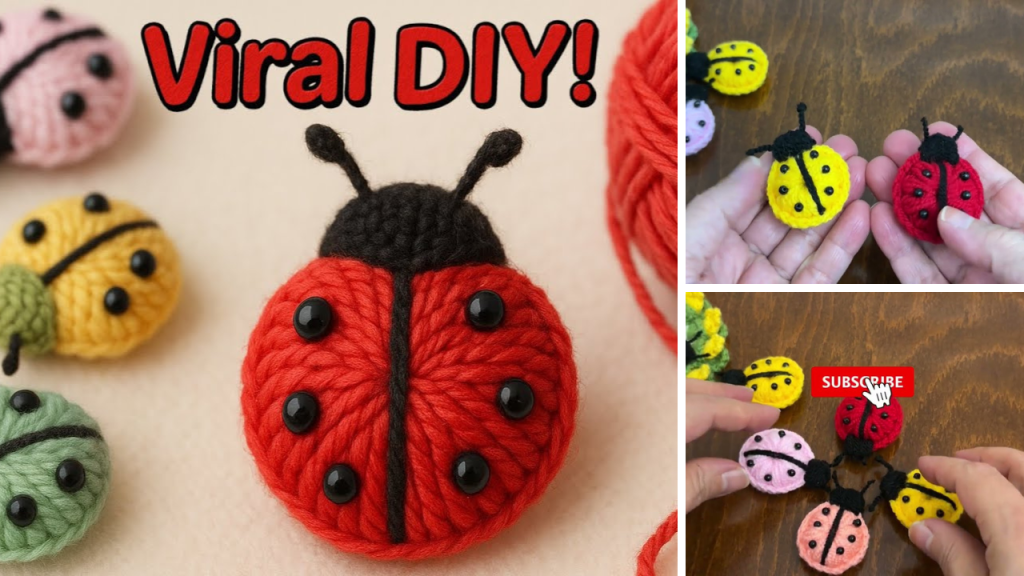
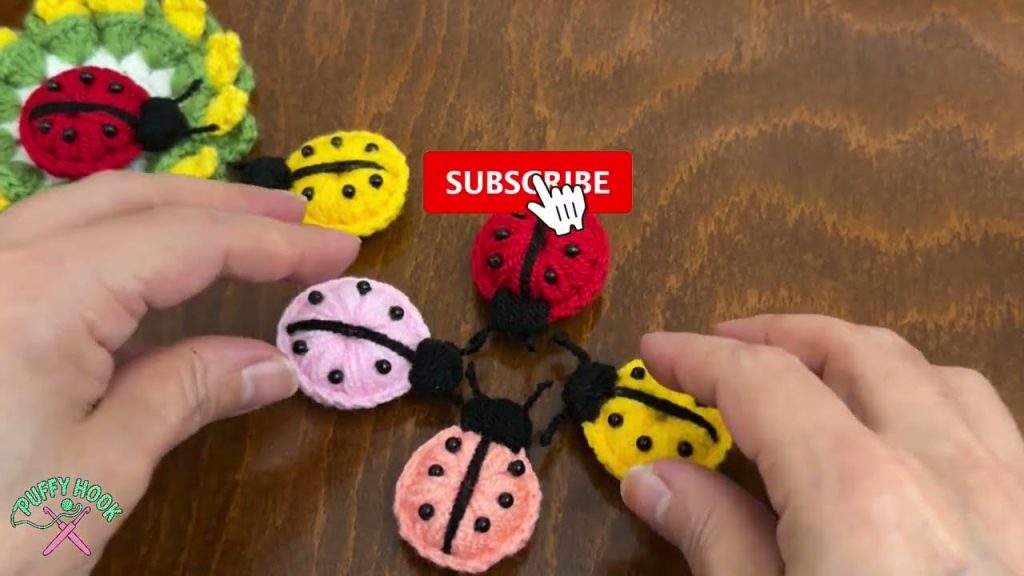
Looking for a fun, quick, and adorable crochet project? This crochet ladybug is the perfect beginner-friendly creation — cute enough to use as a keychain, bag charm, or handmade gift! With just a few basic stitches and a small amount of yarn, you can make a lovely ladybug that will charm anyone who sees it.
🧶 Why Crochet a Ladybug?
Ladybugs symbolize good luck, love, and protection, making them a thoughtful gift or cheerful accessory. Their simple round shape and vibrant colors are perfect for small amigurumi-style crochet. This project is:
- Beginner-friendly
- Quick (takes under 2 hours)
- Great for scrap yarn
- Versatile (use it as a charm, toy, or decor)
🧵 Materials You’ll Need
- Worsted weight yarn in:
- Red (for body)
- Black (for head & spots)
- Optional: White (for eyes)
- 3.0–4.0 mm crochet hook
- Tapestry needle
- Scissors
- Stuffing (fiberfill or scrap yarn)
- Keyring or bag clip (optional)
- Stitch marker (optional but helpful)
🐞 Crochet Terms (US Terminology)
- MR – Magic Ring
- SC – Single Crochet
- INC – Increase (2 SC in one stitch)
- DEC – Decrease (SC two stitches together)
- SL ST – Slip Stitch
- FO – Fasten Off
- ST(s) – Stitch(es)
🔄 Step-by-Step Instructions
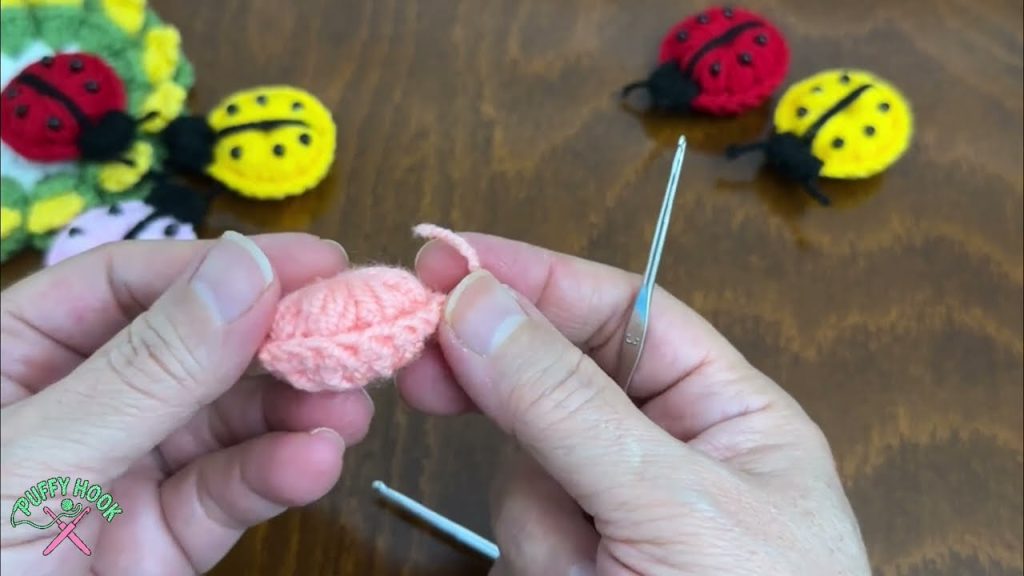
🎯 Step 1: Crochet the Body (Red)
Round 1:
- Make a Magic Ring, work 6 SC into the ring. (6 sts)
- Pull the ring closed tightly.
Round 2:
- INC in each stitch around. (12 sts)
Round 3:
- (SC, INC) repeat around. (18 sts)
Round 4:
- (2 SC, INC) repeat around. (24 sts)
Round 5–7:
- SC in each stitch around. (24 sts)
Round 8:
- (2 SC, DEC) repeat around. (18 sts)
Round 9:
- (SC, DEC) repeat around. (12 sts)
Stuff the body with fiberfill now.
Round 10:
- DEC around. (6 sts)
FO, weave in tail and close the hole.
⚫ Step 2: Crochet the Head (Black)
Round 1:
- Magic Ring, 6 SC. (6 sts)
Round 2:
- INC in each stitch around. (12 sts)
Round 3:
- (SC, INC) repeat around. (18 sts)
Round 4–5:
- SC around. (18 sts)
Round 6:
- (SC, DEC) repeat around. (12 sts)
Lightly stuff.
Round 7:
- DEC around. (6 sts)
FO and leave a long tail for sewing. Stitch to the red body. (You can slightly overlap them.)
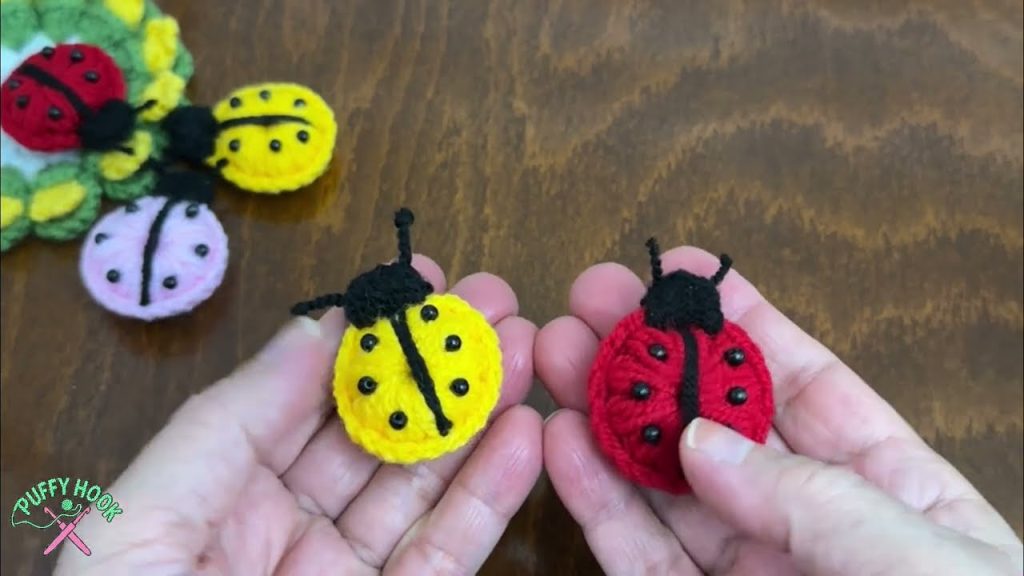
🖤 Step 3: Add Black Spots
Make 4–6 small black circles:
Mini Spot Pattern:
- MR, 6 SC into ring, SL ST to join.
- FO and leave a tail for sewing.
Sew the black spots evenly across the red body. You can place 2–3 on each side.
👀 Step 4: Add Eyes
Option A: Crochet Eyes
- With white yarn: MR, 6 SC, SL ST, FO.
- Sew to face and stitch a tiny black dot in the center.
Option B: Safety Eyes or Embroidered Eyes
- Attach before sewing the head closed, or embroider after.
➗ Step 5: Add Line for Wings (Optional)
Use black yarn and backstitch a straight line down the center of the red body to separate the “wings.”
🔗 Step 6: Attach to Keyring or Clip
Use leftover yarn or a metal jump ring to securely attach the top of the ladybug to a keychain, bag clip, or zipper pull. You can also:
- Add a loop of chain stitches as a hanger
- Sew a small loop of ribbon or cord on top

🎁 Bonus: Make It a Gift
Wrap your ladybug in a tiny box, or attach a note saying:
“A little bug of luck, handmade with love.” ❤️
Great for:
- Party favors
- Backpack charms for kids
- Craft fairs
- Stocking stuffers
💡 Tips & Variations
- Use velvet yarn for a plushy look.
- Try different colors (e.g., pink or blue ladybugs) for a whimsical twist.
- Add antennae with black embroidery thread or pipe cleaners.
- Make a giant ladybug by doubling your yarn and hook size!

🌟 Final Thoughts
This crochet ladybug is not only super cute but also quick to make and totally customizable. Whether you’re new to amigurumi or just need a cheerful little craft, this project is a perfect way to spread handmade joy. Add it to your bag, keys, or give it to someone who could use a little luck.
Happy crocheting, and may your yarn bring smiles and sunshine! 🐞🧶
Video tutorial:


